An Automated Fan Control Application using Tuya Link SDK, Python, Arduino IDE with the Espressif’s ESP32 board and L293D motor driver.
In this article, we will develop an automated fan control system using Tuya Link SDK, Tuya Smart Android APP, Python and Arduino IDE. An ESP32 board is used here to control the fan motor via the L293D motor control module.
The user will have a provision to set his/her desired fan speed on the Tuya Smart App and the value will be sent to the desktop PC where it will be processed by Python and forwarded to the ESP board. The ESP32 board is flashed with an Arduino IDE program and it’ll give the corresponding analog signal to the motor via the L293D control module.
This is also an automatic, time-based motor speed control. So, as per the user-set time, the fan will turn on/off and will allow the user to keep the fan on/off for a certain time period too.
To satisfy the power needs of the fan motor, an external power supply is needed.
With a proper AC control circuit, the Application can be extended to AC Appliances too!
GitHub Link:https://github.com/JayeshRajam/Tuya-motorapp
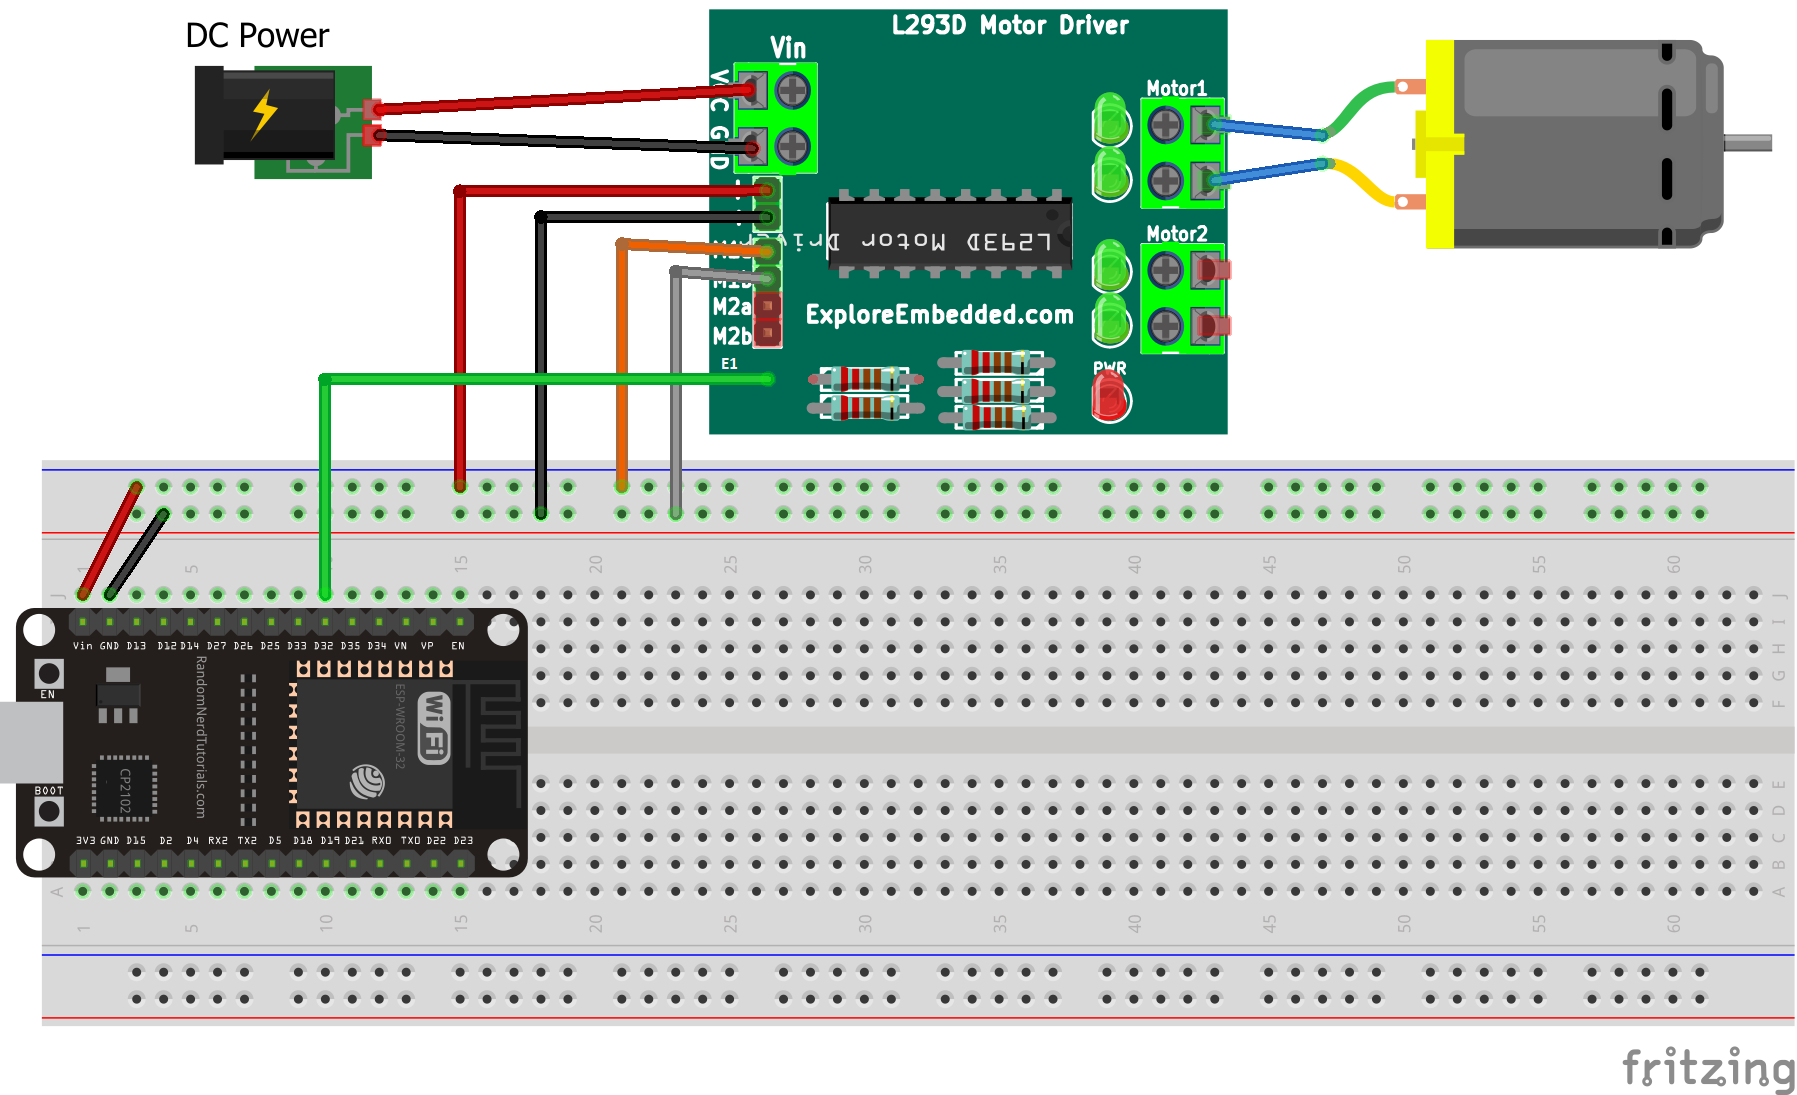
The ESP32 board is placed on a breadboard. Pin 32 of the ESP32 board gives the Analog Signal to the motor control module. Power the ESP32 board and the L293D module by connecting them to corresponding Power Rails. The M1a and M1b pins of the module sets the direction of rotation of the motor. Finally, connect the motor to the module.
If you only have the L293D IC then you can follow this tutorial and make the connections.
We assume that you are already familiar with the Tuya Platform and have created your account. Make sure you install tuyaos-link-sdk in Python.
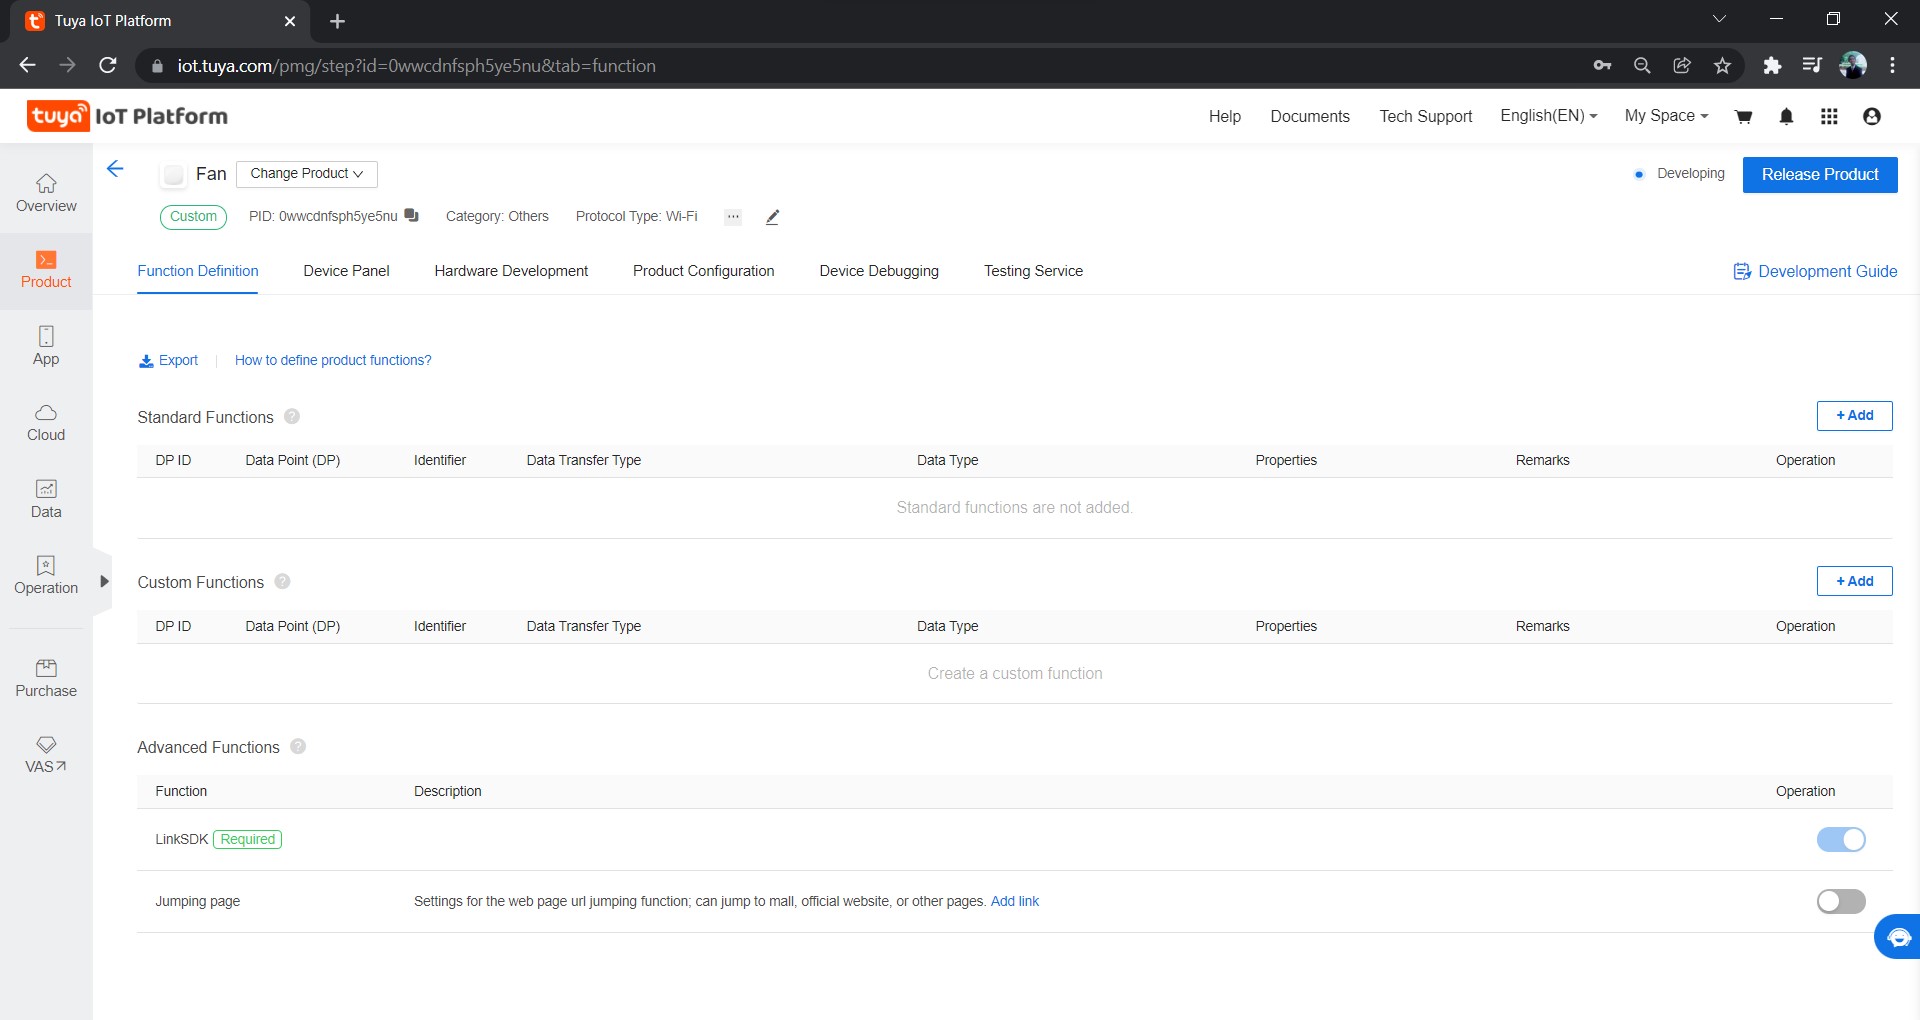
Once logged in, create a new product (follow this simple tutorial as a getting started guide on Tuya) to get the following screen.
Now add the following functions by clicking the ‘Add’ button with the following attributes.
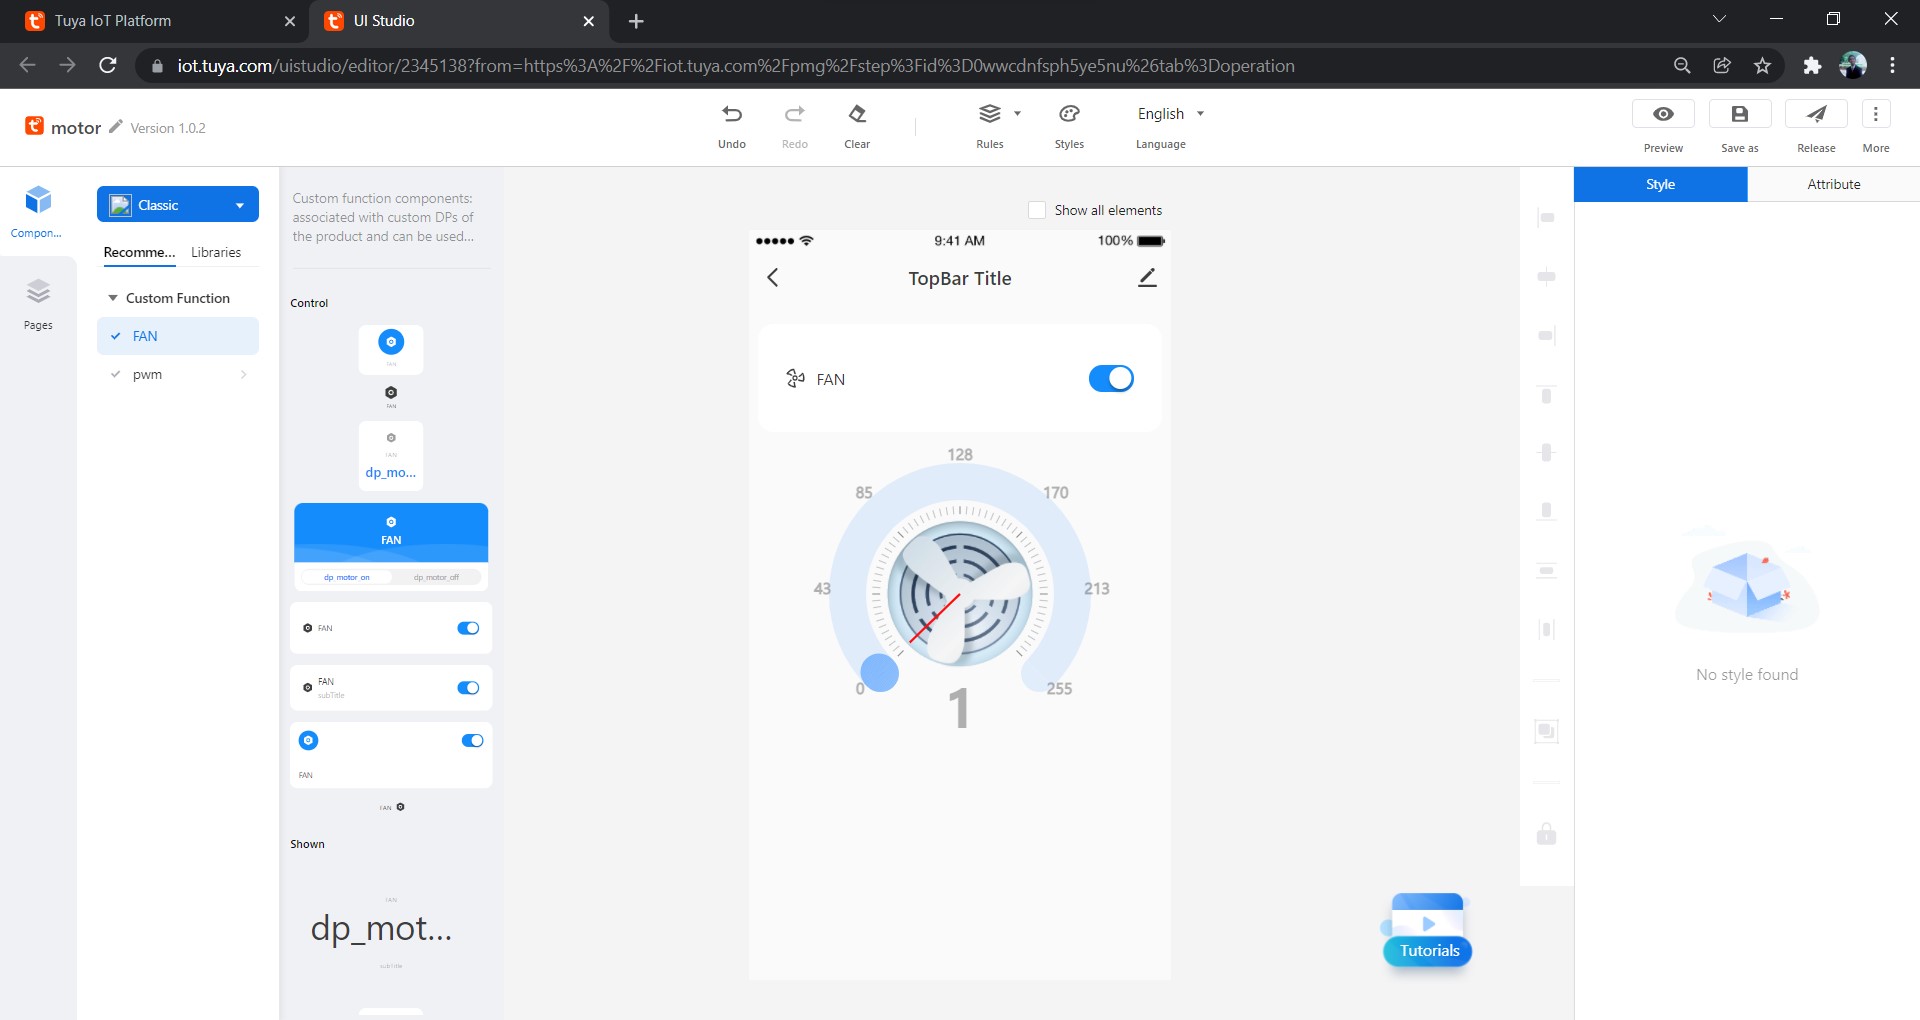
Next, complete the UI Studio Design. Test and Release it to resolve any errors. Following is a simple UI Design made for this Application.
Open the motorapp.py file from the GitHub repo in the editor. Edit and change the productid, uuid, authkey (obtained by license generation for Link SDK) and the COM port of your connected ESP32 device in the file. Save this edited file, to be used in the output section of this article.
After installing and setting up the Tuya Smart App, just click the scanner button to scan the QR code generated by the motorapp.py file.
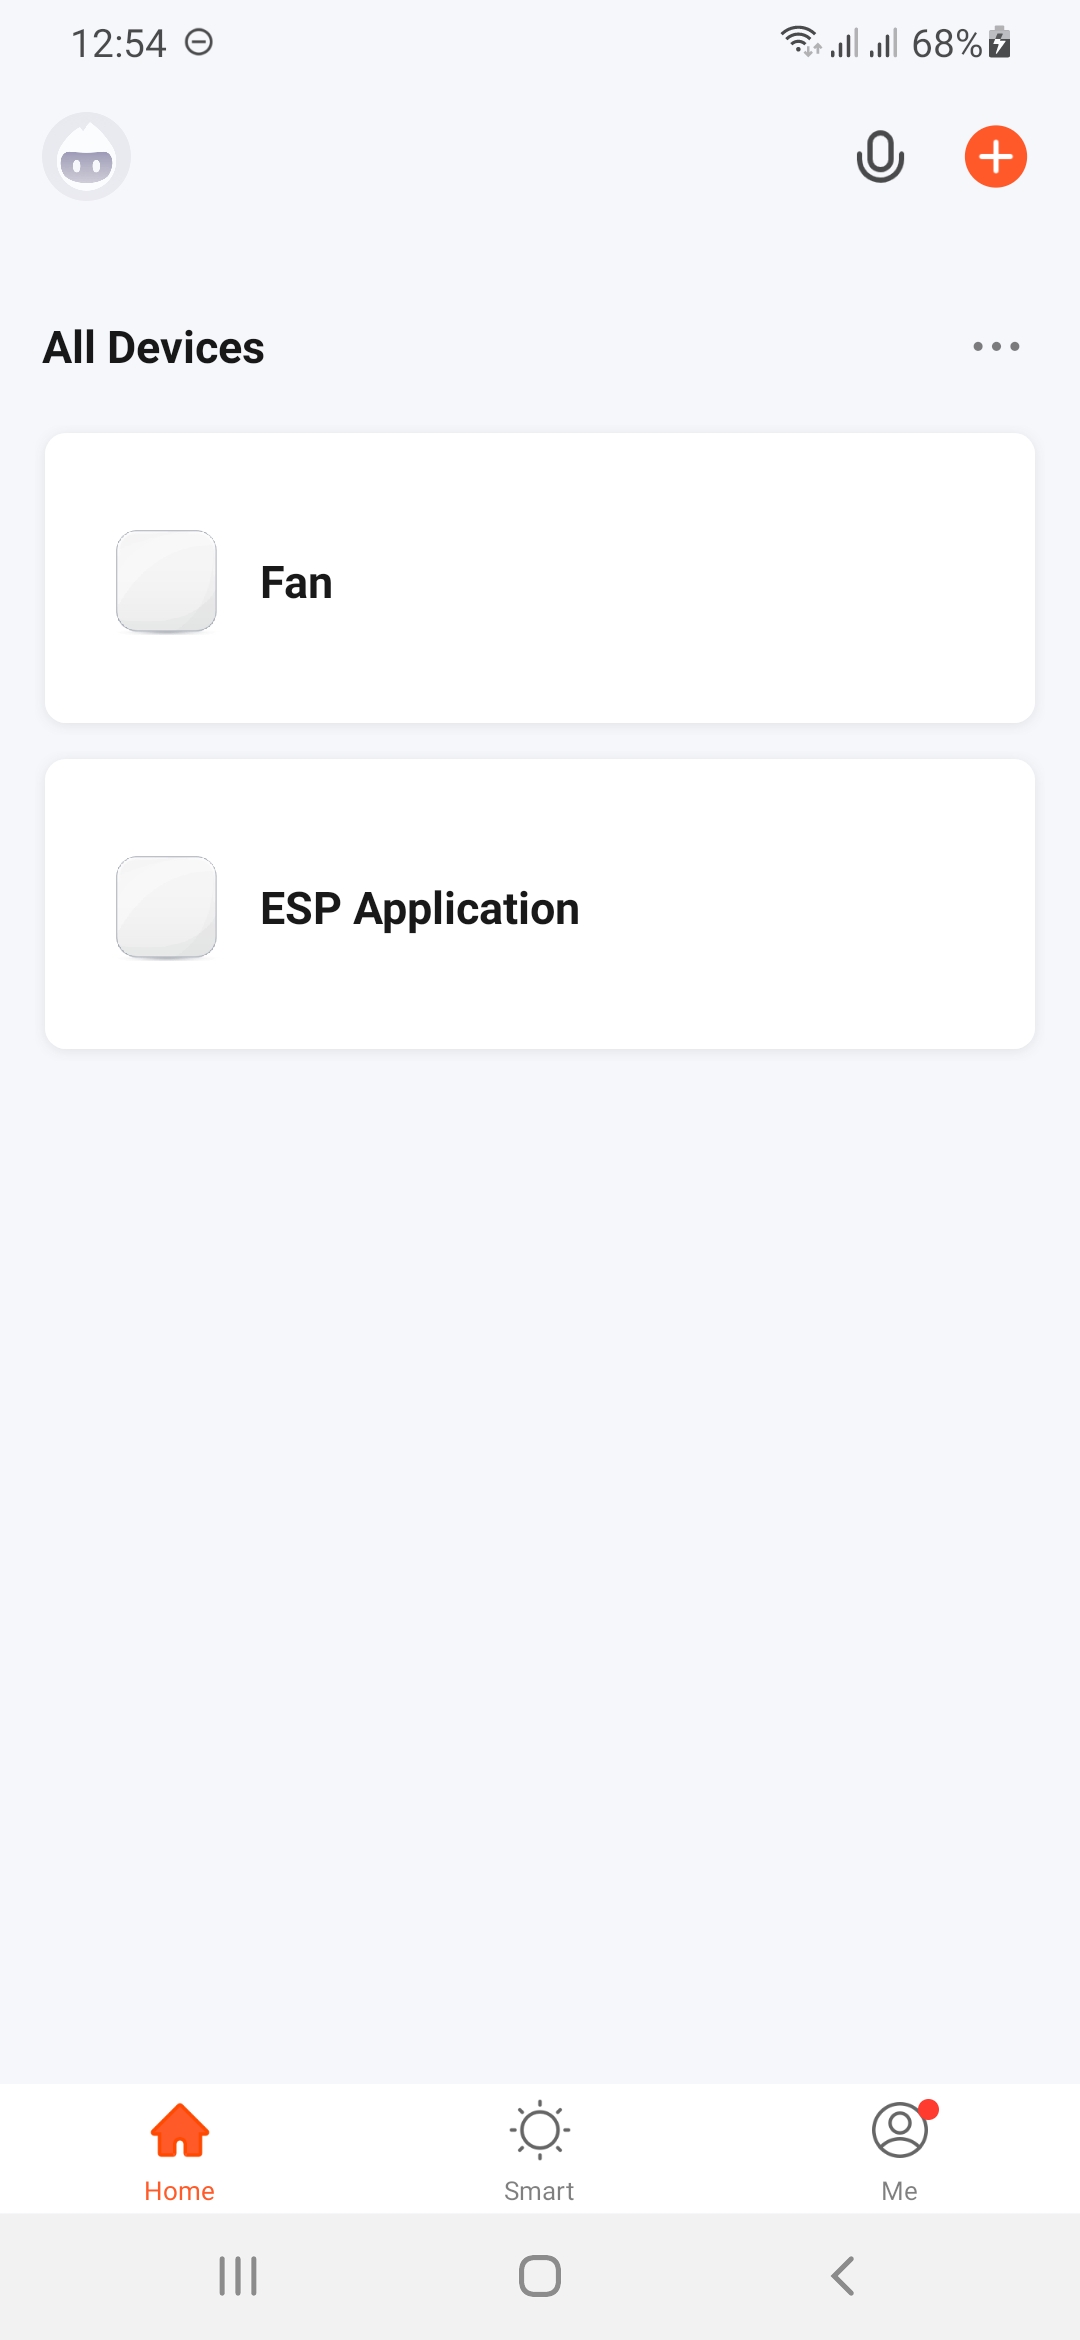
Now the FAN Application will be added to the All Devices section of the Tuya Smart App.
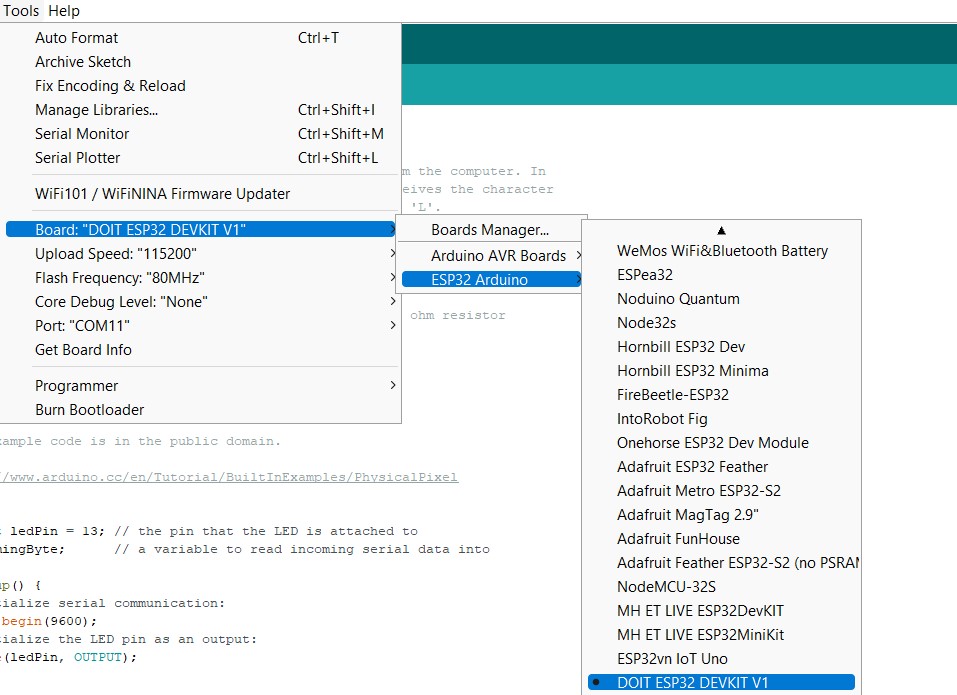
The Arduino IDE Program in the GitHub repo makes the ESP32 board listen to the commands sent by the python program via the serial port. Simply add your ESP32 board in Arduino IDE, compile and flash the motorapp.ino program.
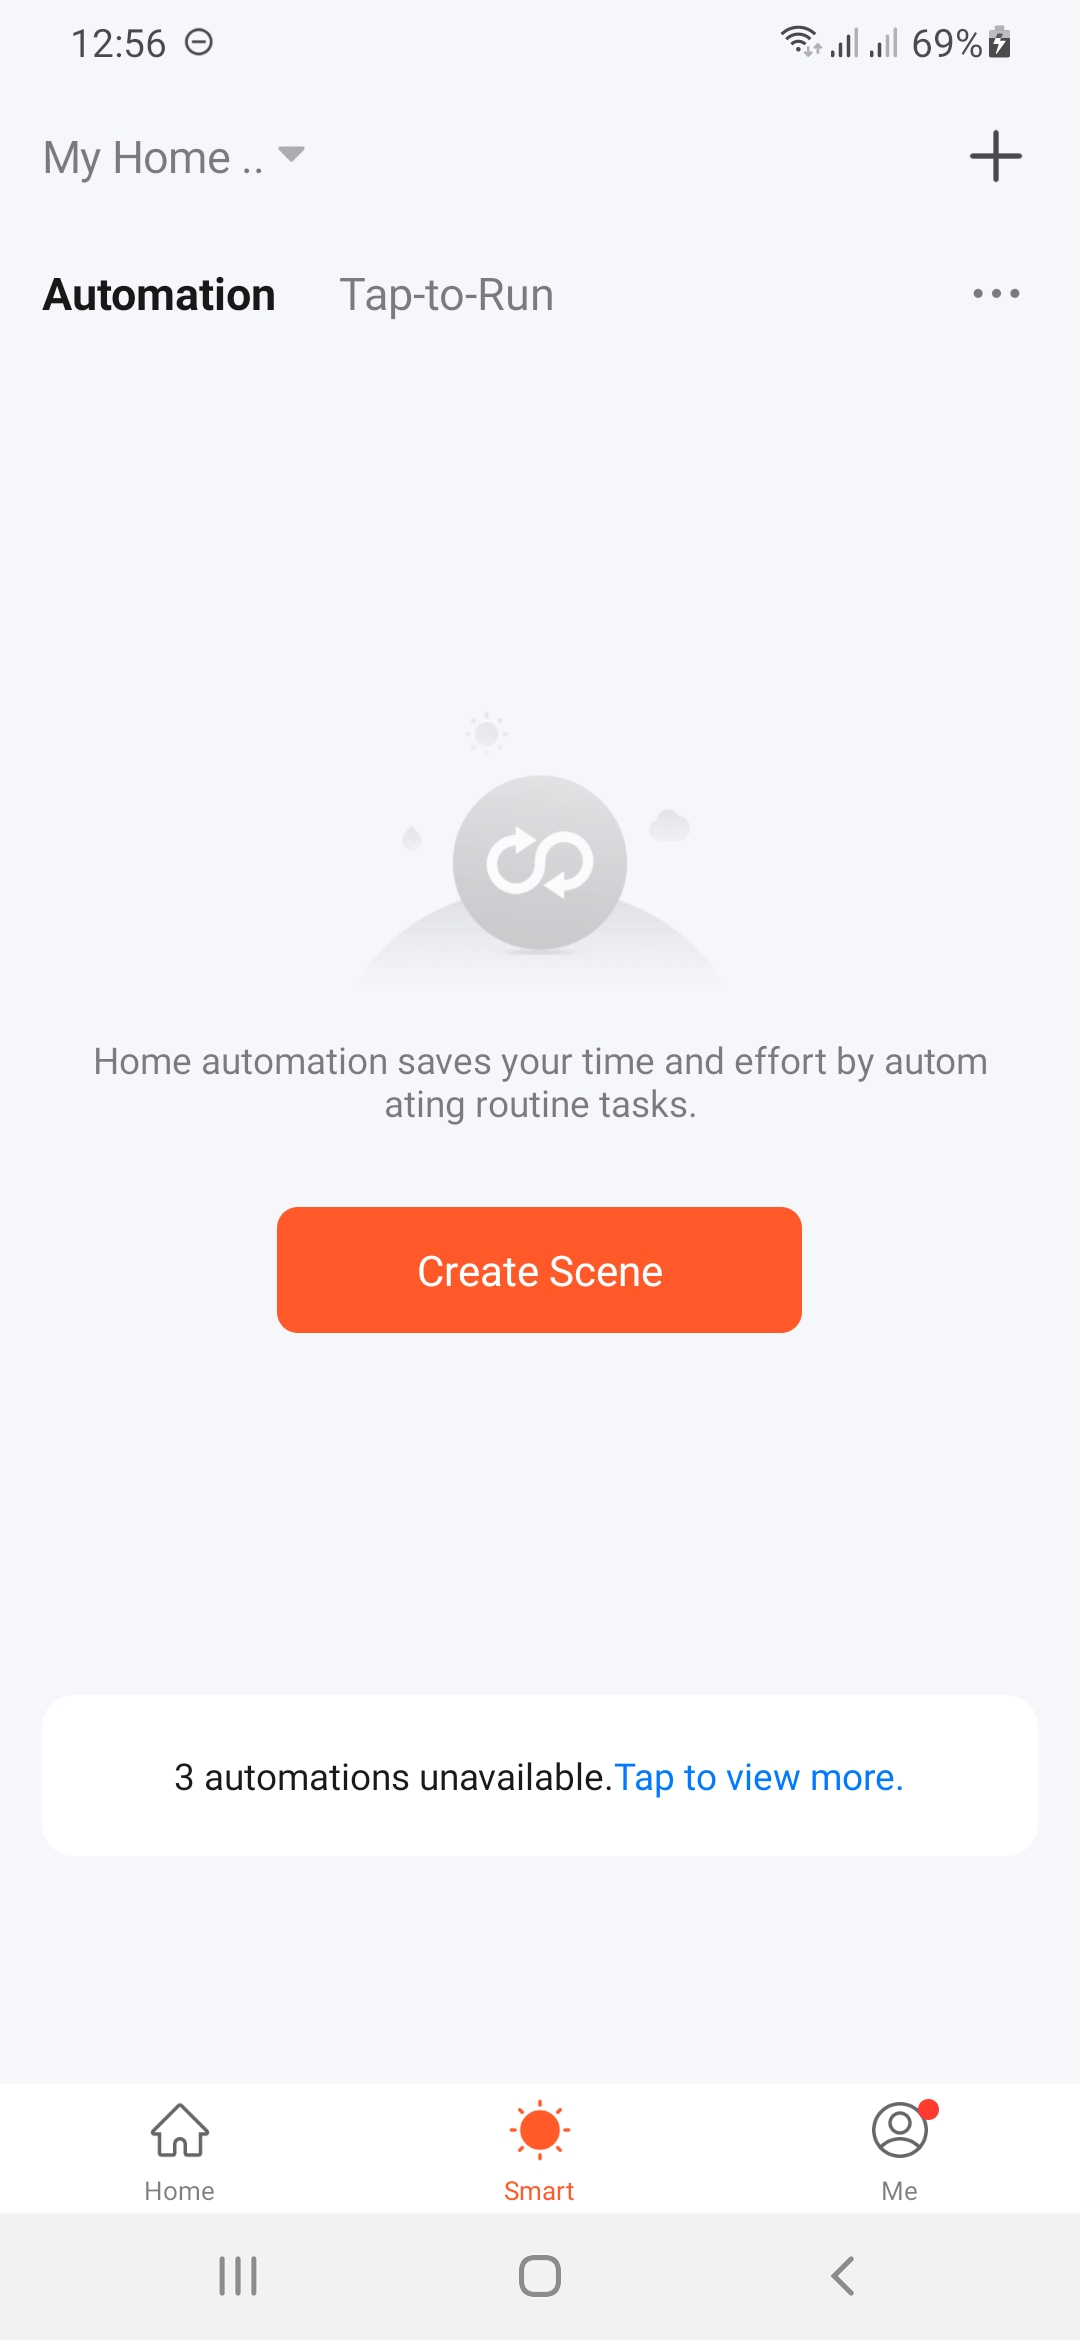
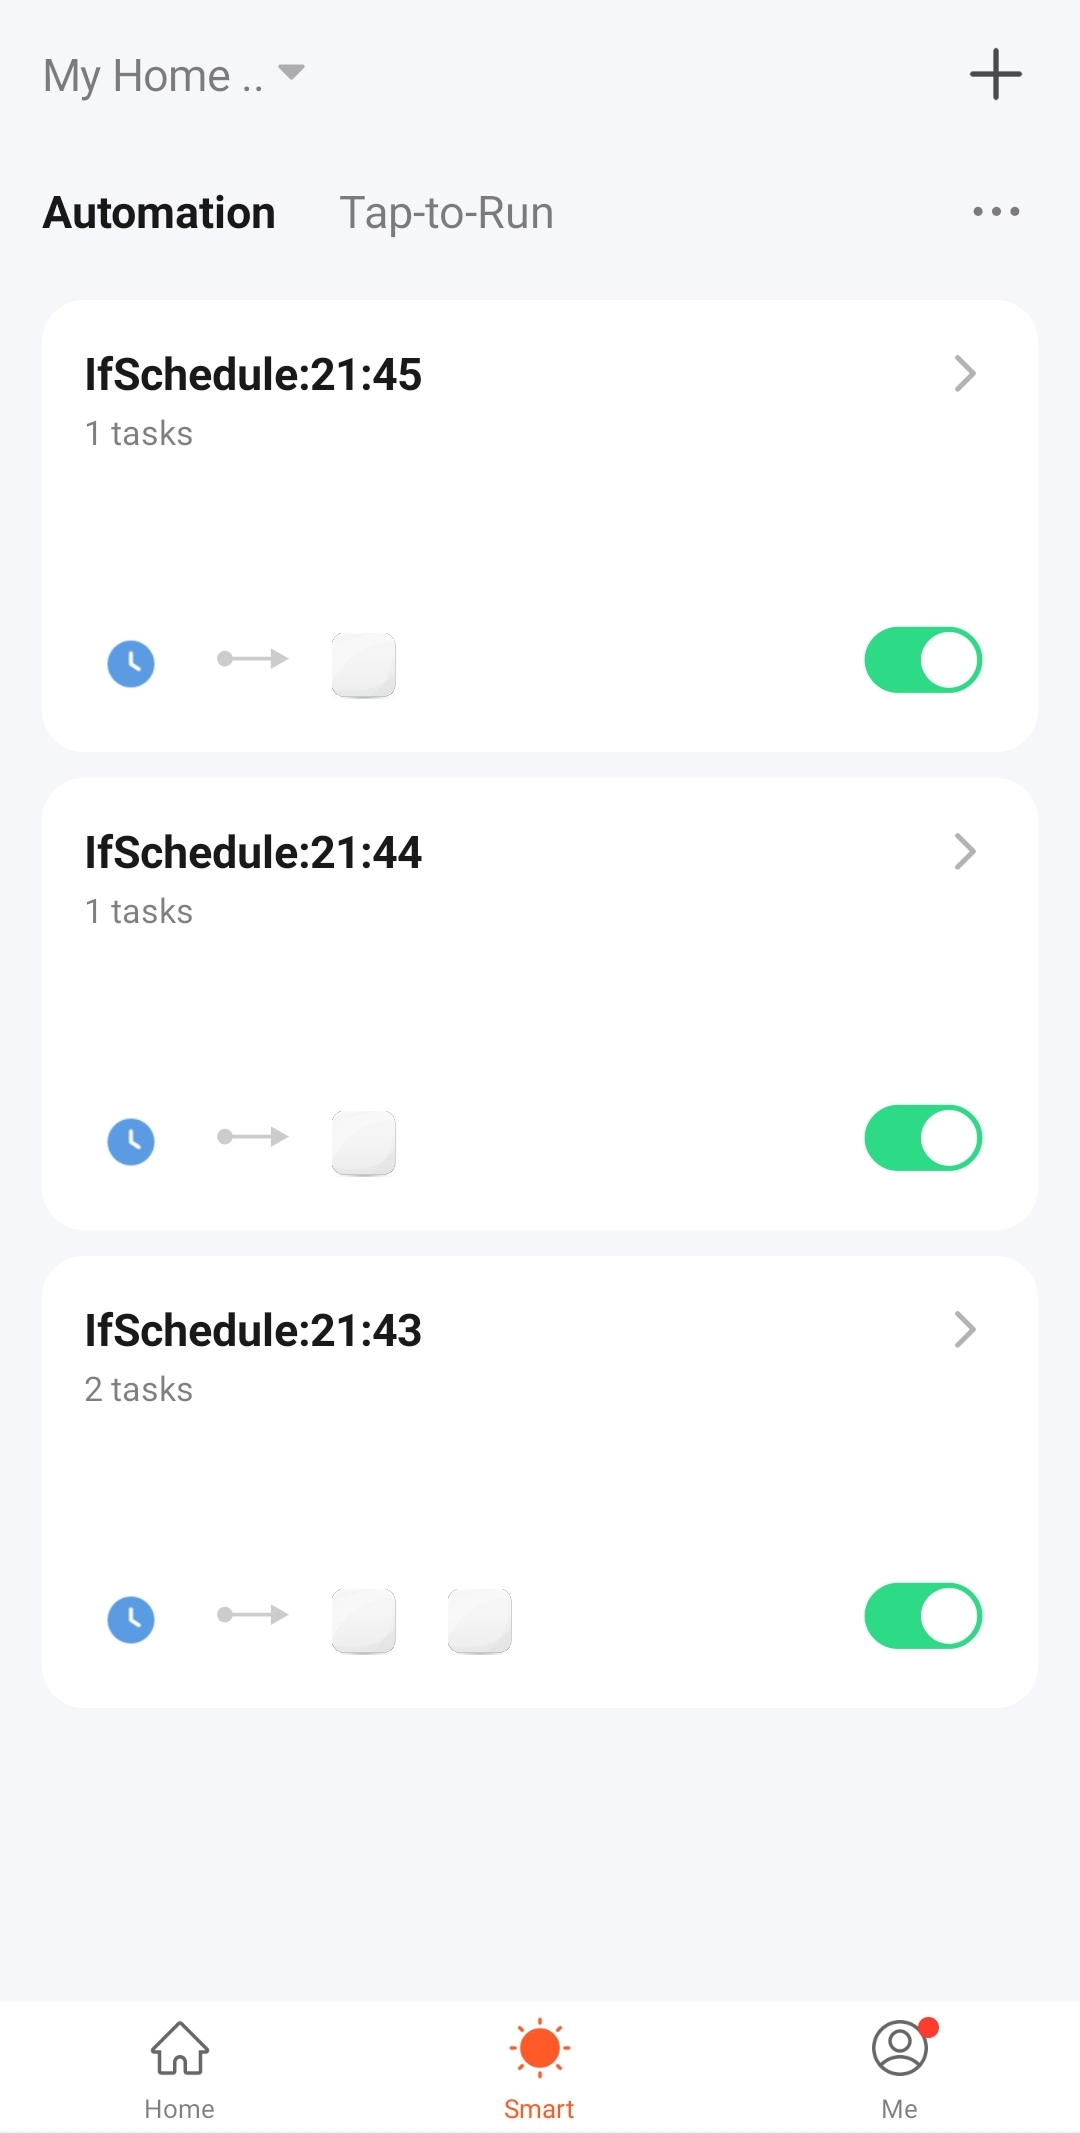
You can automate the FAN Application as per your requirement in the Tuya Smart APP. Just Navigate to Create Scene option in the Smart section of the APP.
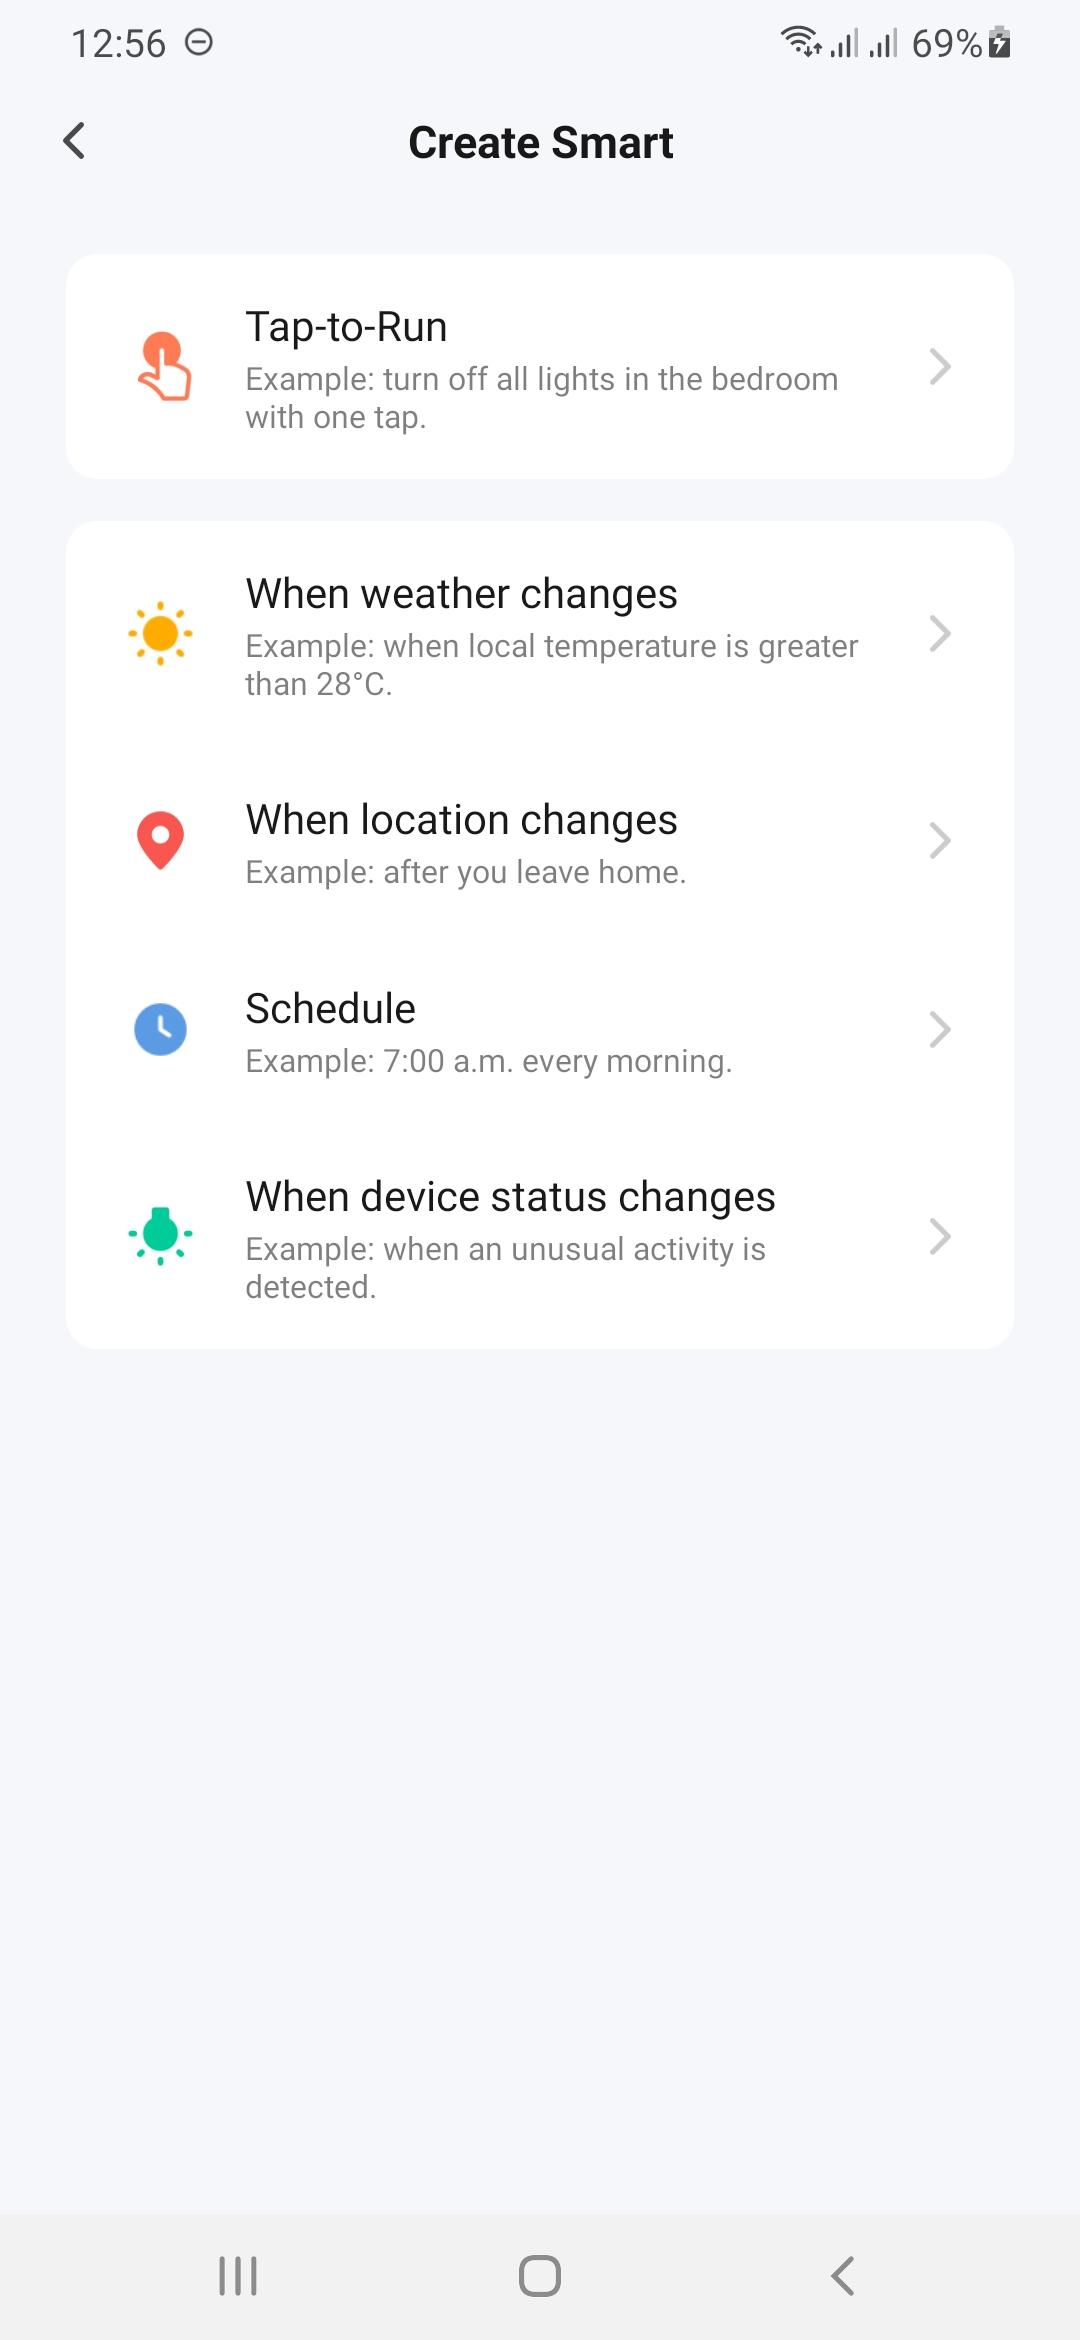
Here, you can set the Application to Tap-to-Run, Weather control, Location Control, Schedule it etc.
Just create a schedule and the fan will be turned on or off based on it!
Also, the Application control on a weather changes basis can prove really useful, so just explore!
Run the ledapp.py file using the command python ./ledapp.py