Learn how to make animations in augmented reality using 3D models.
In this post, we will be mainly working on doing animations in Augmented Reality using 3D models. You'll want to get familiar with the assets store in Unity. You will be downloading 3D models from the assets store - with inbuilt animations. We will be working on animations in more detail in later posts. This is an introductory tutorial to animations in augmented reality.
So, let's get started!
Animations in Augmented Reality
- Make a new Project in Unity and name it "Animations".
- Now, import the Vuforia SDK and Image Database in Unity.
- Delete the Main Camera and drag the AR Camera and Image Target in a hierarchy window.
- I don't have a fancy Image Target and I don't want my model to be doing animation on it. So, I will make a ground for it instead. So let's make a plane for it. You can select Image Target > 3D Object > Plane.
- Make the plane to fit the size of your image target.
- Brilliant! But our plane looks simple, so we need to add texture to it. Next, we will need some texture files. Download the complete repository and import it inti the project. Download this hand painted stone texture I made from Github.
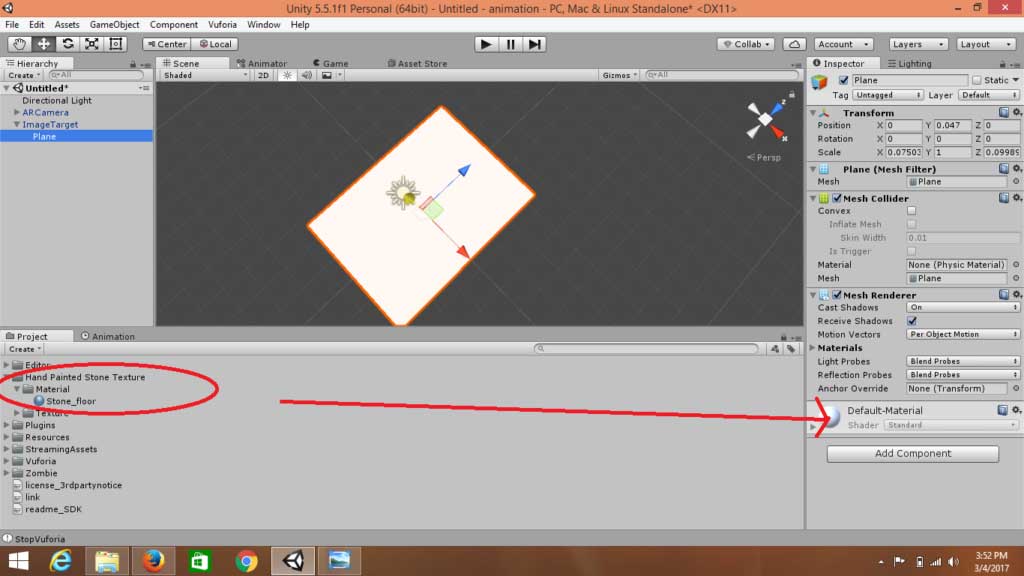
- Once imported, drag the material file - Stone_floor onto the Material Section in the Inspector window of the Plane.
- Now, you can see an awesome plane. Looks good, right?
- Now, open a new window in Unity, then go to the Assets Store. Log in or create a Unity account if you don't have one yet. Now, use the search bar to search for a model (If you don't want to spend money on assets, select "FREE ONLY" for free Assets).
- Make sure the model has - Animations. Download and Import the model in our project.
- Now, select the model from the Project window and change the Animation type from Generic to Legacy, since the Animation clip is read-only .FBX file. Hence, we need to make it Legacy to make it work in our project.
- Finally, drag the 3D model on to our plane in the Scene view.
- Note that the 3D model is below the plane folder in the hierarchy.
- If you try to play it, it won't run because we forgot one important thing - We need to Copy the Vuforia App key in the AR camera.
- Finally, Build the project. Don't forget to change the Bundle Identifier in Player setting. If you don't know how to do that, check my previous tutorial.
- Awesome, now you have a 3D model capable of doing animations in augmented reality.
In the next post, we will work on to building our own animations in augmented reality.
This guide has been intended to consolidate the best learning resources on the web for beginners on DIY Augmented Reality. You can also connect with me on our online channel in slack to get more guidance and check out my learning path to become an expert.