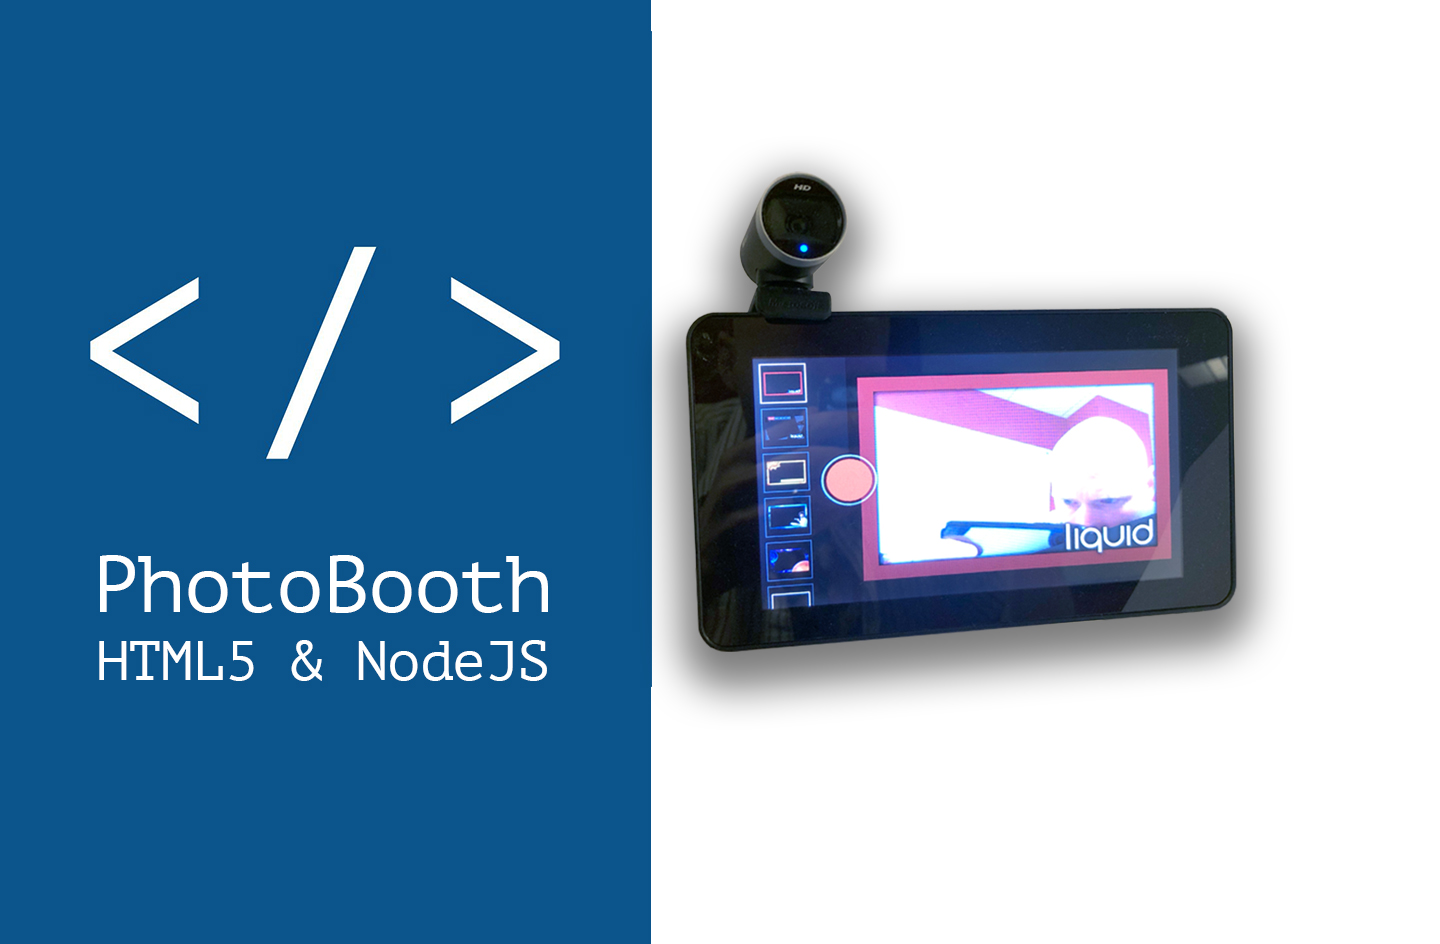
An HTML5 and NodeJS photobooth with live preview and custom borders.
An HTML5 and NodeJS photobooth with live preview and custom borders.
This project started as something I built for my daughter's school dance. I wanted something fun for her and her friends to remember the event (which was the last time they would all be together at their school). It turned into a shameless promotion for the company I work at (where I was hoping that visiting clients would use the photobooth to document their visit to our office).
Please, download and try it yourself.
https://github.com/raymondljones/photobooth
More information can be found at
https://github.com/raymondljones/photobooth/wiki
This assumes you have a Raspberry Pi dedicated to this project. Once the WiFi AP is configured, the Pi will no longer have internet access unless plugged in via Ethernet.
Note: that you must have a display of some sort connected to the Pi. And it must be set to boot into the GUI not headless.
After setting up your Pi (with or without a touchscreen) and plugging in the webcam via USB. Just follow the instructions.
1. Download the project @ https://github.com/raymondljones/photobooth into a directory of your choosing.
2. Unzip (if downloaded as zip) and navigate to the project directory via the command line: `cd project`
3. Become root: `sudo bash`
4. Run this command `sh quick-install.sh`
5. Source code for the entire project is in the src folder. Separate README is included for that.
The quick install will take care of the required dependencies (nodejs, php, chromium, etc), as well as setup the chromium-browser kiosk and the Wifi AP.
Once the pi reboots, the Wifi AP will be available via
SSID: PhotoBooth
Password: photoboothpass
The Pi should boot in chromium kiosk full screen (first launch will require you to `Allow Access` to the camera)... Any computer on the PhotoBooth network can also visit https://192.168.100.1/booth.html (be sure to use https) to become an extra PhotoBooth in the network (As long as there is a camera attached).
In addition, any computer on the PhotoBooth network can also visit http://192.168.100.1 (leave as http). This page will allow access to all the photos taken (giving you the ability to print or delete).