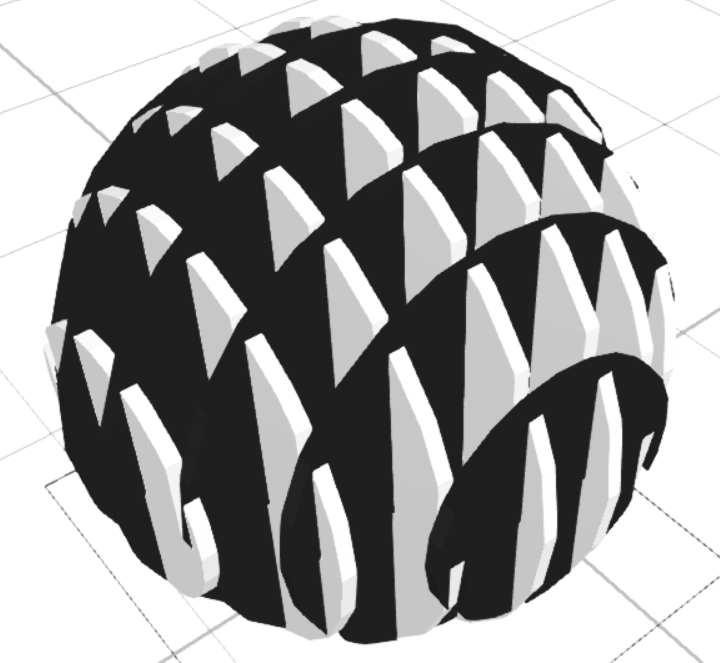
In this tutorial blog, we will learn how to create a 3D sphere puzzle using SelfCAD as the 3D modelling software
In this tutorial blog, we are going to 3D design a sphere puzzle. The 3D modelling software that we are utilising is SelfCAD. With SelfCAD, you can undoubtedly make 3D models without contributing an immense heap of energy learning, and you can make both fundamental and complex designs without taking a great deal of time. The tools of SelfCAD that we will use are the 3D shapes, copy offsets, stitch and scoop tool, Move tool, and so on. We will start by 3D designing a cylinder and evolving it. By sorting out some way to 3D design this sphere puzzle, you will get to know how to utilise the different tools of SelfCAD.
You can also visit our website and check our other similar articles such as how to design a 3D triangle optical illusion!
Thus, we should begin!
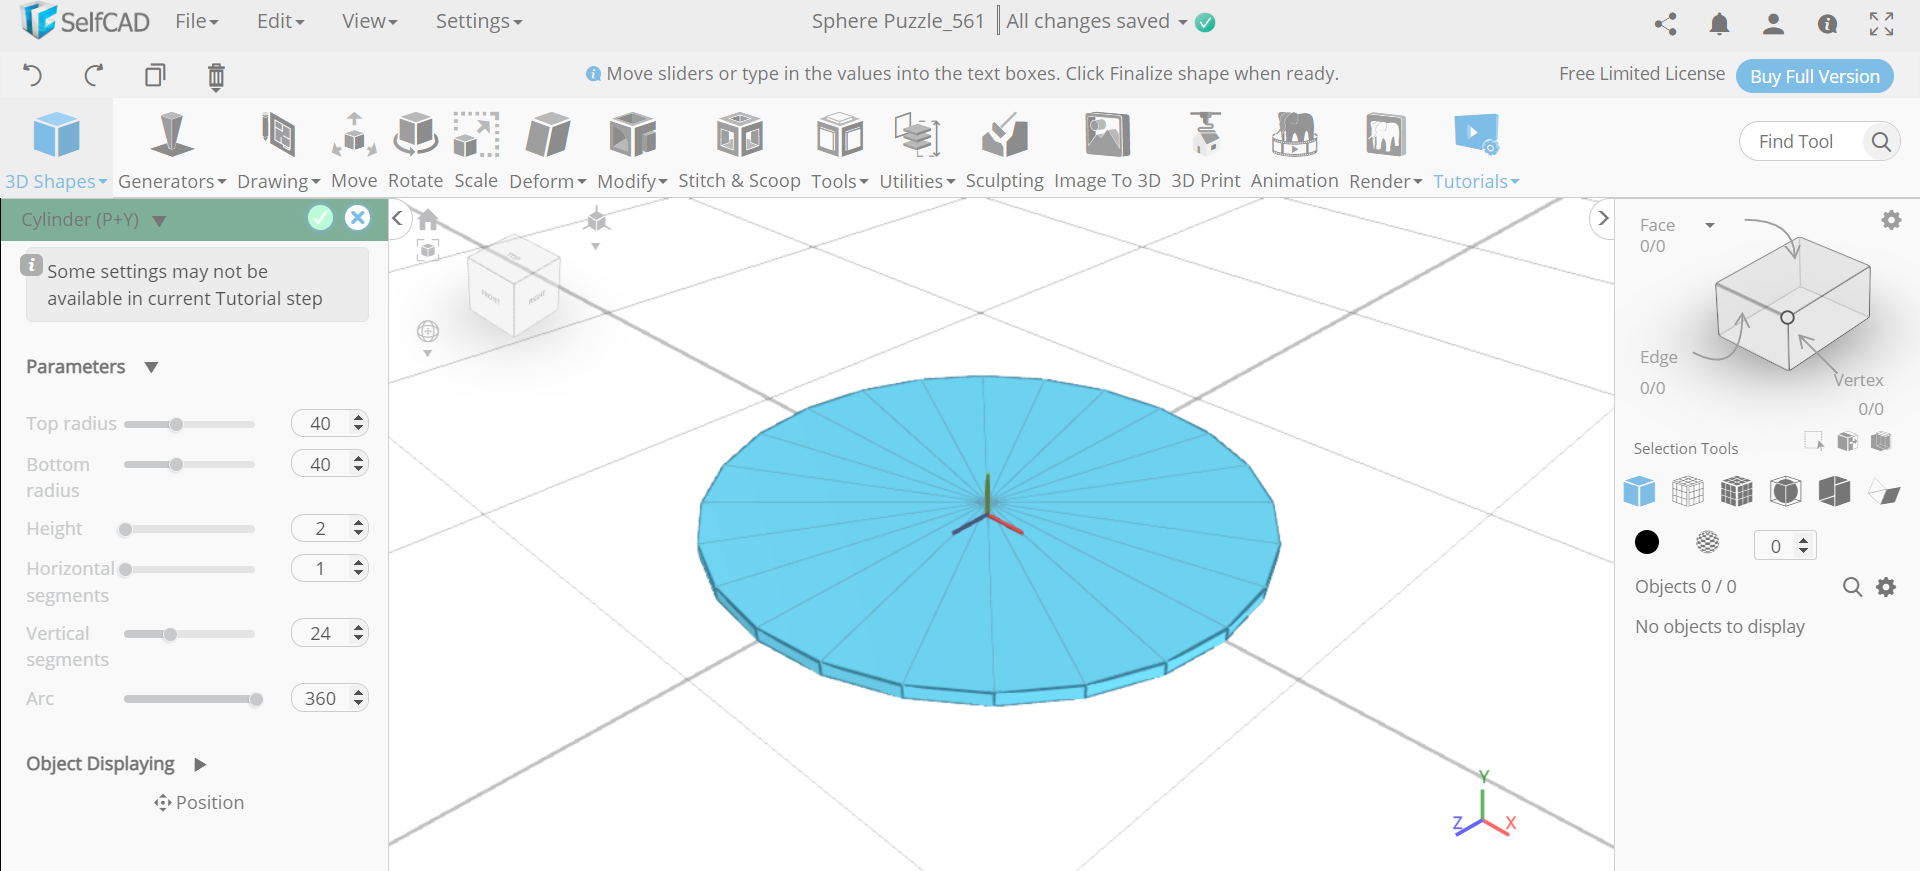
Step1: Insert two cylinders of different sizes, one above the other
First of all, go to the 3D shapes and insert a cylinder to the working interface. Set the top radius to 40, bottom radius to 40 and height to 2. Then insert another cylinder and set its top radius to 36, bottom radius to 36, height to 2 and position y to 10.
Step2: Insert another two cylinders above that
Now, we will insert another cylinder of top radius 30, bottom radius 30, height 2 and position y 20. Then insert another cylinder and set its top radius to 18, bottom radius to 18, height to 2 and position y to 30.
Step3: Select all the cylinders and rotate them
Next, go to the edit menu and click on select all. Then select the rotate tool and set x to 90.
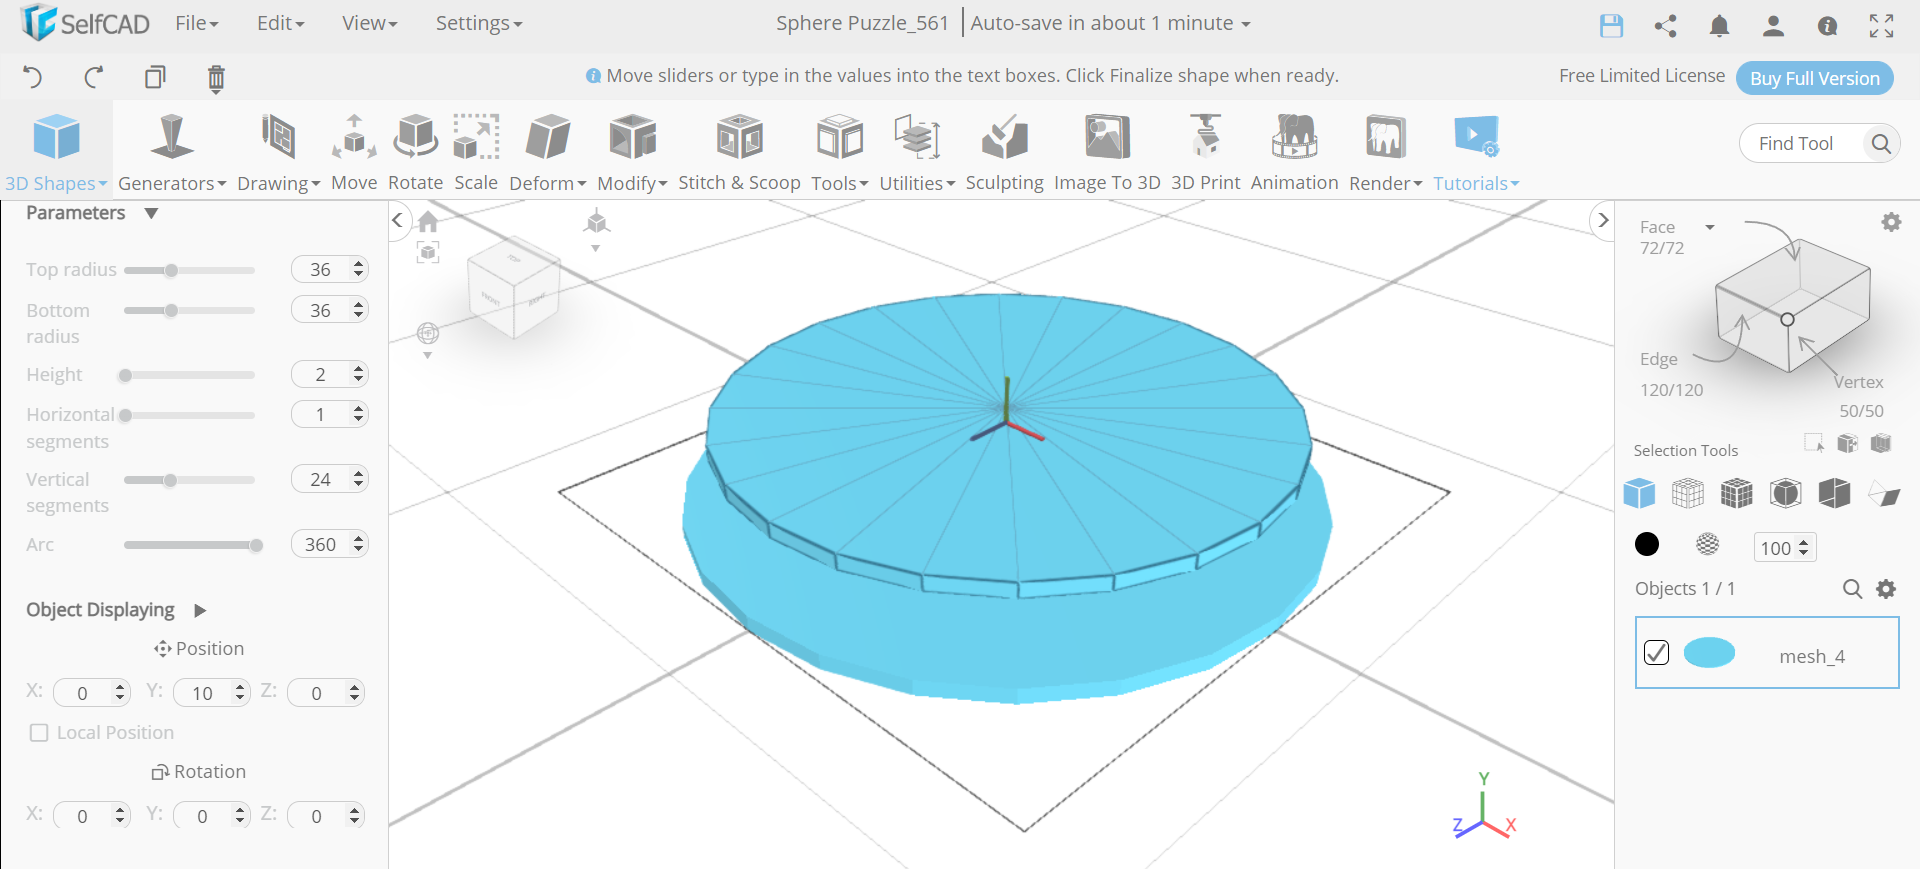
Step4: Mirror the objects and group them all
Step5: Insert a cube and make copies of it
Next, from the 3D shapes, we will insert a cube to the working interface. Set the width to 2.4, position y to 40, and position z to 20. Then from the tools category, select the copy offsets option. Set x to 10 and amount of copies to 7.
Step6: Move the cubiods to the centre and group them
Now, we will use the move tool and move all these cuboids along the x-axis to a position of 0. Then we will group these cuboids.
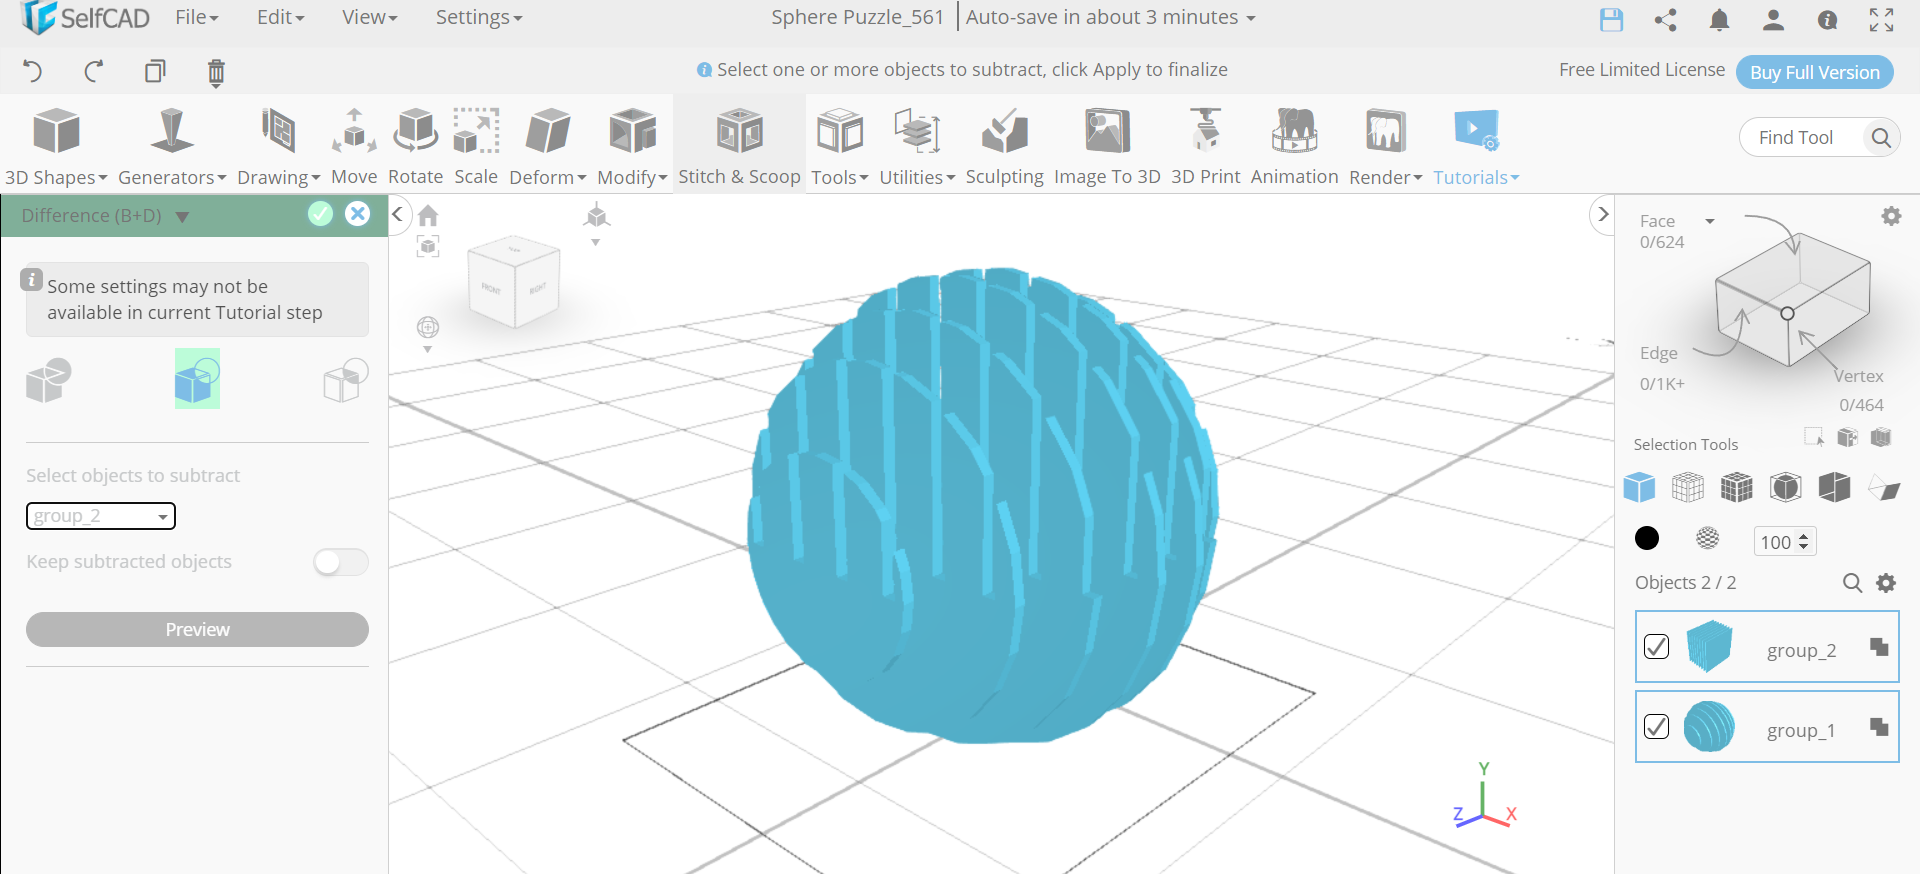
Step7: Subtract the masses and copy the object
Next, select all the objects, go to the stitch and scoop and select the difference option. Choose group_2 to subtract. Then click on the copy button to copy the object.
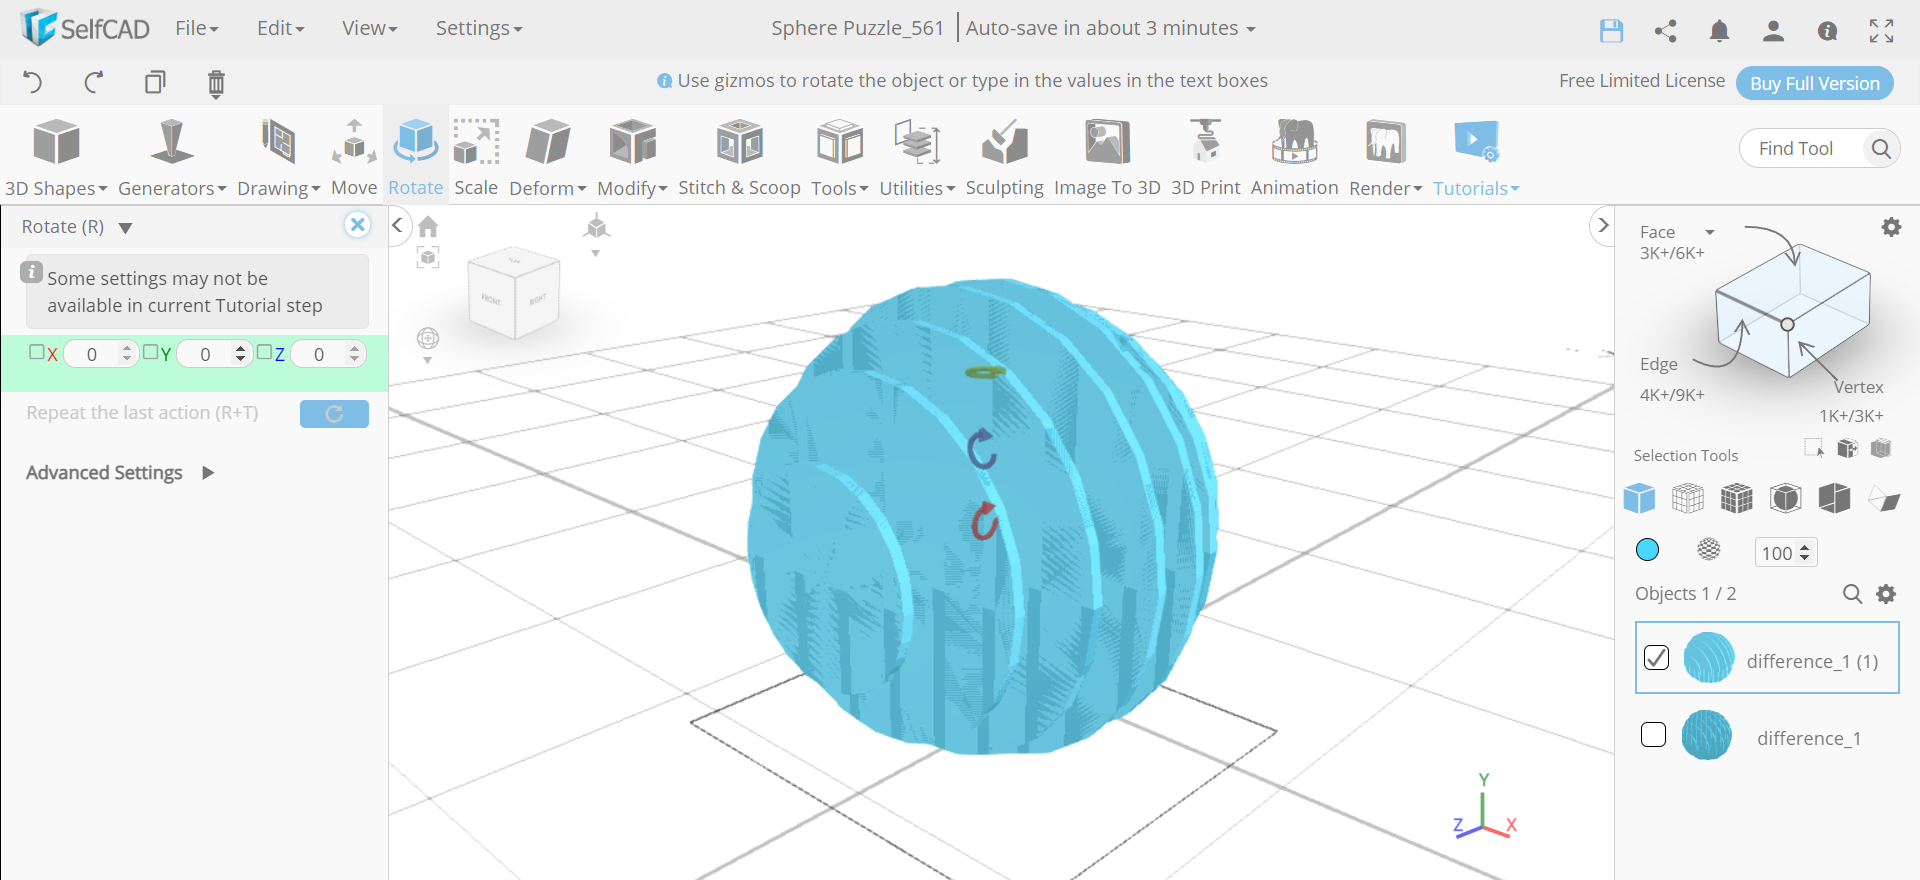
Step8: Rotate the newly copied object
Now, we will rotate the newly copied objects along the z-axis to a value of 180 degrees and along the y-axis to a value of 90 degrees.
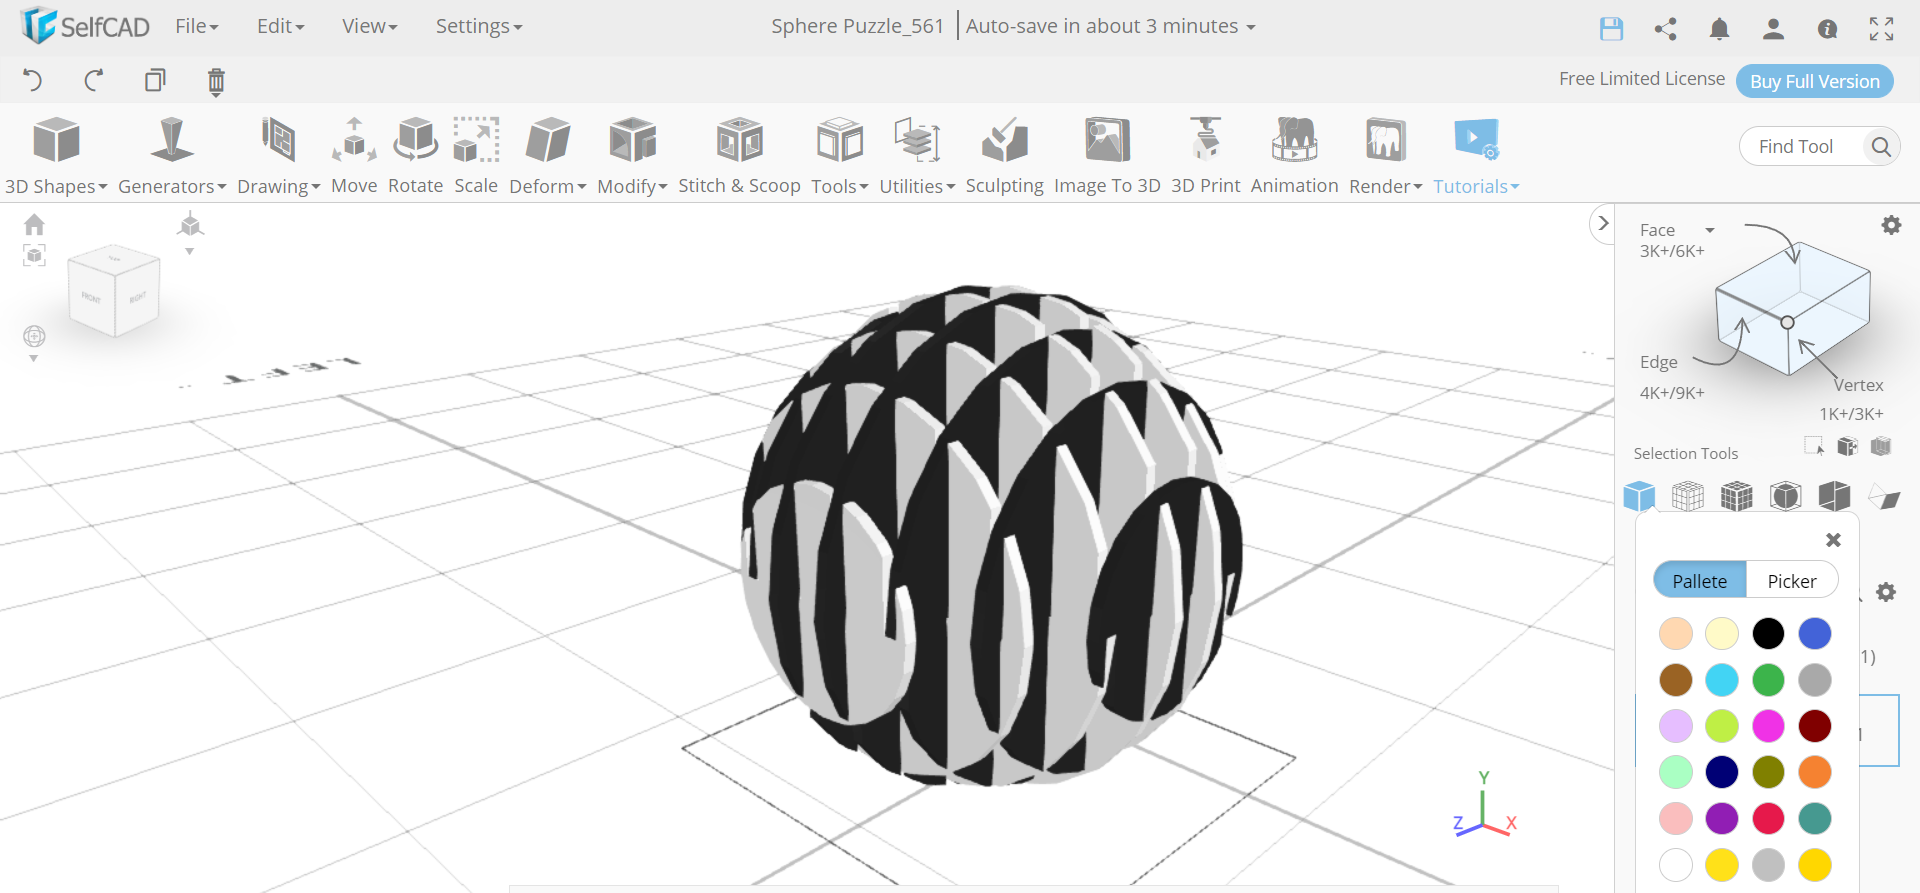
Step9: Colour the different objects into different alternative colours
Next, we will go to the colour picker option and change the colour of the selected object to black. Then select the alternate object and change its colour to white.
Conclusion: Hence, we have created a 3D sphere puzzle using SelfCAD