Now the Radio has new firmware from Gert Baak with more visual and functional improvements. Also used Si4732 chip.
Today, after several months of waiting, I received a Si4732 chip. That was the reason for the new video.
The previous video(https://www.youtube.com/watch?v=q-D9nuZUE-Y&t=506s) describes the same Radio receiver but made with Si4730 Radio module, which due to the limited capabilities of the chip could not receive Shortwave and SSB signals. Now with this chip, the radio is complete.
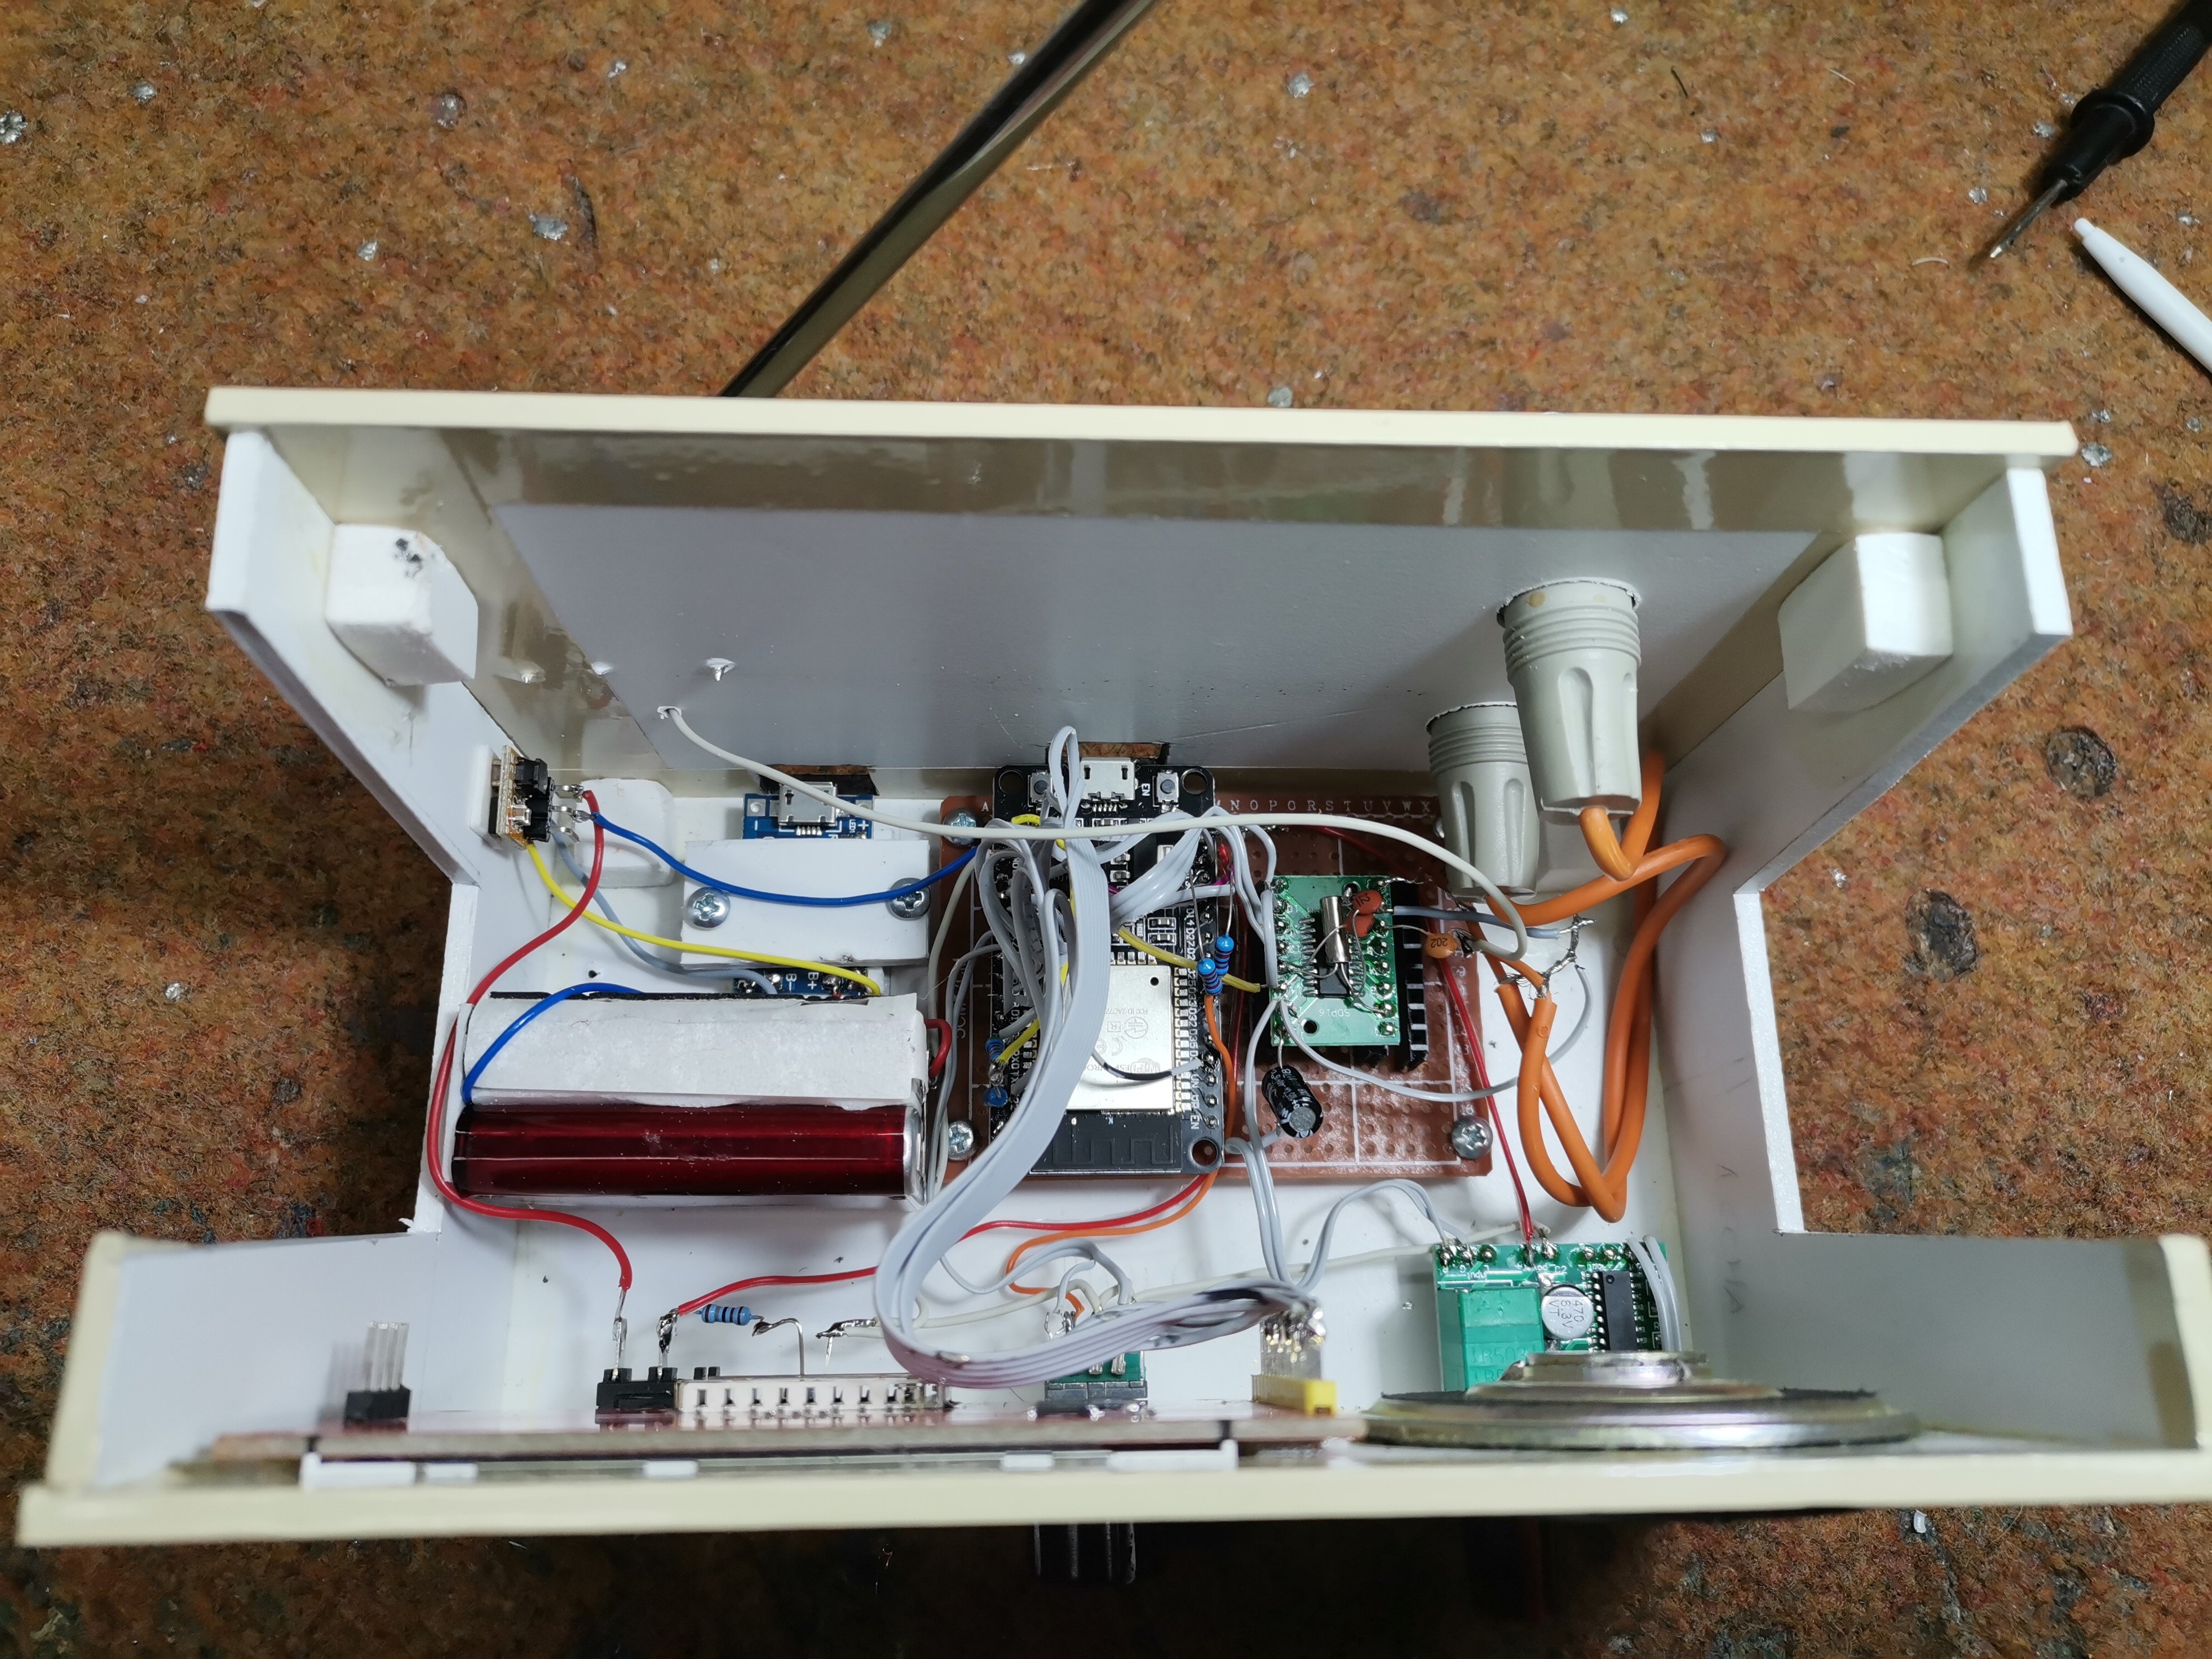
In short, the radio contains a several components :
- ESP32 microcontroller board
- SI4732 radio chip
- 2.8 inch TFT colour display with Touch screeen
- Small D-Class power amplifier board
- Speaker
- Lithium Battrey 3.7 Volts
- Lithium battery charger
- Upconverter board 3.7 to 5V
- Rotary encoder
- and Potentiometer
Si4732 chip can be purchased on Aliexpress at a price of about US $ 10 for one piece, or US $ 21 for 5 pieces. Now the Radio has new firmware from Gert Baak with more visual and functional improvements.
You can download the code on his GitHub page:
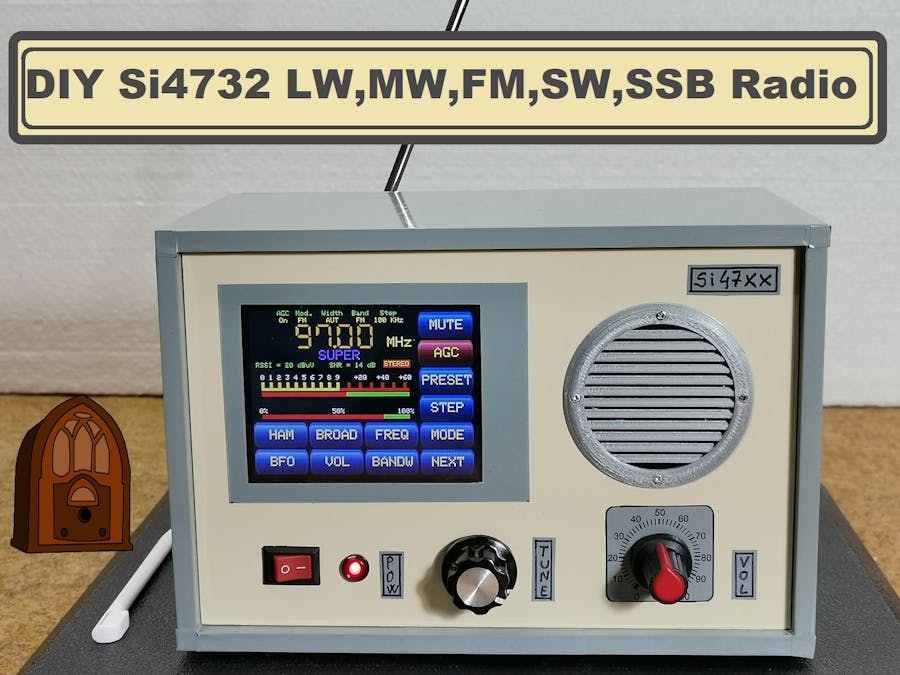
https://github.com/pe0mgb/SI4735-Radio-ESP32-Touchscreen-Arduino/tree/master/SI473X_2.8_TFT_V3.3. Immediately after switching on we can see a new graphical interface with rounded 3D buttons.
First of all, a 100 and 10 Hz digit has been added. The radio is now tunable in SSB in steps of 1 Khz, 100 Hz, and 10 Hz. The desired digit can be selected on the TFT screen by pressing it. The selected digit is underlined. In lines 86 and 87 in the program, you can select the crystal, or the clock generator. In our case, due to simpler construction, the clock generator is selected, which is part of the Si4732 IC. On the first screen, the volume can be adjusted by pressing the encoder key first. The volume can now be adjusted by turning the rotary encoder. When the button is pressed again, the regulation is switched off. This can still be done with the VOL button. It is now also possible to control the screen lighting. This can be done on the second screen with the DISPL key. After pressing, the light intensity can be adjusted using the rotary encoder. The volume scale now indicates the setting.
For the suggestions and corrections during the development of this project please visit Facebook groups: "Si47XX for Radio Experimenters" :
https://www.facebook.com/groups/532613604253401
and "SI47XX para radioescutas"
https://www.facebook.com/groups/1121785218031286
Also on the display, we have only necessary information like Frequency, RSSI value, Signal to Noise ratio, etc. Unfortunately, the video is of poor quality due to the poor camera features. In reality, the content of the screen is crystal clear. Finally, the radio is mounted in a suitable box made of PVC and coated with self-adhesive wallpaper