Build a simple digital distance detector using the Sharp GP2Y0D80Z0F sensor and Arduino Uno.
Introduction
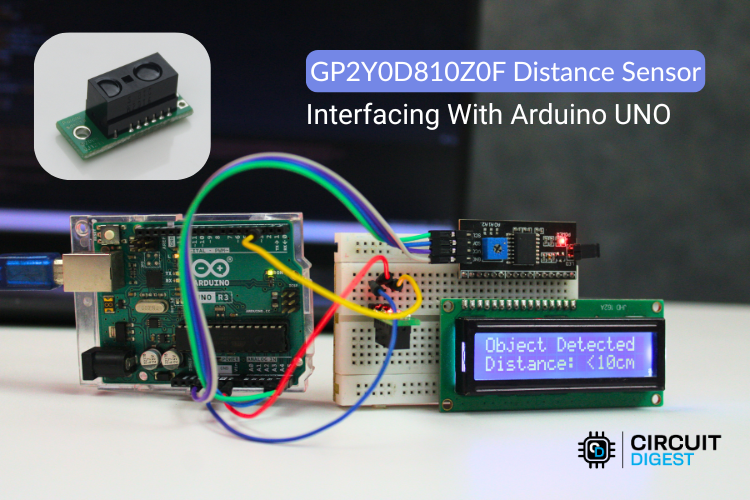
Distance sensing is widely used in robotics, automation, and obstacle detection systems. In this project, we will interface the Sharp GP2Y0D80Z0F digital distance sensor with an Arduino Uno to detect objects within a specific range.
Unlike analog distance sensors, the GP2Y0D80Z0F provides a digital output, making it easy to interface with microcontrollers. The sensor outputs LOW when an object is detected within its range (about 10 cm) and HIGH when no object is present.
This simple setup can be used for applications such as obstacle detection, proximity alarms, and smart robotics.
Components Required
- Arduino Uno
- GP2Y0D80Z0F Distance Sensor
- Breadboard
- Jumper wires
- LED (optional for indication)
- 220Ω resistor (optional)
About the GP2Y0D80Z0F Sensor
How it works
The GP2Y0D80Z0F is a compact infrared proximity sensor developed by Sharp. It detects objects using reflected IR light and provides a digital output signal.
Key Features
- Detection distance: ~10 cm
- Digital output (HIGH/LOW)
- Fast response time
- Low power consumption
- Compact design
The sensor emits an infrared beam and measures the reflected signal from nearby objects. When an object comes within the detection range, the sensor output switches LOW. Otherwise, it remains HIGH.
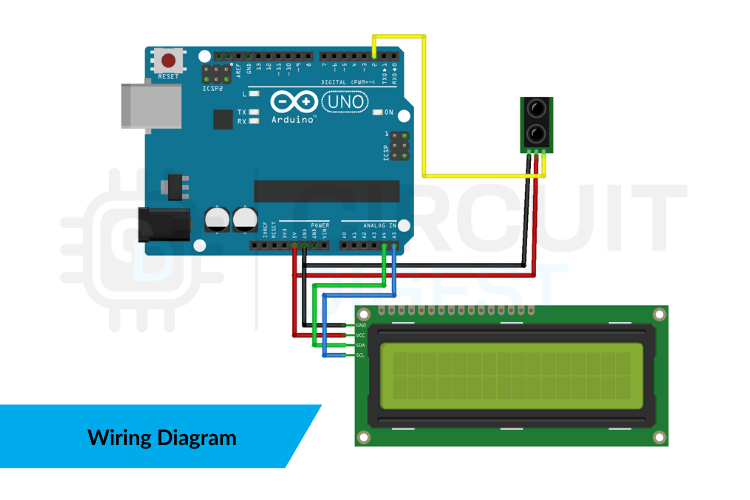
Circuit Connection
Follow these steps to build the circuit:
- Connect VCC of the sensor to 5V on Arduino.
- Connect GND of the sensor to GND on Arduino.
- Connect the OUT pin of the sensor to digital pin 2 on the Arduino.
- (Optional) Connect an LED to pin 13 through a 220Ω resistor for visual indication.
Arduino Code
const int sensorPin = 2;
const int ledPin = 13;

void setup() {
  pinMode(sensorPin, INPUT);
  pinMode(ledPin, OUTPUT);
  Serial.begin(9600);
}

void loop() {
  int sensorState = digitalRead(sensorPin);

  if (sensorState == LOW) {
    Serial.println("Object Detected");
    digitalWrite(ledPin, HIGH);
  } else {
    Serial.println("No Object Detected");
    digitalWrite(ledPin, LOW);
  }

  delay(200);
}
How the Code Works
The sensor output is connected to digital pin 2.
Arduino continuously reads the sensor state using digitalRead().
When the sensor output becomes LOW, it means an object is within the detection range.
The Arduino then:
- Turns ON the LED
- Sends a message to the Serial Monitor.
Testing the Project
- Upload the code to the Arduino.
- Open the Serial Monitor (9600 baud rate).
- Place an object in front of the sensor within about 10 cm.
- The LED will turn ON and the Serial Monitor will display “Object Detected.”
Move the object away and the LED will turn OFF.
Applications
This project can be used in many practical systems, including:
- Obstacle detection robots
- Touchless switches
- Smart trash bins
- Automatic doors
- Proximity alarms
Final Thoughts
The GP2Y0D80Z0F distance sensor is a simple yet powerful component for proximity detection projects. Because it provides a digital output, it requires minimal processing and is easy to integrate with microcontrollers like the Arduino Uno.
Once you understand this basic interface, you can expand the project by adding buzzers, relays, or integrating it into robotic systems
You can explore many beginner-to-advanced Arduino builds in this collection of Arduino projects
covering robotics, IoT, automation, and sensor-based applications.