Send real-time email notifications from Arduino with a simple cloud setup
Introduction
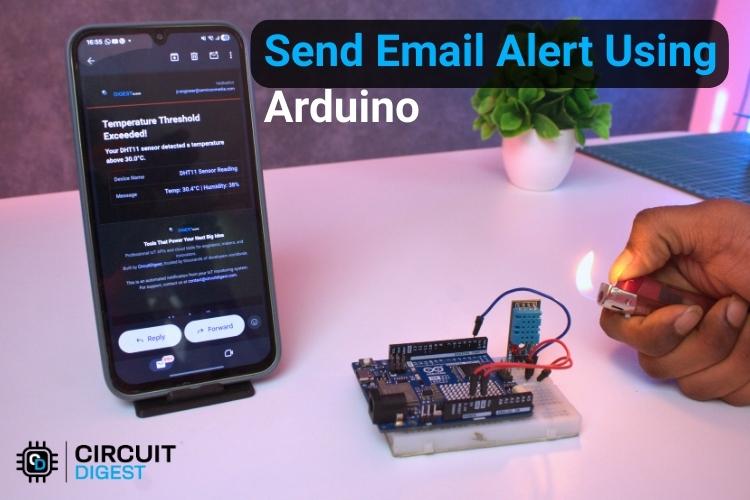
This project shows how to send email notifications directly from an Arduino using CircuitDigest Cloud. Instead of dealing with complex SMTP configurations, this method uses a cloud-based API to trigger emails when specific conditions are met. It’s a practical solution for IoT alerts such as security systems, environmental monitoring, or automation updates. Discover hands-on Arduino projects with circuits and code to build practical electronics ranging from beginner experiments to advanced innovations.
How It Works
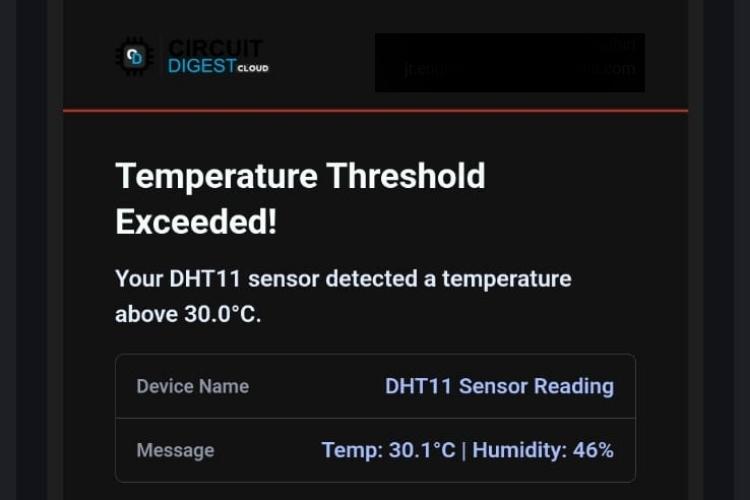
The system connects an Arduino (with internet capability) to the CircuitDigest Cloud platform. When a predefined event occurs—like a sensor crossing a threshold—the Arduino sends a request to the cloud. The cloud then processes this request and sends an email notification to the user.
Components Required
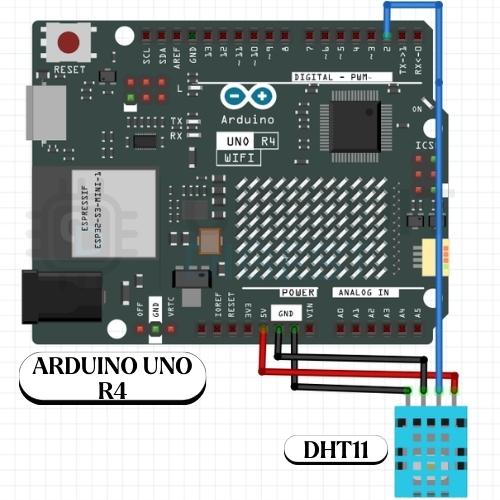
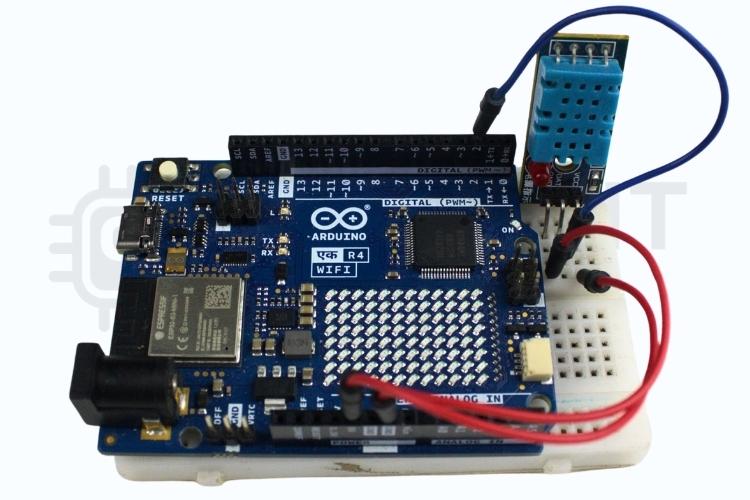
- Arduino board with Wi-Fi (e.g., ESP8266 or ESP32)
- USB cable for programming
- Internet connection (Wi-Fi)
- Sensor or input device (optional, based on use case)
Arduino Code Setup
Create an Account
- Visit the CircuitDigest Cloud website
- Sign up and log in to your account
Create a New Project
- Start a new project from the dashboard
- Configure an API endpoint for email triggering
Configure Email Settings
- Enter the recipient email address
- Customize subject and message content
- Save the configuration to generate your API key
Title here
Install Required Libraries
- Install WiFi library (ESP8266WiFi or WiFi.h for ESP32)
- Install HTTP client library
Update Credentials
- Replace Wi-Fi SSID and password in the code
- Insert your CircuitDigest Cloud API URL and key
Core Logic
- Connect Arduino to Wi-Fi
- Monitor sensor/input condition
- Send HTTP request to cloud when condition is met
Uploading and Testing
Upload Code
- Connect Arduino to your computer
- Upload the program using Arduino IDE
Open Serial Monitor
- Check Wi-Fi connection status
- Confirm successful API requests
Trigger the Event
- Simulate or activate the condition
- Verify that the email is received
Advantages of This Approach
No need for SMTP server setup
Simple API-based integration
Works with minimal code
Scalable for multiple devices
Tips for Better Performance
- Ensure stable Wi-Fi connectivity
- Add delay between repeated API calls
- Use meaningful email messages for clarity
- Secure your API key to prevent misuse
Conclusion
This Arduino Send Email Notifications project simplifies sending email notifications from Arduino by leveraging a cloud platform. It’s beginner-friendly, efficient, and easily adaptable to various IoT applications, making it ideal for anyone looking to build smarter alert systems. Explore 100+ DIY IoT Projects with Code and Schematics
—a comprehensive collection of beginner to advanced IoT projects with circuit diagrams, code, and demo videos to help you learn and build real-world applications.