Build your own Wi-Fi weather station using an ESP32 and OLED display! This project fetches live weather data from OpenWeatherMap and shows temperature, humidity, and conditions in real time. Great for IoT beginners.
Create your own mini weather station using ESP32, an I²C OLED screen, and OpenWeatherMap API. This project combines Wi-Fi networking, JSON parsing, and real-time display—perfect for makers!
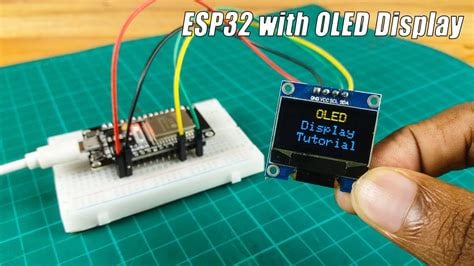
Materials Required
- ESP32 development board
- 0.96″ OLED display (SSD1306, 128×64, I²C)
- Jumper wires
- Breadboard
- USB cable
- OpenWeatherMap API key
- Arduino IDE
1. Wiring Diagram
Connect the OLED to ESP32 via I²C:
- VCC → 3.3 V
- GND → GND
- SCL → GPIO 22
- SDA → GPIO 21
ESP32 wired to OLED display with clear jumper wires and labeled screen.
2. Fetching Weather Data
We use OpenWeatherMap’s free API to get live weather data.
Example URL:

This returns a JSON object with values like:
JSON structure includes temperature, humidity, description, etc.
3. Arduino Code (ESP32)
Here’s a minimal example using WiFi, HTTPClient, ArduinoJson, and Adafruit_SSD1306.


4. Display Demo
The OLED shows:
- City name
- Temperature (°C)
- Humidity (%)
- Weather description (e.g., "clear sky")
Real-time weather display on OLED showing temperature, humidity, and city name.
5. Enhancements
Here are ideas to expand the project:
- Add local sensor (DHT11, BME280) for indoor readings
- Use weather icons (bitmaps) for better visuals
- Display forecast (multiple days)
- Add voice output or buzzer alerts
- Integrate with Home Assistant or MQTT
Conclusion
This project is a great introduction to ESP32’s networking and display capabilities. You’ll learn how to parse JSON, handle APIs, and present useful real-time data—skills essential for any IoT project.
🎉 Bonus: You can also house this setup in a 3D-printed enclosure and place it on your desk!