Sightsee at your pace. Just plug in your headphones and go.
Code
A GitHub repository for this project can be found here.
Abstract
CityGuide is a digital tour guide application which allows people to sightsee throughout a city at their own pace without the need of a large group or tour guide. The application consists of a device that locally tracks the location of the user, without sharing it externally. Whenever the user is close to a landmark, the device will play back a recording talking about the landmark.
Project Overview
Figure 1: CityGuide placed on a map
Typically, I when I go abroad, I get a tour wherever I go to cover the main landmarks in the area, but now, due to the recent COVID-19 pandemic I am afraid that this will expose me to a large group of people.
On top of that, to be honest, I find myself to be a rather impatient person. I really don’t care about every statue in the city centre, nor am I very fond of finding out where famous people used to live. But if you go on a, typical tour you will end up seeing things you really don’t care about.
Then you have the tour itself, maybe the tour guide is too quiet, or perhaps the group is moving so slow that you end up spending half the day going from one place to another. Honestly, I would prefer to get the tour over and done with and then have dinner somewhere.
Figure 2: CityGuide being held by a tourist while a tram is passing by
CityGuide has been my response to this problem. CityGuide is a small and pocketable device that acts as a digital, hands-free guide to the city. The device tracks the location of the tourist locally, without sharing it externally. Whenever a landmark is in viewing distance from the tourist, the device will play back an audio file talking about the landmark the tourist is looking at.
CityGuide is geared towards empowering tourism agencies with digital services that can be offered to tourists interested in experiencing the city at their own pace. The agency can offer a map or app highlighting all the landmarks in the city. The tourist can then go out around town and visit only the landmarks that interest them, be it by walking or cycling.
The device has been created with ease in mind. All tourism agencies have to do is record the audio files for each landmark and then add them to an SD card and then input it into the device together with the geolocation of the landmark. This allows for easy set up across tens of devices, allowing the agency to focus on gaining clients.
CityGuide enables a new kind of sightseeing adapted to our busy and dynamic lives. The application empowers the tourist to create their own tour around the city at their own pace, they can stop by a café or go into a museum and then resume the tour when they come back. The tourist can focus on the landmarks they want to see instead of being dragged around the city.
Most importantly, CityGuide helps tourism flourish through creating a safe way to organise sightseeing. Instead of congregating in large groups moving across the city, CityGuide allows individuals to maintain their social distance while enjoying a tour of the city.
CityGuide is an application that paves the way to a sightseeing provided by agencies, where the tourist is given the flexibility to visit whatever landmarks they wish, at whatever pace they desire.
Project In-Depth
This section will delve into the way the project works.
The Device: Sony Spresense Board
Figure 3: The Sony Spresense Device
This project has the Sony Spresense device as its brains, the board is highlighted in figure 3. Honestly, I think it’s one of the best development boards there is out there due to the way complex features such as audio decoding, geolocation and other features are handled by the device without much coding.
All features are accessible via Arduino libraries, this allows the device to be programmable through the Arduino IDE. The Spresense board has a mother board and an expansion board which adds ports such as a headphone jack and a micro-SD card reader.
The best part about it is that all the features needed for this project are built into the device. This means that there is very little wiring to be done. The device’s built in SD-card reader is used to interface with the SD-card loaded with the audio files played back and the headphone jack is used to output the audio to the user via earphones.
Setup Process
Figure 4: Setup process diagram
Figure 4 depicts the process through which the device goes on start-up. The device can be kept offline when not in use and then turned back on when a tourist wants to use it. When the device turns on, it will first lock its GPS co-ordinates and get a precise geolocation.
The next thing it will do is load the processes needed to decode MP3 files, it will then initialise the SD-card reader and wait until an SD card is present. When a card is present, the device will scan the contents of the card looking for an index file and mp3 files (go to Data Storage for more info).
The device will then parse the index file into a dictionary in memory to be referenced when needed. The device will then start running the application.
Project Architecture
Figure 5: Project architecture diagram
While the device is online, it will repeat the same algorithm constantly. Figure 5 shows this process. The device will start off by getting its current location using GPS. This data will be stored locally until refreshed again.
The device will then cross reference the current location with the location of all landmarks stored in the dictionary. This is done to check if the current location is close to any of the landmarks. If this is the case, the device will check the index file for the audio file that corresponds with the landmark the tourist is at and start playing it.
The device will wait until the tourist is no longer in the range of the landmark and then repeat the process. If there are multiple landmarks close to one another, the device will play the file for the first landmark in the file and then move on to the second one directly.
The device will keep track of the landmarks the user went to. The device is set to not play the same media file again if the tourist already visited the specific landmark. This prevents playback errors from occurring.
Geolocation and Data Privacy
CityGuide is built to respect the user’s data. The device does not share the geolocation of the user with anyone, it is kept local to the device. The device stores this in memory and all geolocation references are deleted when the device is restarted. The geolocation is received from an onboard GPS module, this reduces the ability to tamper with the module as it is not directly accessible.
This adds a layer of certainty and security for the user as they do not need to worry about their location data getting in the hands of wrong people.
Battery Life
The device is designed to survive about 12 hours of use. I chose to power the device with a power bank as it allows the device to last longer. This is also a practical choice because the power bank could be disconnected from the device when it is not in use and charged with batteries from other devices. This increases the ease of operation and makes it easier to operate with large quantities of devices. I used a 2,200mAh power bank.
Data Storage and File Formatting
Figure 6: File Formatting Diagram
The device uses a micro-SD card for storing the sound files which are played when the tourist arrives at a landmark. The micro-SD card will have two types of files: a source file, and the music files. The source file contains a list of all landmarks and respective geolocations as well as the name of the media file that should be played at that location.
The device will index this file when it boots up and save the data in the file in a runtime dictionary. The device must be restarted if there are changes to the file so the changes can be indexed. Figure 6 illustrates the format of the data file; it represents one landmark.
There are three pieces of information that must be included for each landmark. The first is the name of the landmark, for example GPO. Followed by a space, the geolocation of the landmark written in terms of latitude and longitude with a comma separating them. Finally, the name of the media file that contains the audio that should be played when the tourist reaches the specified landmark should be added separated by a space.
It is crucial that the space character is only used to separate the three different data points and should not be used in names or anywhere else in the list. Each landmark is separated by a carriage return (new line). Figure 7 illustrates how a datafile with four landmarks added should look.
Figure 7: The source file with 4 locations added
Volume Control
The device is equipped with a potentiometer which allows the tourist to adjust the volume of the media playing at landmarks.
Debug LEDs
The Sony Spresense board is equipped with 4 debug LEDs that can be interfaced by an application. The project uses 3 of these LEDs for debug purposes. The table below illustrates what the different LEDs represent.
LED | Function |
|---|
LED 0 | GPS Connection Status. On if connected. |
LED 1 | Valid Geolocation received from satellite. |
LED 2 | Playing media file. On if playing. |
These LEDs are helpful for debugging the project before deploying in the field. They indicate whether the device works properly and is connected to GPS, they can also help troubleshoot problems playing back media.
Adding Media Files
The Sony Spresense device requires the installation of a media decoder to play back files. This is described in the Project Conduct section. The device can decode mp3 and wav files and play them back to the tourist.
The files added to the SD card should be in either format and the file extension should be included in the source file.
The Enclosure
Figure 8: Enclosure Model
The device necessitates a strong enclosure to ensure its robustness during use. The enclosure can be either 3D printed, or CNC machined using acrylic or other plastics. The enclosure is relatively simple and consists of 3 parts: the base, the sides, and the top.
The enclosure should be fully closed off except for a hole for the potentiometer and another for the cable connecting the device to the power bank on the outside of the enclosure. All parts can be 3D printed using open-source files available in the project’s GitHub repo and stuck together using superglue or a similar adhesive. An exploded view of the enclosure can be seen in figure 8.
Deployment Overview
Figure 9: Deployment overview diagram
This section will walk through the procedure that is undergone when preparing the device for deployment. Figure 9 illustrates this process.
- The first step is to plan which landmarks should be included with the device. The agency that wishes to employ the product should compile a list of the landmarks they consider people will visit.
- The agency should then get the coordinates of these landmarks. This can be done through Google Maps or another mapping software.
- The agency should then record the audio files that will be played at each landmark. These recordings can be made by an external company if desired.
- All the data should then be centralised in the source file.
- The source file and the media files should be burned to an SD card. This card can be duplicated and then the SD cards can be inputted in the boards.
- The code can then be uploaded to the device. A power bank should be connected after the code uploaded.
- The program will then run on the device
Market Research
This section will talk about the project as a product in the market.
The Product in the Market
CityGuide was designed to be easily implementable by existing tourism agencies and provide an alternative to traditional sight-seeing. The device encourages tourism through agencies and does not aim to replace traditional ways of sightseeing but provide an alternative for interested tourists.
The product can be fully managed by the tourism agency and implemented as the company sees fit. There is a lot of flexibility for the way the company can implement the project. It could for example decide to provide specific routes which tourists can follow with CityGuide providing information on each landmark along the way. The agency can also allow the tourists to create their own route around the city and visit whatever landmarks they want. Alternatively, a bike tour could be organised by the agency and tourists could cycle around landmarks in the city.
Deployment by Companies
I planned for the product to be deployed by tourism agencies as opposed to the consumer for example purchasing the device themselves. This provides tourism agencies with an alternative means to provide tours to tourists in a cheaper and personalised way while maintaining traditional tours.
CityGuide does not aim to shut down the tour industry but provide an alternative that can be supplied to willing buyers. This allows agencies to expand their reach while not decimating traditional tours.
CityGuide needs custom audio files to be added for each landmark. While such product can be sold on shelves, the cost would be too high for a single use and it would be difficult to record all landmarks if the product is sold at a national or even international level. Tourism agencies can focus devices on a specific city or part of a city and record audio files for specific landmarks, this is way more efficient. Devices can also be provided on a leasing basis to tourists who can return them. A deposit can be collected from the tourist which will be refunded on the return of the device.
Target Market
Not everyone would like to use this system as opposed to a traditional tour led by a tour guide. CityGuide is aimed at a young age demographic as these people are more likely to engage with the modern sight-seeing solution and are more impatient going on traditional tours. These people are also more energetic and may want to plan their own tour around the city.
The product is aimed at tourists on a city break that want to get a tour of the city. The service can be provided for a cheap price which will attract tourists as expenses for operating the device are low.
User Persona
John is a tourist visiting Dublin, Ireland on a city break. He wishes to designate half a day to sight-seeing but notices that most tours offered don’t cover the whole city but only small parts of it. John enjoys planning his own way around things and would love to choose the landmarks he wants to see himself but also get some history on the landmark narrated to him.
John finds out about a local agency providing the CityGuide sight-seeing solution and reads about the offering. He finds out that he can plan his own way around landmarks and only go to the ones he is interested in. John can also go at his own pace and enter sights such as museums and then continue with the tour after he finished visiting them.
John is delighted and books a device for a few hours of sightseeing.
Open Source and Market Readiness
The project has been developed in accordance with the open-source standard. All code for the device as well as schematics and source files are provided open source. This means that anyone can develop and deploy a replica of the system without needing to worry about patenting and other rights.
The project is market ready. An enclosure can be easily designed for the device. The components can be soldered together manually and then the device can be placed in the enclosure and sealed. An external power bank is used to power the device, this ensures that the battery source can be easily recharged and replaced if need be.
International Operation
The device uses GPS to get its location data. This service is available worldwide and is free to use. This ensures that the project can operate anywhere in the world and cuts down operation costs drastically.
Cost of Deployment
Component | Provider | Cost |
|---|
Sony Spresense Device | Sony | $65.00 |
Enclosure | Generic (CNC or 3D print) | $20.00 |
Other Components | Wires, potentiometer, etc. | $5.00 |
SD Card | 1GB - 8GB | $5.00 |
Assembly | Labour | $15.00 |
Total | | $110.00 |
The table above shows the cost of producing one device. The main expense is the Sony Spresense device. The enclosure would cost about $30 to 3D print. Other components needed would cost around $5 and labour needed for assembly would cost about $15.
In total, the cost of producing one device would be about $110. Operation cost is estimated at around $5-$10 per device per month. This takes repairs and replacements into consideration.
Making the Project
This section will walk over constructing this project.
Step 1: Required Apparatus
Figure 10: All the components needed for the project
This project does not require a lot of components as most of the needed sensors and modules are built into the Spresense board, the BOM can be seen above.
Step 2: Connecting the Circuit
Figure 11: Project Schematics
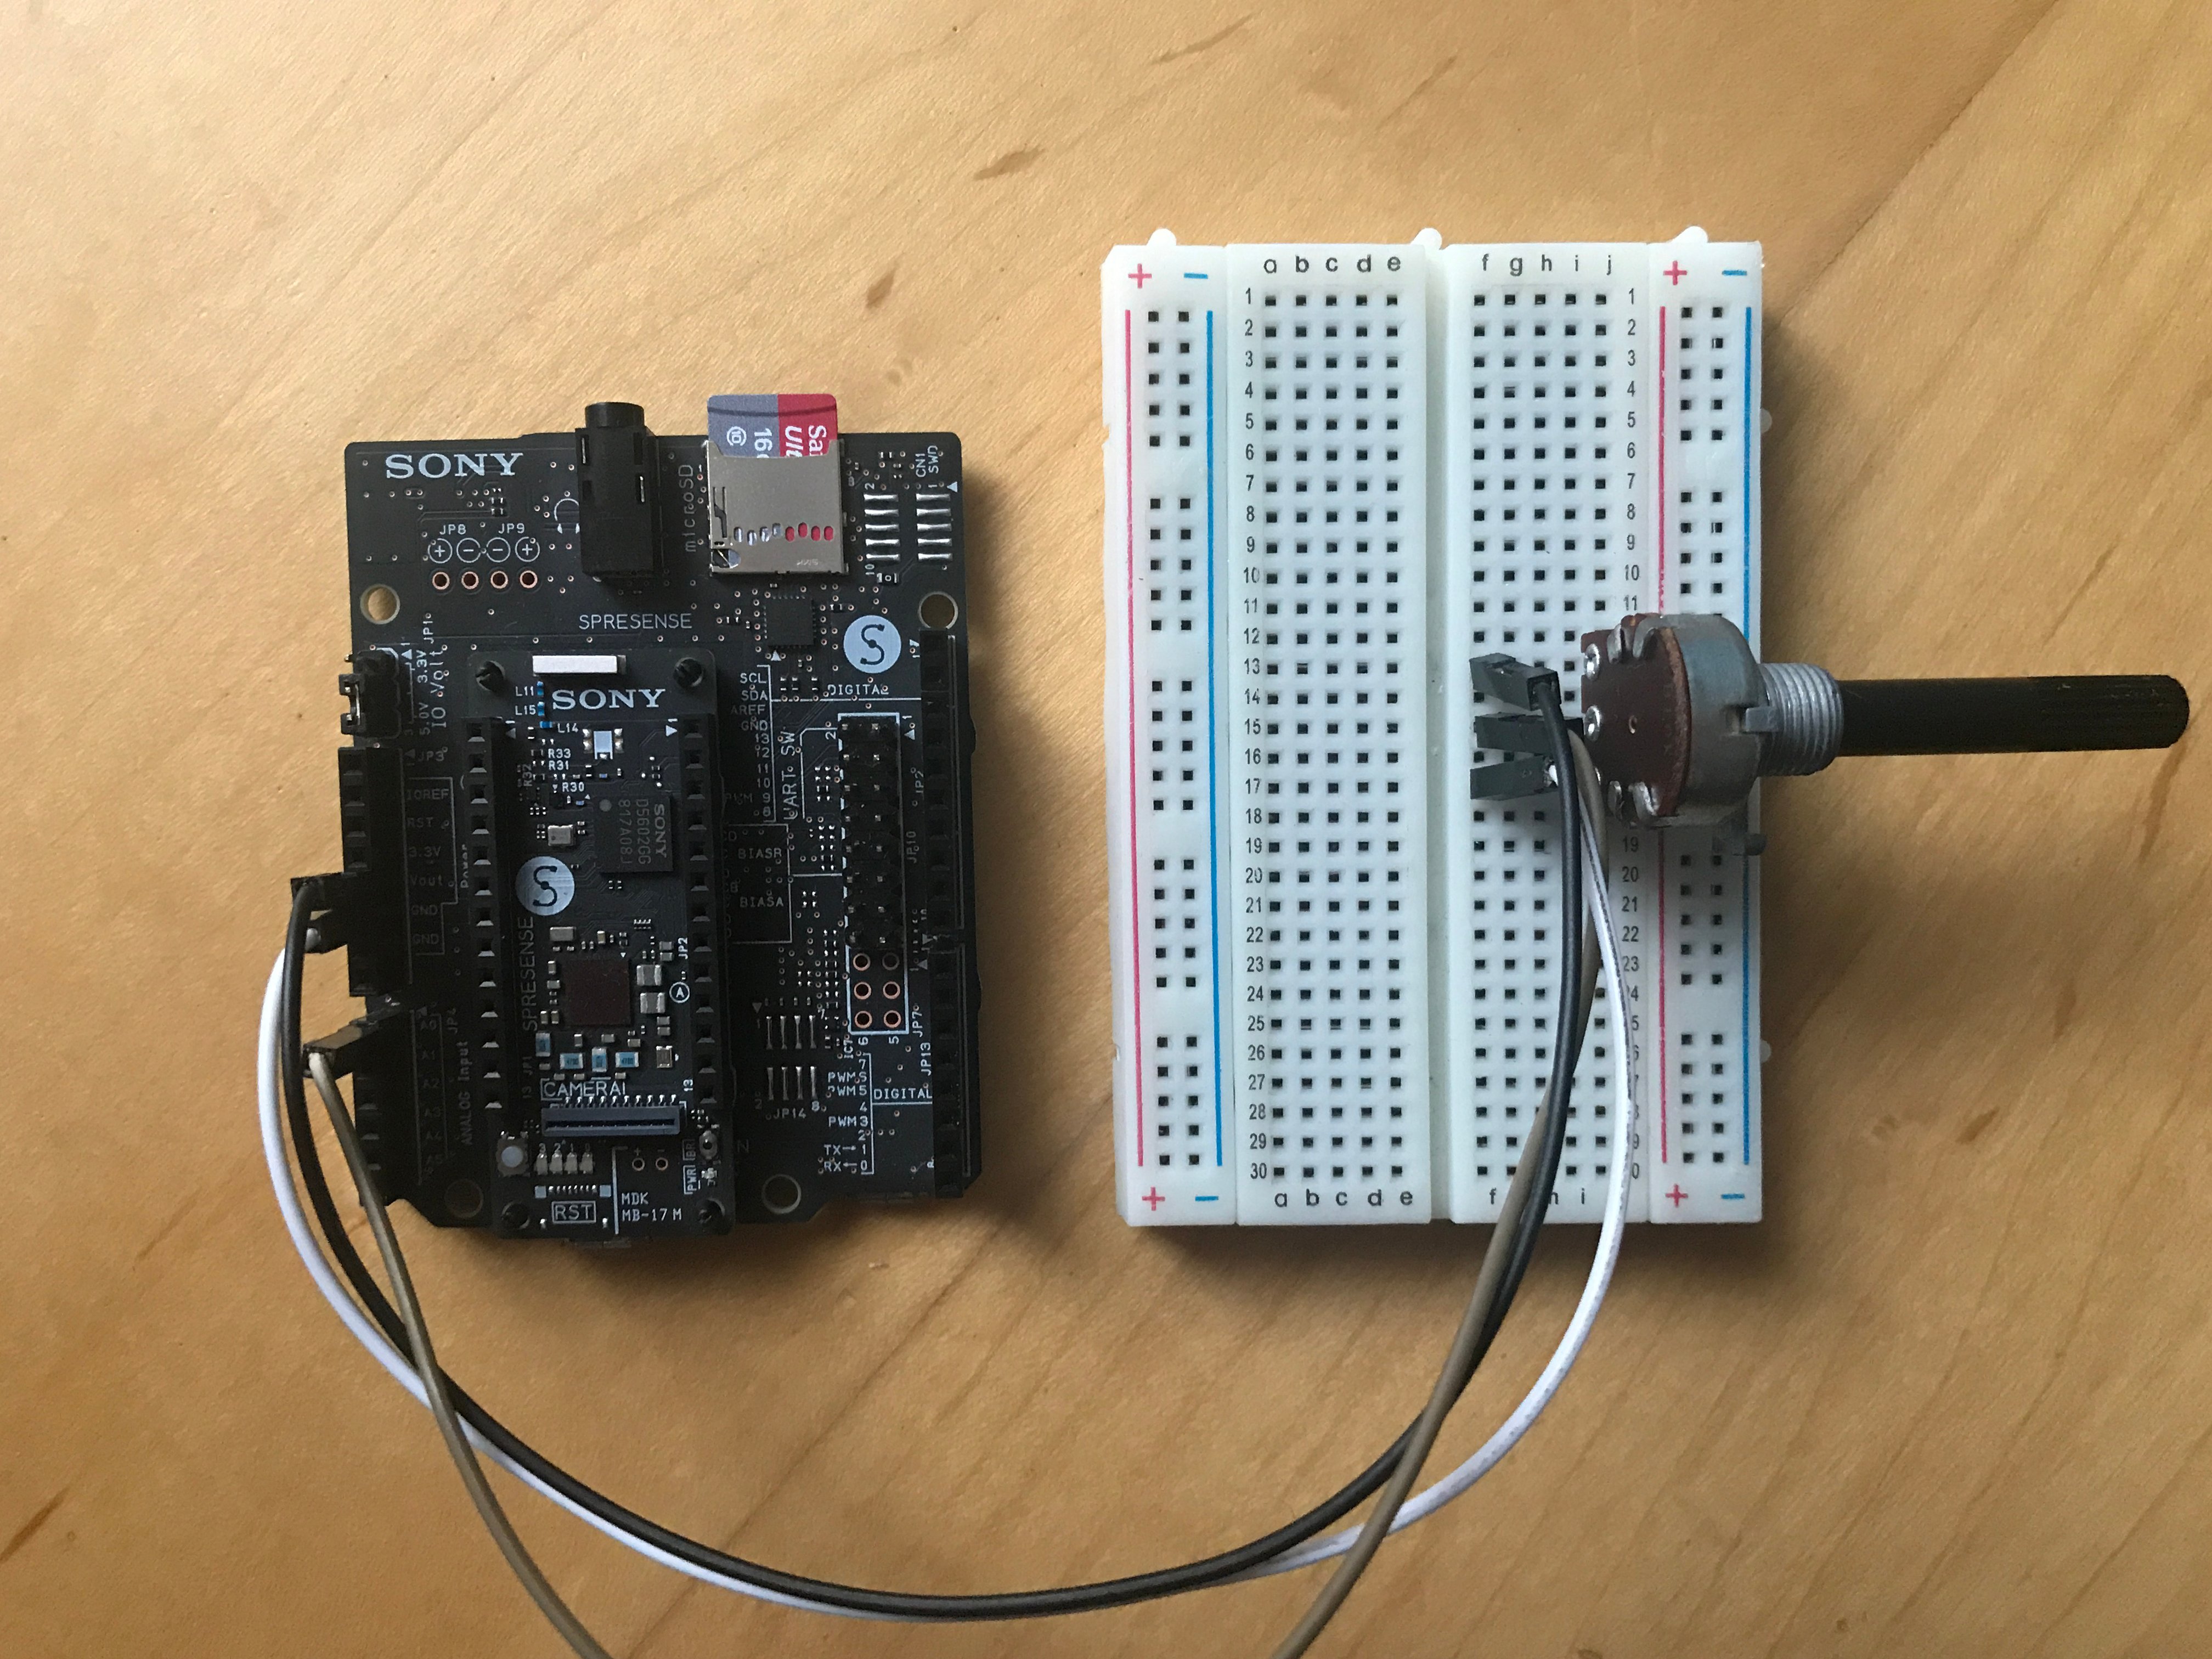
The potentiometer must be soldered to the Sony Spresense board. Figure 11 illustrates the connections.
Step 3: Installing the Arduino Spresense Libraries
Moving on to the software side, we need to include the libraries necessary to operate the Spresense board using the Arduino IDE. This is done easily using the board manager. Follow the steps below to guide you through the steps for setting up the environment.
- Open the Arduino IDE on your computer
- Navigate to preferences by pressing cmd/ctrl + ,
- Locate the field labelled additional boards manager urls
- Paste the following link in the dialect: https://github.com/sonydevworld/spresense-arduino-compatible/releases/download/generic/package_spresense_index.json
- Click Ok to close the window and go to tools -> Board… -> Board Manager in the Arduino App
- Search for spresense in the dialect that opens. A package should appear.
- Install the package
Step 4: Installing the Port Utility
The guide below will display the steps needed to download and install the required port utility to send commands to and from your Spresense. To get started, download the appropriate utility for your OS from the Sony Spresense website. Follow the installation steps to install the utility.
Note that Arduino boards cannot operate with the utility installed, it is crucial to uninstall it to program and use Arduino or similar boards on your computer.
To uninstall the driver. locate the uninstaller script in the package and run it using your preferred terminal.
Step 5: Updating the Device Firmware
In order to operate the project on your Spresense board; the device needs to be updated to the latest firmware. The guide below walks through the steps required to update the device's firmware.
- Connect the Spresense device to your computer
- Select the Spresense board in the Arduino IDE by going to Tools -> Board… -> Spresense
- Now click on Tools -> Port and select the serial port binded to the Spresense board connected
- Next, navigate to Tools -> Programmer and select Spresense Firmware Updater
- Below that in the tools menu, you should see the Burn Bootloader option. Select it.
Step 6: Installing the MP3 Decoder
In order to play MP3 files on the Spresense board, an MP3 decoder is required on the device. This decoder can be installed either on the device's SPI Flash or on an SD card. We will install it on the Flash so we will not need a specific SD card to run the project. The steps below list the steps to install the decoder.
- The first thing to do is to choose the type of files wanted to decode – choose between MP3 and WAV at your convenience and download the respective code from this link.
- Open the code in the Arduino IDE
- Make sure you have the correct port and board selected
- Ensure the device is connected to your computer and then upload the code to the device
- Open the serial monitor (cmd/ctrl + ^ + m)
- You will be asked where to install the decoder, select flash from the options
If you are deploying on the field, you may want to consider flashing to an SD card. This would allow the SD card to be duplicated and eliminate the need to flash the decoder on all devices separately.
Step 7: Setting up the SD card
To use the SD card with your project, it has to be appropriately formatted in the FAT partition. You can check the card’s format and reformat it by following this link.
Plug your SD card into the Spresense board. Your setup should look something like figure 12 (you may have already soldered the potentiometer). Figure 12 shows the potentiometer connected to the Sony Spresense device.
Figure 12: Plan view of device
Step 8: Preparing the Files
Now, we must set up the files on the SD card, these will be used in order to identify the landmarks for the device and supply it with the sound files to play at the landmarks. The following files are needed on the SD card.
- Datalog.txt is the text file onto which the landmarks and related data is inputted by the agency
- mp3 files used as the files that the device will play back when it arrives at the appropriate landmark.
The datalog.txt file is the heart of the device, all the data that is needed for the project's operation is included in this file. The agency can add as many landmarks as they wish to this file, all they have to do is include an entry for each landmark. The format is described in the Data Storage and File Formatting section. The steps below will walk through setting everything up.
- Research and make a list of the landmarks wished to be included in the file
- Search for these on a mapping service such as Google Maps
- You need to extract the latitude and longitude coordinates of the landmark; you can do this by right clicking on the map if using Google Maps.
- After all landmarks are identified, the next step is to record the media that will be played at each landmark. Make sure the audio is in an MP3 or WAV file depending on the decoder you installed.
- Now, create a new .txt file on your computer using your favourite editor
- Add the names of the landmarks (e.g. GPO) followed by the coordinates (separated by a comma). Make sure there is a space between the name and the coordinates, and each landmark is on its own line.
- Following each coordinate, add another space followed by the name of the file that will play when the device is at the respective landmark (don’t forget about the extension). Your file should look something like figure 7.
- Save this file and connect the SD card to your computer
- Burn the datalog file and the media files to the SD card. You can duplicate the SD card if you wish when deploying many devices.
- Finally, insert the SD card into the Spresense device
Step 9: Acknowledging the Code
There are 3 main sections to the code, each one of these sections is quite big. Please clone the project’s repository off GitHub to follow along.
- Get SD Setup
- Get and Process GPS
- Play Audio File
They are all detailed below.
Get SD Setup
This section of the code is composed of 2 methods. Overall, this section reads the data from datalog.txt and processes it.
- getData() reads the file and extracts the data from it, it detects the number of locations inputted and the details attached to all of these.
- drawGrid() draws a grid around all of the inputted geolocations, if the client is inside one of these grids, the device plays back the appropriate sound file.
Get and Process GPS
This section is composed of 3 methods. It oversees setting up and enabling the GNSS module and connecting and retrieving the data from satellites.
- startGPS() initialises the GNSS module, this is not done in the setup() loop as the GNSS module is disabled before playing back the Audio and has to be enabled again.
- processGPS() processes the data returned by the GNSS module after a read was made in the void() loop and extracts the geolocation.
- checkLocation() checks the geolocation received by the GNSS module against the grids generated earlier to check if the client is at a landmark.
Play Audio File
This section of the code controls the mp3 file playback, it sets up the file and then plays it.
- attachFile() sets up the playback, it starts the playback procedure, checks for the presence of the file and verifies to ensure that the mp3/wav file is formatted correctly and the frames are readable.
- playFile() starts off by disabling the GNSS module to start the playback, finalises setup and then actually plays the file until it is done, the user can control the volume of the playback using the potentiometer while the file is playing.
Step 10: Setting Up the Variables
Now that the code has been described, some variables have to be set up in order to get the best experience out of the project. The first variable to edit is proDebug, this variable controls the serial prints. If it is enabled (set to true), the device requires to be connected to the computer and the Serial Monitor enabled. It is set to false by default as it must be set to false to operate on the field.
The second variable does not need to be edited, but its index must be adjusted. A structure called Landmark is used to keep all the landmark related data, a code snippet with the initialiser is included below.
The device needs to know how many landmarks are included in the project. The index of the initialiser method that creates instances of the Landmark class needs to be set to the number of landmarks included in the file.
Note that code can be written for the device to automatically identify the number of landmarks included in the file and create that many instances if preferred.
Step 11: Uploading the Code
Now that the code is ready to go, it is time to upload it to the Sony Spresense device. Make sure the device is connected to your computer. Upload the code to the device. You can now disconnect it from your computer and connect it to a power bank. The code will run on the device. Nearly there!
Step 12: Creating the Enclosure
Figure 13: The device enclosed on the desk
The last step is creating the enclosure for the project. I chose to CNC machine the different pieces and stick them together. I then slid all the components in the compartment and sealed it off. I made it out of acrylic and sanded the sides. Alternatively, you can 3D print the different pieces and mount them together. Files provided in the GitHub repo. That’s it, you’re done! Figure 13 shows how my project turned out.
Libraries Used
- SDHCI - Copyright (c)2018 Sony Semiconductor Solutions Corporation under the GNU Lesser General PublicLicense this library is in the public domain
- GNSS - Copyright (c)2018 Sony Semiconductor Solutions Corporation under the GNU Lesser General PublicLicense this library is in the public domain
- Audio - Copyright (c)2018 Sony Semiconductor Solutions Corporation under the GNU Lesser General PublicLicense this library is in the public domain
Conclusion
I built this project around the Sony Spresense device. I was quite excited about its launch a while back and thought about an interesting project to build using it. I came up with CityGuide. I was inspired by other applications that provide digital tours, but I wanted to make a physical device that could be provided by tourism agencies.
One thing I loved was the documentation for the device. There are step-by-step tutorials provided by Sony online into setting everything up. There are even a lot of examples to help build the project. I was able to create the project is a relatively small amount of time. I hope you enjoyed the read!