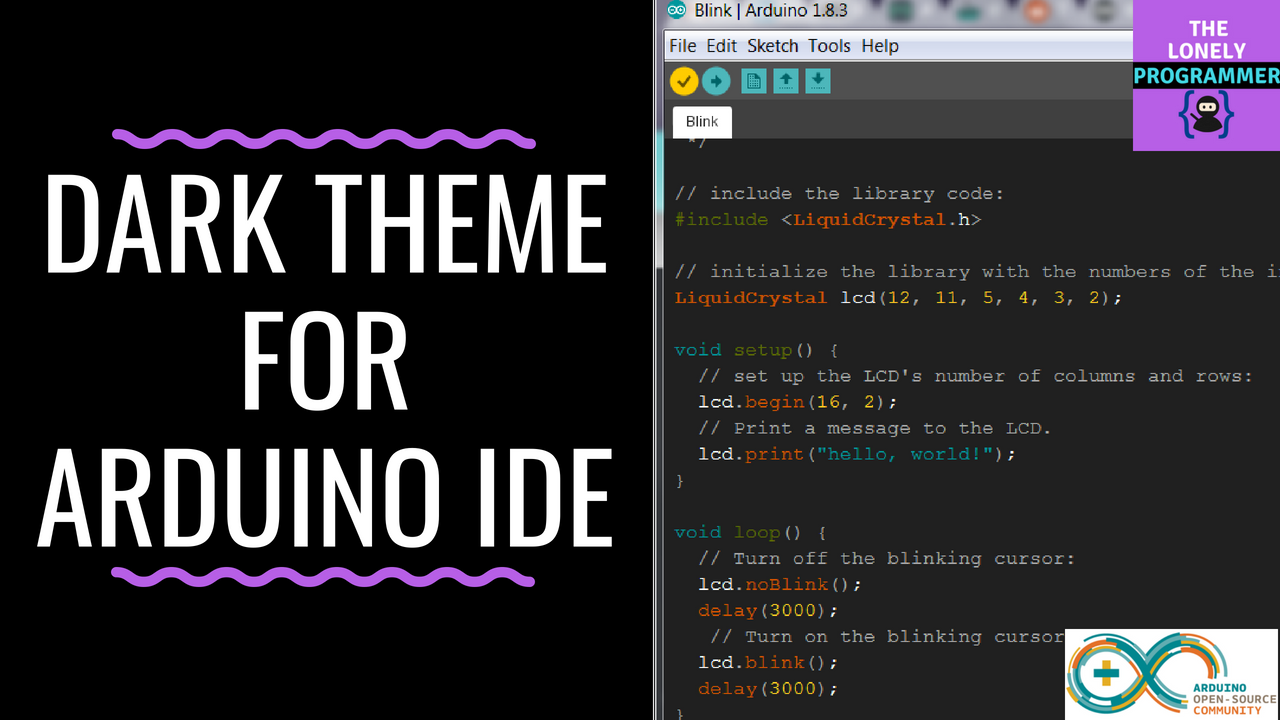
In this tutorial, I will show you how to install the dark theme for your Arduino IDE
In this tutorial, I will show you how to install the dark theme for your Arduino IDE
for the reason of overexposure to the screen light of your computer dark themes decreases the danger of eye damage.
Why should the background be dark?
Looking at the white screen for a long time is not good for our eyes. Our eyes become tired, and this causes the distraction.
With this change, you will have more efficient code visualization and you will be able to write long time code without tiring your eyes.
Note: If you are comfortable with the visual instruction you can view the video tutorial here.
Step 1: Downloading the Dark Theme
First, we need to download the dark theme in the link below.
https://github.com/jeffThompson/DarkArduinoTheme
Extract and open the zip file to your computer.
Step 1: Downloading the Dark Theme
Step 2: Open File Location
Go the directory where you installed or save the Arduino IDE.
In my case, I installed it in the drive C of my computer.
The Default directory "C:\Program Files (x86)\Arduino\lib"
Step 2: Open File Location
Step 3: Backup Original Theme
Back up your old theme folder in order to restore the original theme.
Step 3: Backup Original Theme
Step 4: Replace the Original Theme With the Dark Theme
Replace the downloaded theme on the directory.
Step 4: Replace the Original Theme With the Dark Theme
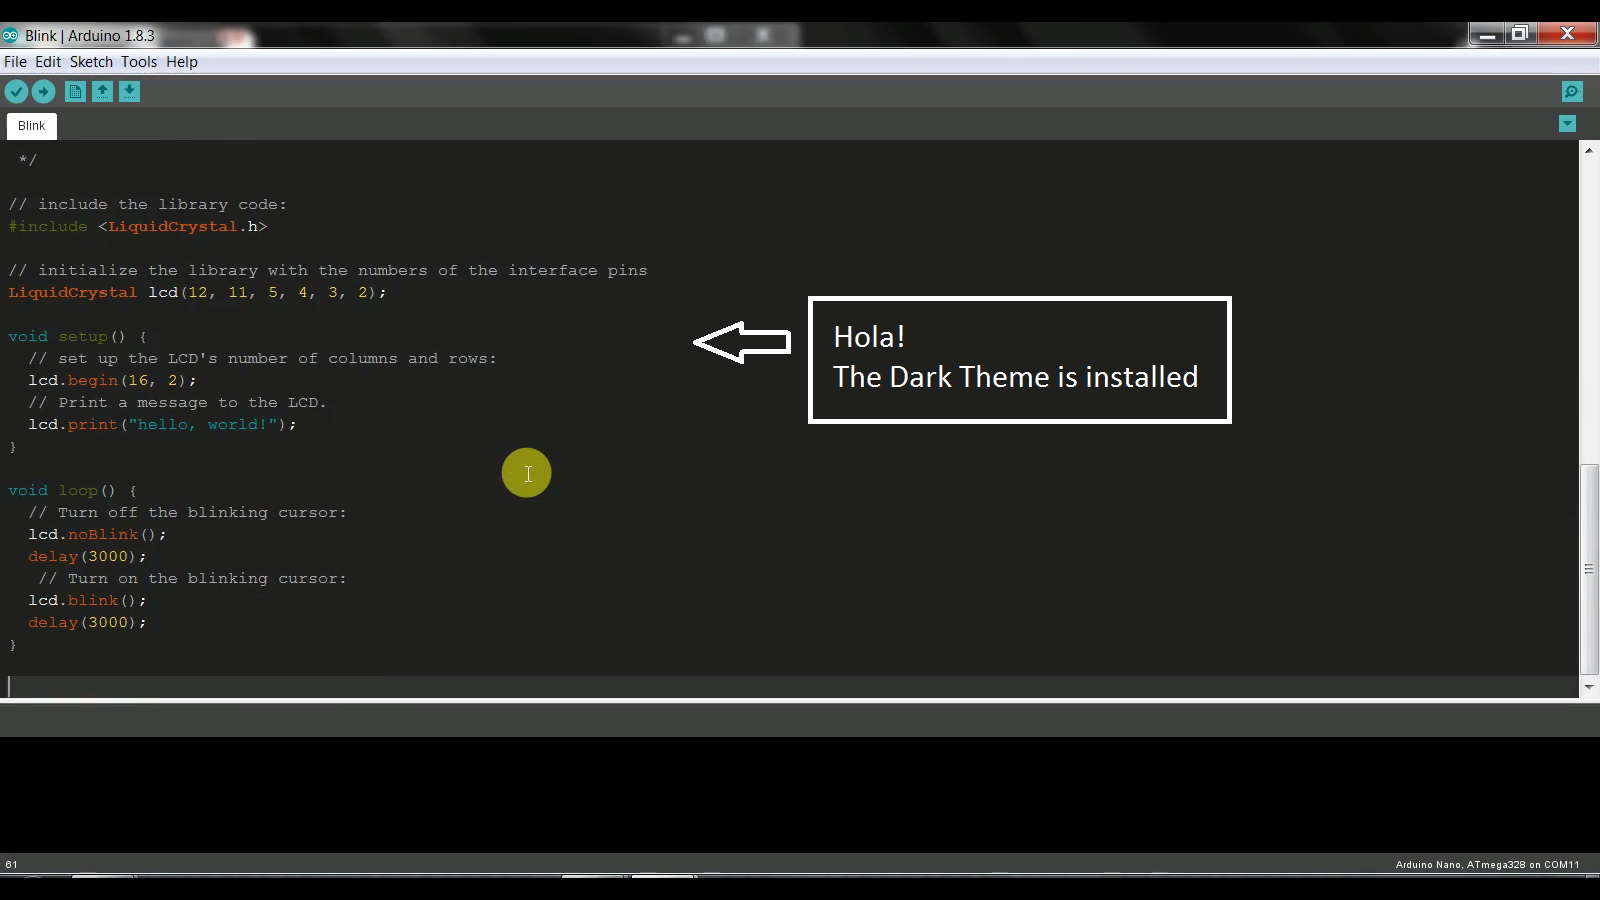
Step 5: Play Time
Restart the Arduino IDE and it will run dark theme.