Motions can be controlled by the user by giving specific voice commands.
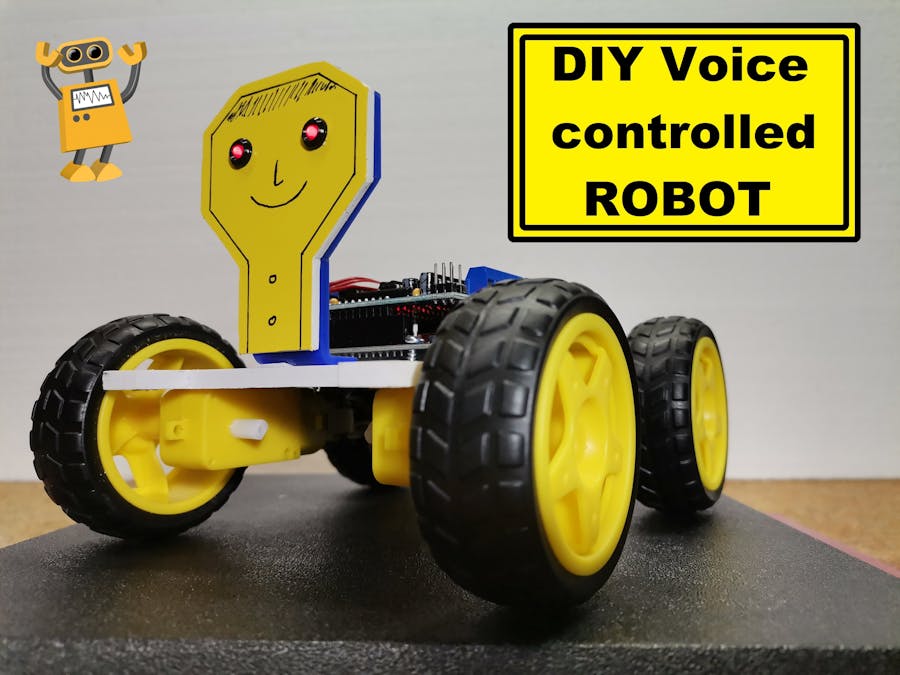
Some time ago I introduced you to an Arduino Robot that had the ability to track an object moving in front of it. This time I used the same robot, but now I have added a Bluetooth controller so that now motions can be controlled by the user by giving specific voice commands.
The speech is received and processed on a Smartphone which then sends commands to the Robot. A few years ago I made a similar project that uses the same Android application, which is a home automation system and you can see it on: https://www.youtube.com/watch?v=IOYRwkNQz0w&t=8s. The name of the Android application is "BT Voice Control for Arduino" and you can download it for free on the Google Play services.
The working principle of this application is as follows:
When the application recognizes voice as a string for example if you say "Left", the android phone will return a sting *Left# to bluetooth module connected to Arduino, where (star) and (hashtag) indicate the start and stop bits. Then in the Arduino code these strings are mapped with a certain function, in this particular example they move a group of motors with which the robot moves.
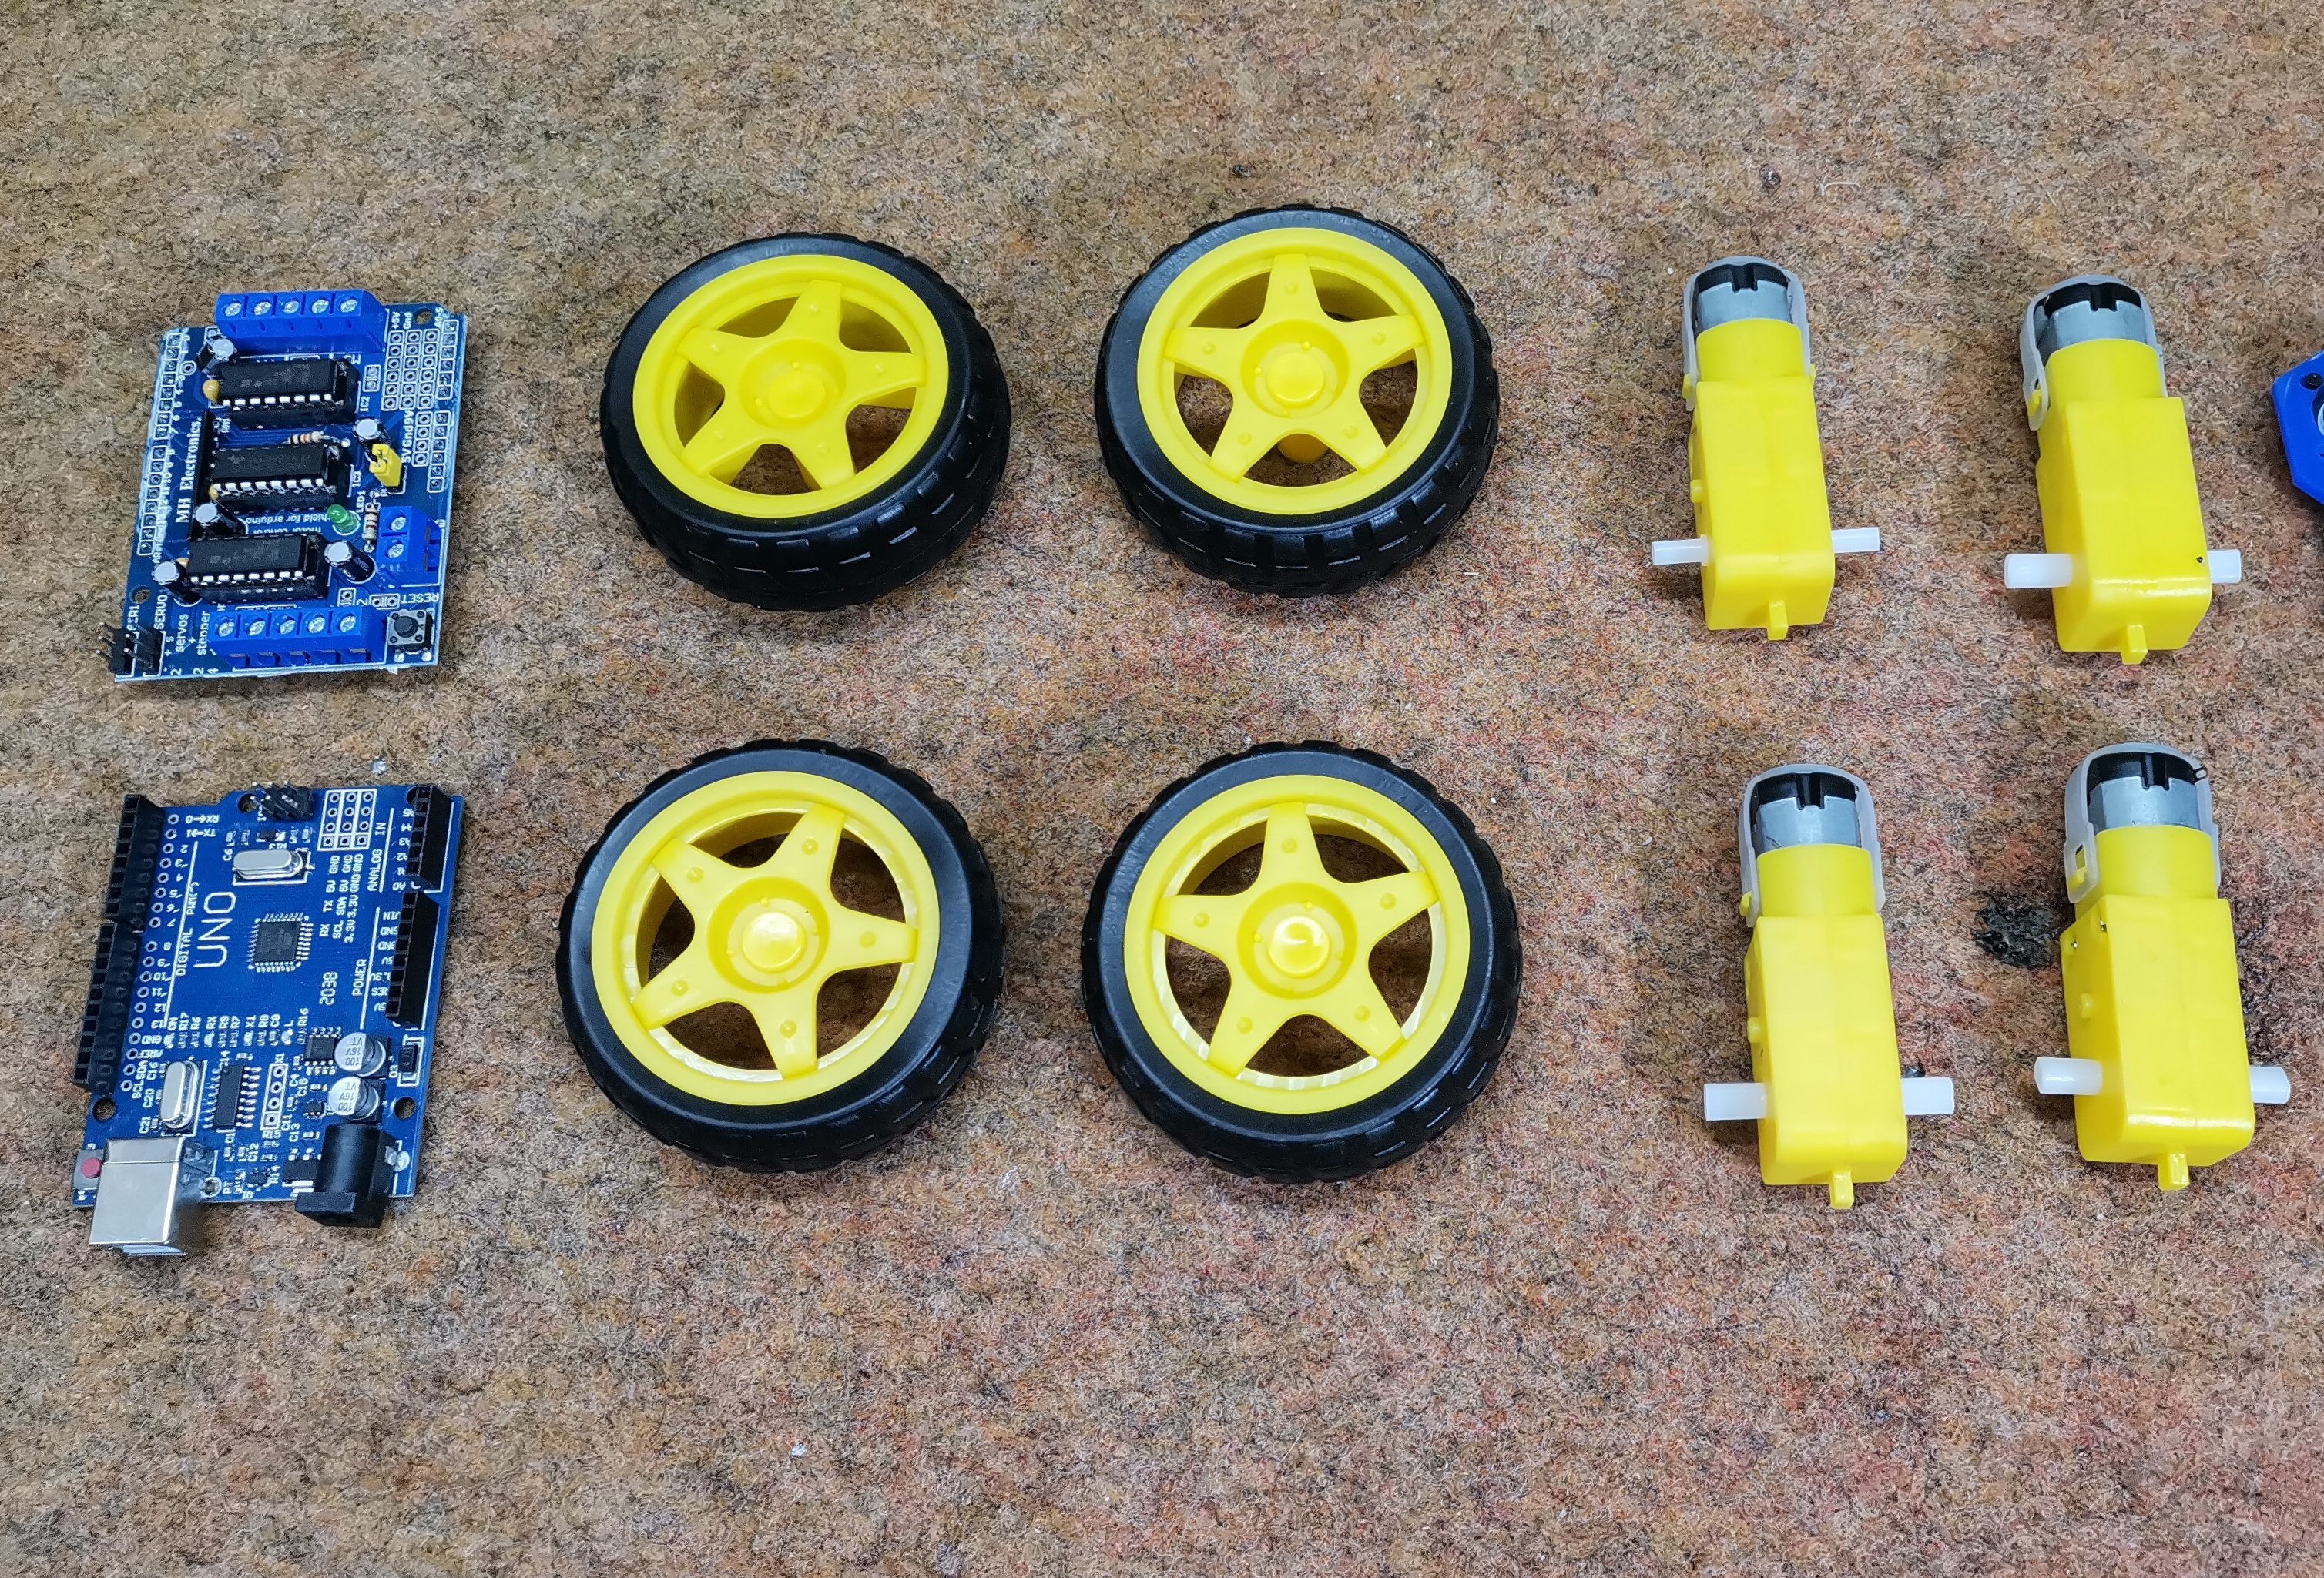
The robot is simple to build and consists of several components:
- Arduino Uno microcontroller
- L293D Motor driver shield
- 4pcs. DC gear motors with Weels
- and 7.4 Volts Lithium-Ion Battery pack
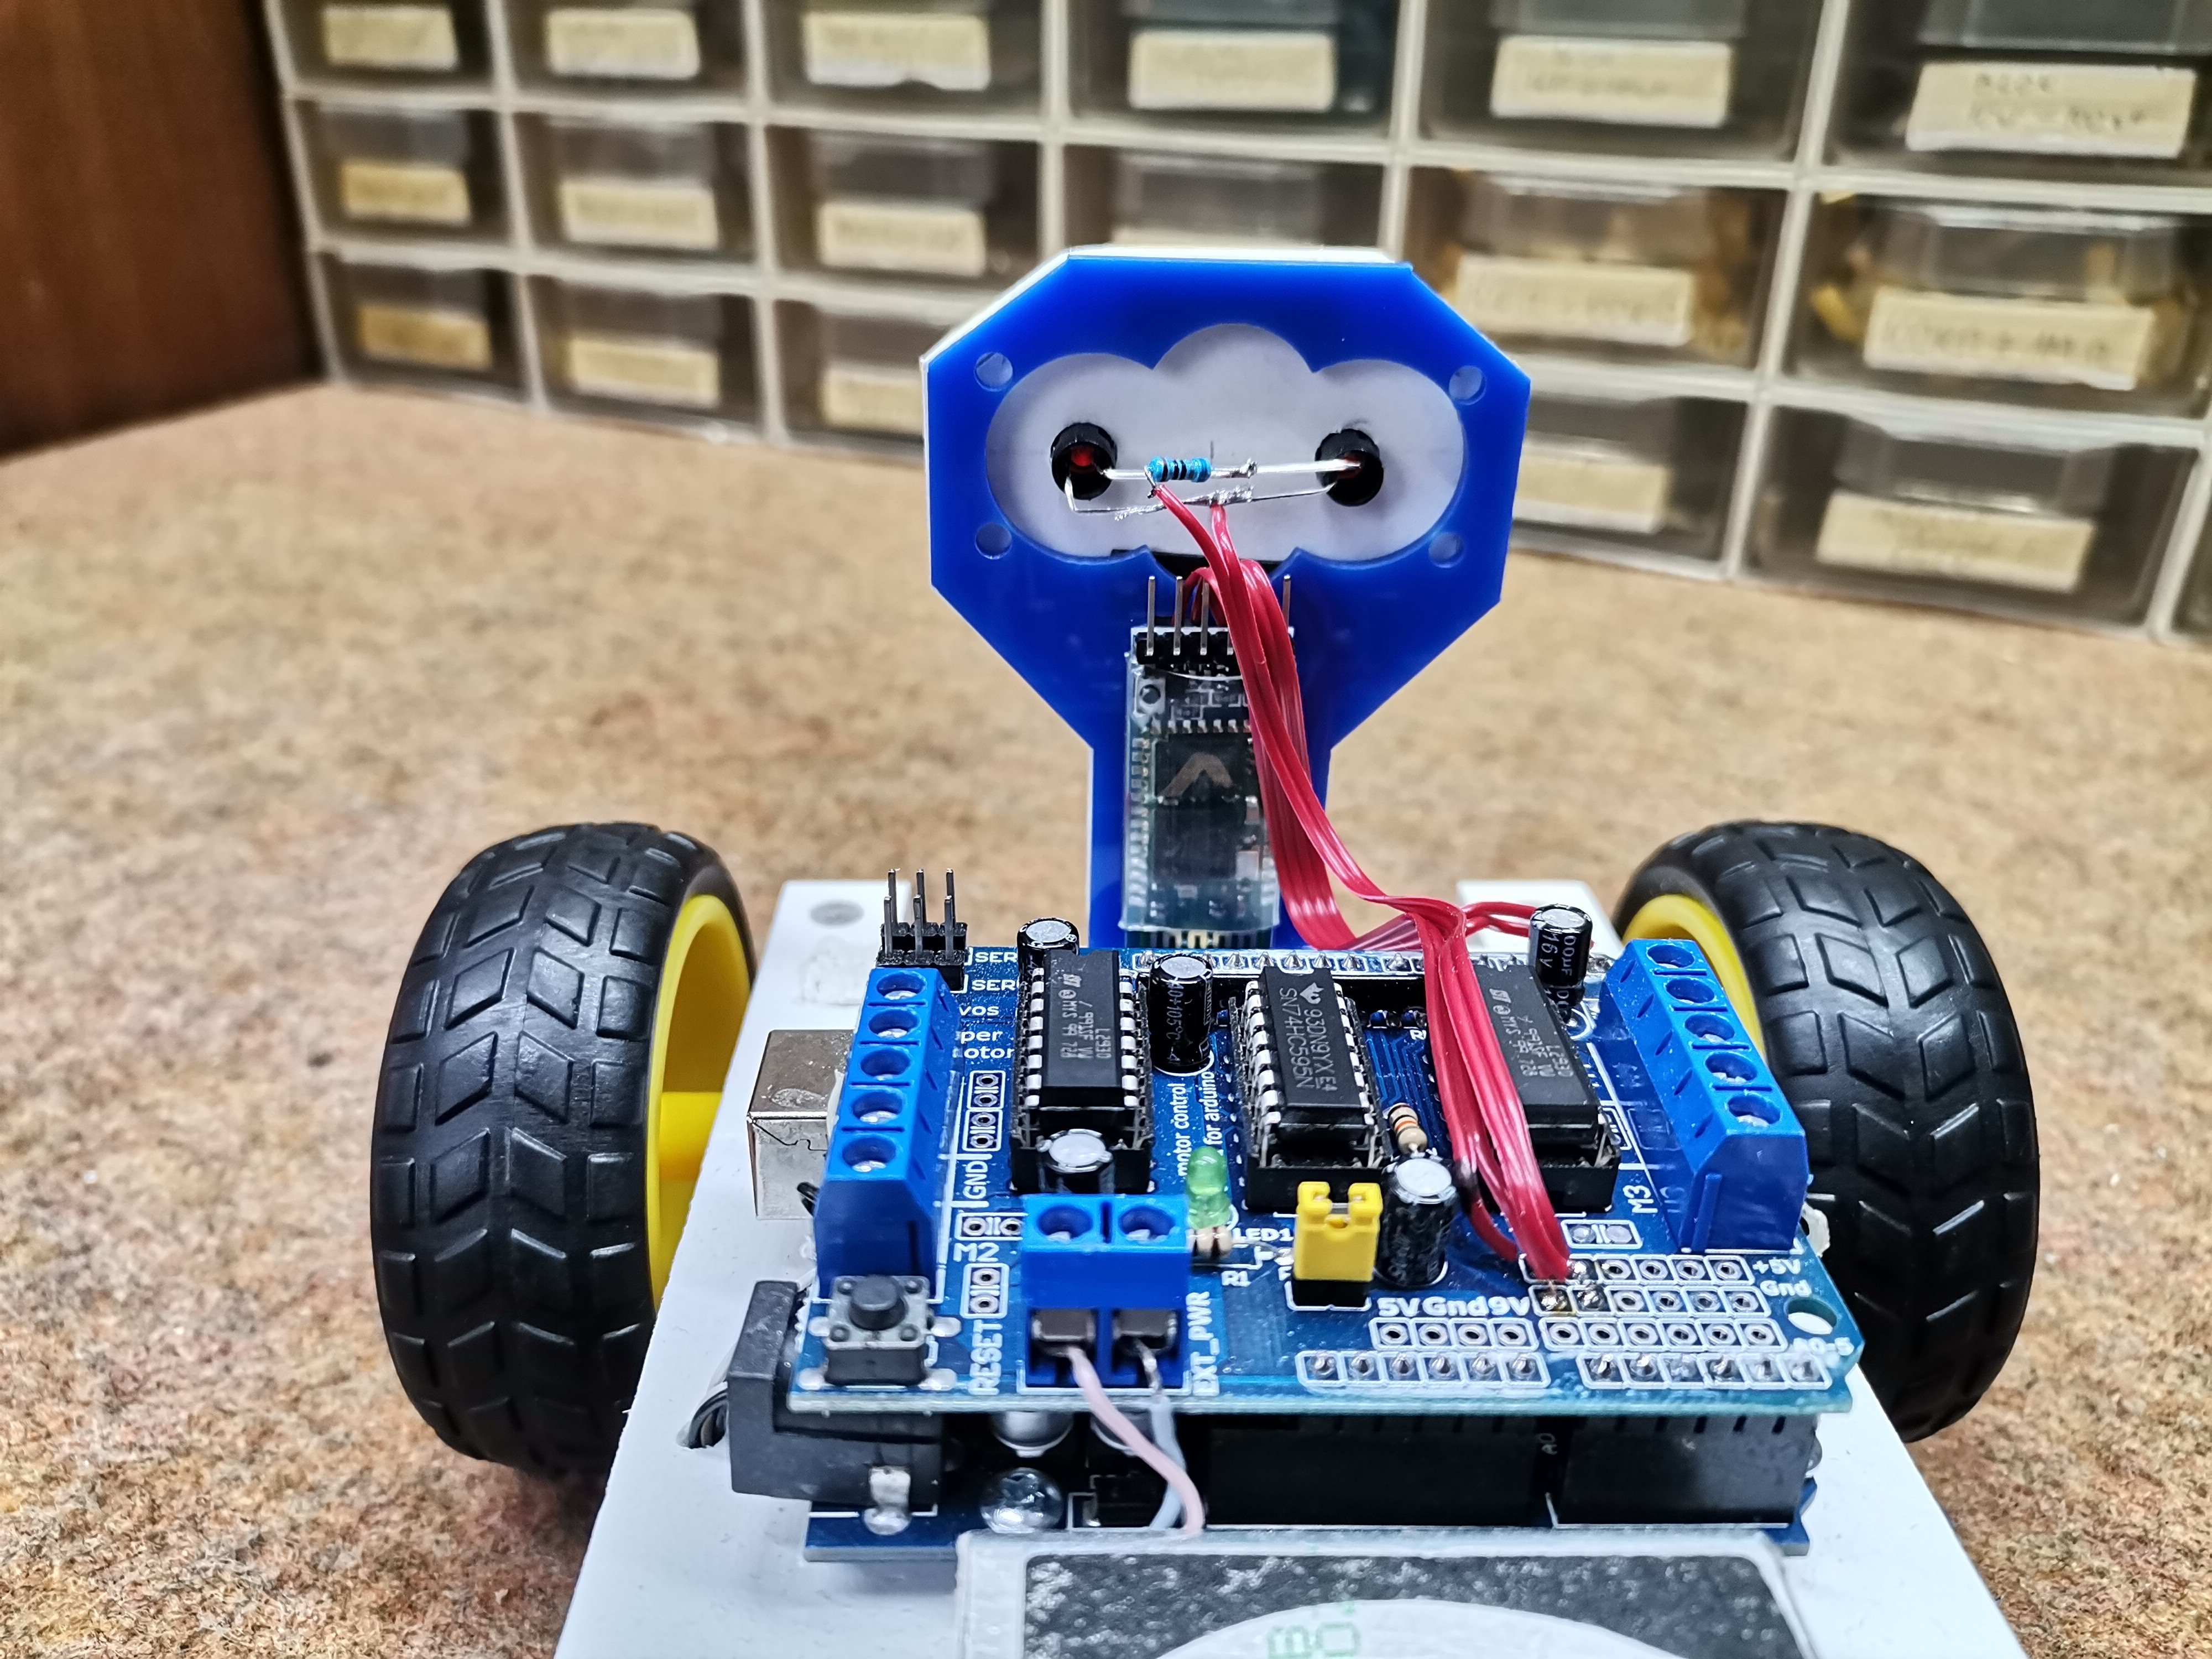
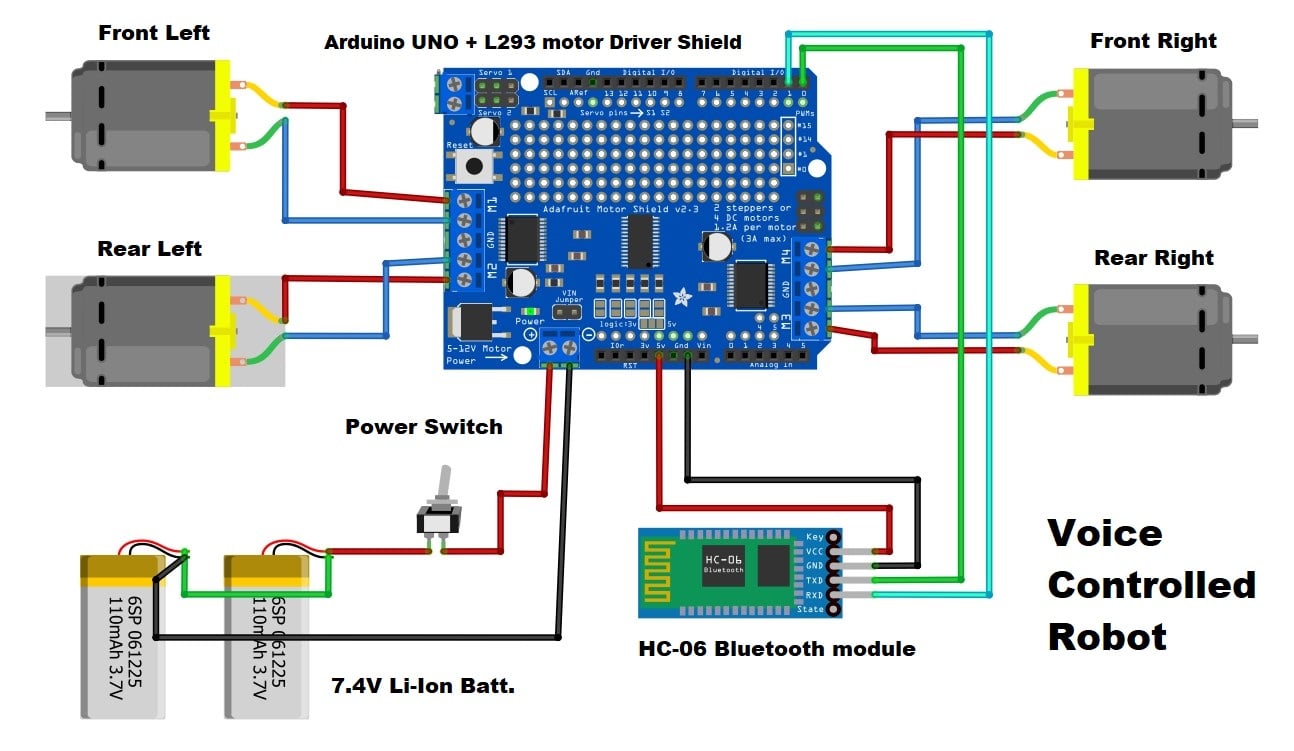
To make it, we need only one rectangular plate, on which lower side should be glued the engines, and on the upper surface are mounted other elements. You can use discontinued L293D motor driver shield like in my case, but also and Adafruit motor shield as is presented on the schematic diagram without any changes.
The Arduino code is very simple thanks to the "AFMotor" Library, and the only modification would be to change the delay time.
As for the Android app, we first launched the EMR Voice app., next we need to connect the robot on Bluetooth, and after activating the microphone we give voice commands to the Robot.
#include <AFMotor.h>

String command;

AF_DCMotor motor1(1, MOTOR12_1KHZ);
AF_DCMotor motor2(2, MOTOR12_1KHZ);
AF_DCMotor motor3(3, MOTOR34_1KHZ);
AF_DCMotor motor4(4, MOTOR34_1KHZ);

void setup() {

Serial.begin(9600);

}

void loop() {

 delay(10);
 while(Serial.available()) {
  command = "";
  command = Serial.readString();

    Serial.print(command);
}
  if(command == "*move forward#"){
    forward();
  }else if(command == "*move backward#"){
    backward();
  }else if(command == "*turn left#"){
    left();
  }else if(command == "*turn right#"){
    right();
  }else if(command == "*stop#") {
    Stop();
 }
  command = "";
}

void forward() {

  motor1.setSpeed(255);
  motor1.run(FORWARD);
  motor2.setSpeed(255);
  motor2.run(FORWARD);
  motor3.setSpeed(255);
  motor3.run(FORWARD);
  motor4.setSpeed(255);
  motor4.run(FORWARD);
  delay(1500);
  motor1.run(RELEASE);
  motor2.run(RELEASE);
  motor3.run(RELEASE);
  motor4.run(RELEASE);

}

void backward() {

  motor1.setSpeed(255);
  motor1.run(BACKWARD);
  motor2.setSpeed(255);
  motor2.run(BACKWARD);
  motor3.setSpeed(255);
  motor3.run(BACKWARD);
  motor4.setSpeed(255);
  motor4.run(BACKWARD);
  delay(1500);
  motor1.run(RELEASE);
  motor2.run(RELEASE);
  motor3.run(RELEASE);
  motor4.run(RELEASE);
}

void right() {

  motor1.setSpeed(255);
  motor1.run(FORWARD);
  motor2.setSpeed(255);
  motor2.run(FORWARD);
  motor3.setSpeed(255);
  motor3.run(BACKWARD);
  motor4.setSpeed(255);
  motor4.run(BACKWARD);
  delay(500);
  motor1.run(RELEASE);
  motor2.run(RELEASE);
  motor3.run(RELEASE);
  motor4.run(RELEASE);
}

void left() {

  motor1.setSpeed(255);
  motor1.run(BACKWARD);
  motor2.setSpeed(255);
  motor2.run(BACKWARD);
  motor3.setSpeed(255);
  motor3.run(FORWARD);
  motor4.setSpeed(255);
  motor4.run(FORWARD);
  delay(500);
  motor1.run(RELEASE);
  motor2.run(RELEASE);
  motor3.run(RELEASE);
  motor4.run(RELEASE);
}

void Stop() {
  motor1.run(RELEASE);
  motor2.run(RELEASE);
  motor3.run(RELEASE);
  motor4.run(RELEASE);
}