Build a smart ESP32-CAM system to capture images and send email alerts instantly. Learn how to create an ESP32-CAM project that captures images and sends them via email in real time. This guide walks you through setup, coding, and configuration in a simple, practical way for makers and IoT enthusiasts.
Introduction
This project demonstrates how to use the ESP32-CAM module to capture an image and send it as an email notification. It’s ideal for surveillance, smart doorbells, or motion-triggered alert systems. With built-in Wi-Fi, the ESP32-CAM makes it easy to integrate imaging and communication into a compact solution.
How It Works
- The ESP32-CAM connects to a Wi-Fi network
- It captures an image using its onboard camera
- The image is encoded and attached to an email
- An SMTP server is used to send the email to a predefined recipient
Components Required
- ESP32-CAM module
- FTDI programmer (for uploading code)
- Jumper wires
- 5V power supply
Software Requirements
- Arduino IDE
- ESP32 board package installed
- Required libraries for camera and email functionality
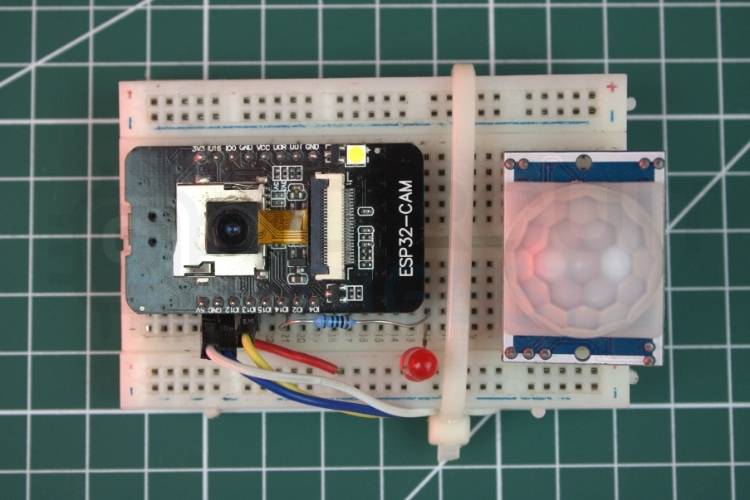
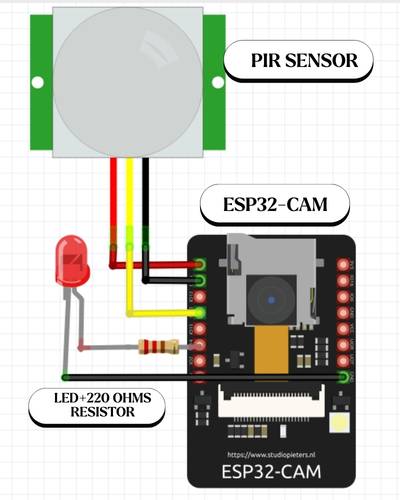
Circuit Setup
- Connect the ESP32-CAM to the FTDI programmer
- Ensure GPIO0 is connected to GND during code upload
- Power the board using a stable 5V supply
- Disconnect GPIO0 from GND after uploading
Preparing the Arduino IDE
Install ESP32 Board Support
- Go to Preferences
- Add ESP32 board URL
- Install via Board Manager
Select the Board
- Choose “AI Thinker ESP32-CAM”
- Set the correct COM port
Email Configuration
To send emails, you need:
- SMTP server details (e.g., Gmail SMTP)
- Sender email address
- App password (recommended instead of main password)
- Recipient email address
Code Overview
Wi-Fi Setup
- Define SSID and password
- Establish a connection during startup
Camera Initialization
- Configure camera pins
- Set resolution and quality
Image Capture
- Capture frame buffer
- Convert the image into a suitable format
Email Sending
- Connect to the SMTP server
- Attach the captured image
- Send an email with the subject and message
Uploading the Code
- Connect the ESP32-CAM to the FTDI
- Hold GPIO0 to GND
- Upload code from Arduino IDE
- Disconnect GPIO0 and reset the board
Testing the Project
- Power the ESP32-CAM
- Wait for Wi-Fi connection
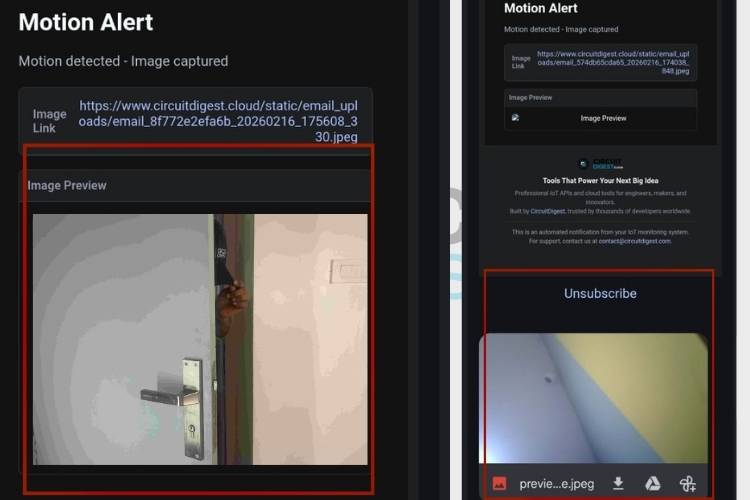
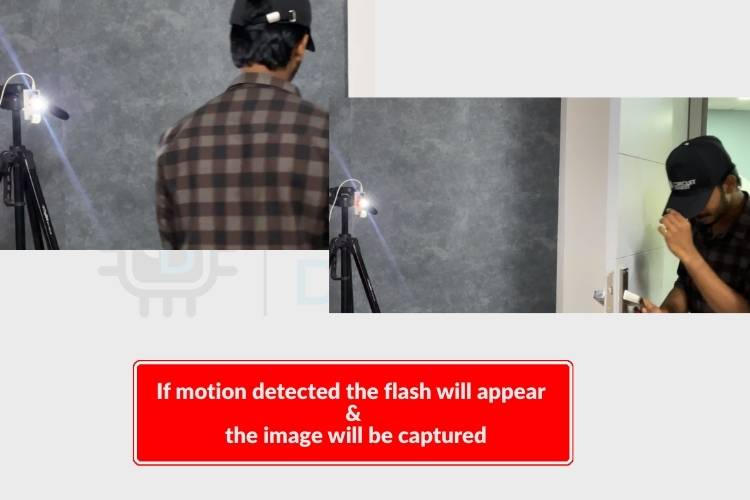
- Trigger image capture (based on your code logic)
- Check inbox for received email with the image
Troubleshooting Tips
- Ensure correct SMTP credentials
- Use app passwords for secure email access
- Check Wi-Fi signal strength
- Verify power supply stability
- Confirm correct board and port selection
Applications
- Home security alerts
- Smart doorbell systems
- Wildlife monitoring
- Industrial safety monitoring
Conclusion
This ESP32-CAM email alert system is a powerful yet simple IoT project. It combines image capture and instant communication, making it useful for various real-world applications. With minor modifications, you can expand it further with motion sensors or cloud integration. Explore a wide range of innovative IoT builds and tutorials in this curated collection of ESP32 projects with code and circuit diagrams to kickstart your next idea.