Use an ArduinoUNO and the DS18B20 waterproof temperature sensor to create your own thermometer!
In this tutorial, we will use the DS18B20 temperature sensor with an Arduino UNO to build a thermometer. A DS18B20 sensor is a good option when high accuracy applications require good responsiveness. This tutorial shows you how to hook up the DS18B20 to your Arduino UNO and have the temperature data printed on a character LCD 16x2 display.
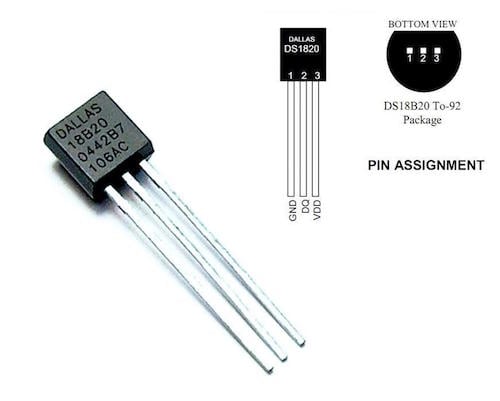
An Overview of the DS18B20 Sensor
The DS18B20 sensor communicates with an Arduino via the 1-wire bus. By definition, only one data line (and ground) is required to communicate with the Arduino.
The operating temperature of the sensor ranges from -55°C to +125°C, with an accuracy of ±0.5°C in the range of -10°C to +85°C. In addition, the DS18B20 can receive power directly from the data line (“parasitic power supply”) without the need for an external power supply.
Each DS18B20 has a unique 64-bit serial code or address that allows multiple DS18B20s to run on the same 1-wire bus. Therefore, using a microprocessor makes it easy to control many DS18B20s distributed over a large area. Applications for this function include environmental controls, temperature monitoring systems in buildings, and mechanical equipment.
DS18B20 Features
- Single 1-wire interface required only for communication between the microcontroller and sensor.
- Only one external component required: a 4.7kOhm resistor.
- It can be powered from data line directly, requiring voltage from 3.0V to 5.5V.
- Each device has a unique 64-bit serial code stored in onboard ROM.
- It can measure temperatures ranging from -55°C to +125°C (-67°F to +257°F).
- ±0.5°C Accuracy in the -10°C to +85°C range.
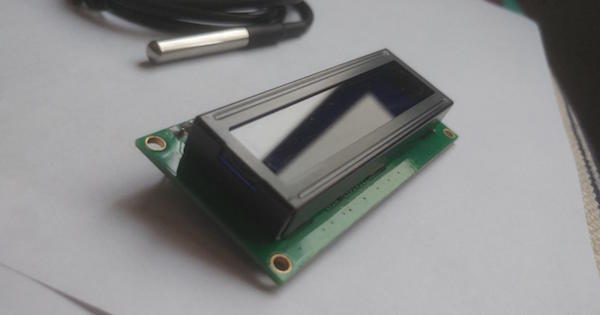
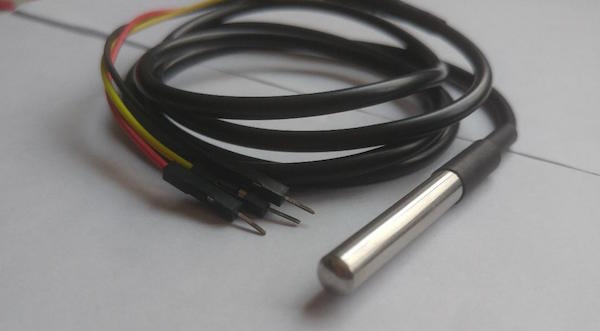
This project uses the DS18B20 that comes in a temperature probe form, which is waterproof. Using a waterproof sensor expands what the temperature sensor can measure to include the temperature of liquids such as water, chemicals, tea, and coffee.
The DS18B20 temperature probe
Hardware Requirements for Your Thermometer
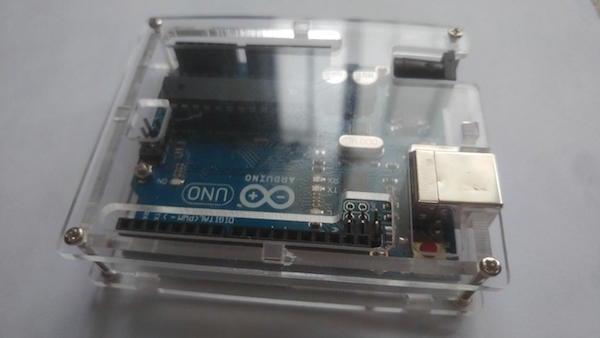
- Arduino UNO
- Character LCD
- A DS18B20 temperature probe
- Jumper Wires
- 1K resistor
- Breadboard
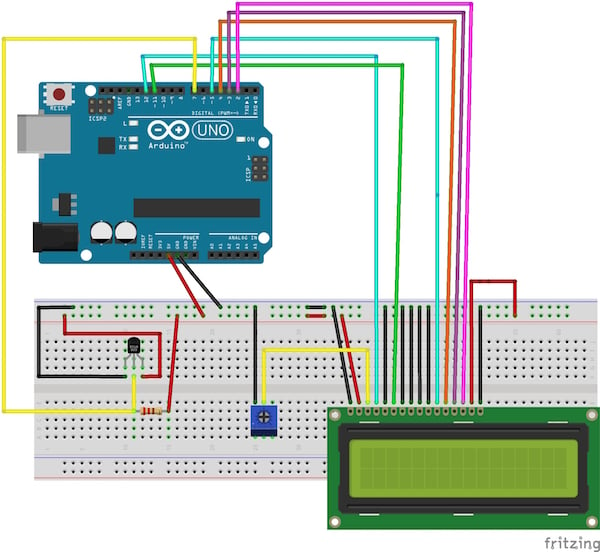
Assembling the Hardware for Your Thermometer
Make the connections as per the diagram below.
- VCC -> Arduino 5V, plus a 4.7K resistor going from VCC to Data
- Data -> 7 Arduino pin
- GND -> Arduino GND
Connections for the LCD Display to the Arduino UNO
- Pin 1 -> GND
- Pin 2 -> VCC
- Pin 3 -> Arduino pin 3
- Pin 4 -> Arduino pin 33
- Pin 5 -> GND
- Pin 6 -> Arduino pin 31
- Pin 7 - 10 -> GND
- Pin 11 -> Arduino pin 22
- Pin 12 -> Arduino pin 24
- Pin 13 -> Arduino pin 26
- Pin 14 -> Arduino pin 28
- Pin 15 -> VCC through 220 Ohm resistor.
- Pin 16 -> GND
Connect the potentiometer as shown above to pin 3 on the LCD, this is for controlling the contrast.
This project works up to 125°C. In case there is some dissonance in the value of the temperature shown, double check the connections to the resistor hooked up to the DS18B20. After pinning everything as described above, we can move on to the software part.
Source Code for Your Thermometer
Before uploading the source code, you need to set up the two libraries needed for running this code in Arduino IDE.
The first library is called OneWire.
The second library is called DallasTemperature.
After downloading both libraries, move the files to the Arduino’s default library location. Next, copy this code into Arduino IDE and upload it after double checking that your sensor has been correctly wired.
//Code begins
#include <OneWire.h>
#include <LiquidCrystal.h>
#include <DallasTemperature.h>
#define ONE_WIRE_BUS 7

OneWire oneWire(ONE_WIRE_BUS);

DallasTemperature sensors(&oneWire);

float tempC = 0;
float tempF = 0;

LiquidCrystal lcd(12,11,5,4,3,2);

void setup() {
  sensors.begin();
  lcd.begin(16,2);
  lcd.clear();
  pinMode(3, OUTPUT);
  analogWrite(3, 0);
  Serial.begin(9600);

}

void loop() {
  sensors.requestTemperatures();
  tempC = sensors.getTempCByIndex(0);
  tempF = sensors.toFahrenheit(tempC);
  delay(1000);

  Serial.println(tempC);
  lcd.setCursor(0,0);
  lcd.print("C: ");
  lcd.print(tempC);
  lcd.print(" degrees");
  lcd.setCursor(0,1);
  lcd.print("F: ");
  lcd.print(tempF);
  lcd.print(" degrees");
}
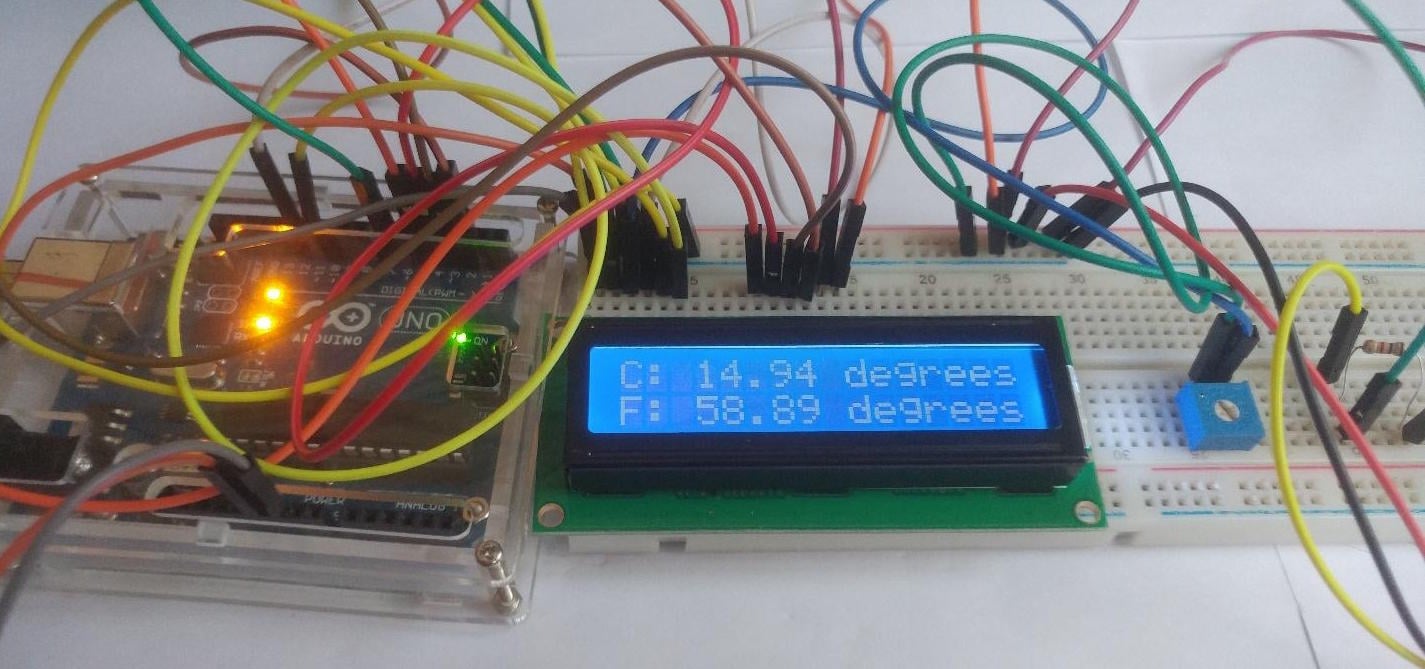
I was able to measure temperatures up to 100°C with this sensor! It is highly responsive. Once you have the project set up, try this for yourself by immersing the sensor in hot and cold water.
The completed thermometer at work!
Watch this project take shape in the video below.
If you followed this project and built a thermometer of your own, I would love to see what you used it for! Feel free to post your project ideas in the comments below.