Learn how you can create a mouse based on the Nintendo Wii controller with the Arduino Leonardo and few components!
In this project, I will show you to build an air mouse similar to a Nintendo Wii controller using an Arduino Leonardo and an MPU6050 accelerometer/gyroscope. Air mouses are mostly used in gaming, interactive activities, entertainment, and more.
A few years back, Nintendo created this new interaction model to allow users to interact with their content in 3D through their gaming console with the help of a Wii controller. A Wii controller uses an accelerometer to recognize your gestures, which are then mapped to the game’s controls. Here, we’ll make a wired Wii controller.
The project depends on two key components: the MPU6050 and the Arduino Leonardo. The MPU6050 helps us to collect the data for the 3D pose of “Air Mouse” along the x-axis and y-axis. Then, based on the values of the sensor, we can control the mouse cursor. To click the mouse, you need to stop moving the mouse and lock it to a point for two seconds (or you could integrate a button for this purpose).
What is an MPU6050?
The MPU6050 is an IMU sensor that has six degrees of freedom, which means that it gives six values as output. From these six values, three come from the accelerometer and the remaining three comes from the gyroscope. The IMU sensor is based on micro-electro-mechanical systems (MEMS) technology.
Arduino Leonardo
The Arduino Leonardo is similar to the Arduino Uno and has the same shape. While the Arduino Uno comes with the ATmega385 chip, while the Leonardo comes with an ATmega32u4-based chip. It has 20 digital input/output pins, from 20 pins (7pins can be used as PWM output and 12 as analog inputs), a 16mhz crystal oscillator with a micro USB connection, a power jack, an ICSP port, and a reset button.
Required Hardware
- Arduino Leonardo (or any ATmega32u4-based Arduino)
- MPU6050
- Breadboard
- Male to Male jumper wires
Required Software
Connecting the Arduino Leonardo and the MPU6050
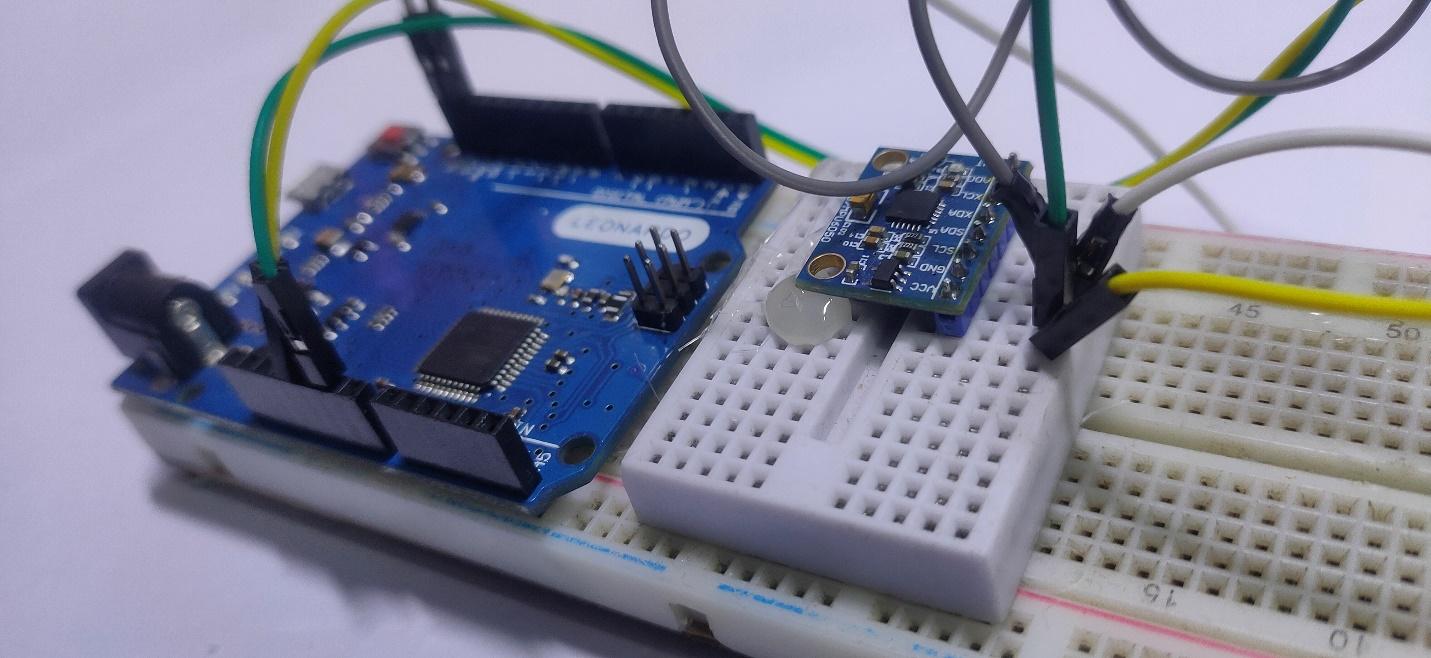
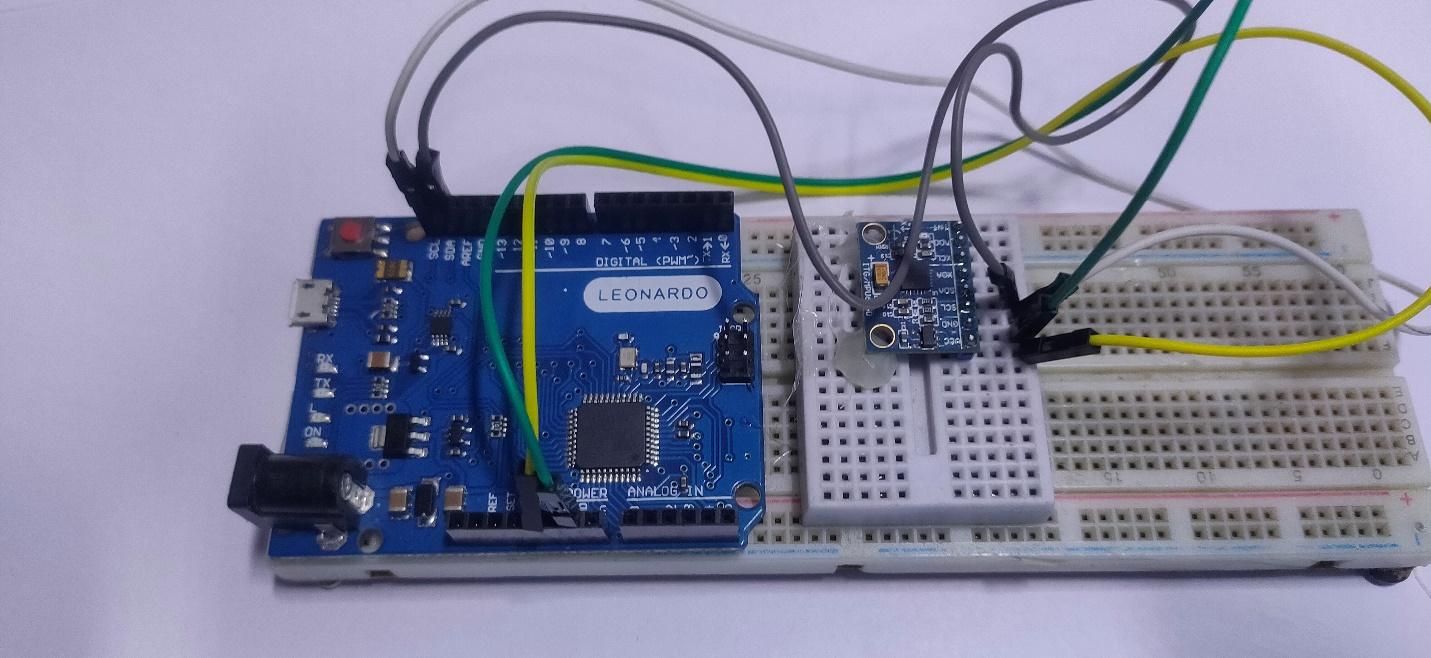
Wire the hardware as shown in the Fritzing diagram below.
Content goes hereNote: Because the mouse.h library only works with ATmega32U4 chips, only ATmega32u4-based chipsets can support this project, e.g., Arduino Leonardo, Arduino Pro Mini, etc.
Uploading the Air Mouse Code
After wiring the hardware according to the Fritzing diagram above, connect your Arduino Leonardo to your computer, and upload the “caliberate_air_mouse” program to your Arduino.
For uploading the source code, use the following steps.
Go to Tools —> Board —> and select Arduino Leonardo.
Select your COM PORT. Go to Tools —> PORT.
Copy-paste the source code titled ‘calibrate_air_mouse’ available at the end of this article. Next, go to Sketch —> Upload, or use the shortcut “CTRL + U”.
After uploading the code, your mouse cursor will map to the sensor. Try shaking the MPU sensor module.
If this works, continue to upload the second code ‘air_mouse_with_click’ also available at the end of this article. However, if your cursor moves even when the MPU6050 is still, you need to change some values in the source code.
Open your serial monitor and make sure your x- and y-value are set to zero on the still state. If they aren’t, change the vx or vy value from source code according to your surface calibration.
Once the calibration is complete, upload the code ‘air_mouse_with_click’ available at the end of the article by following the same steps as before. This code also adds the clicking functionality.
For clicking, try resting the cursor for two seconds in one spot on your computer screen. The code checks if the cursor has been resting for x seconds of delay in a 10x10 pixel area of the screen.
//calibrate_air_mouse
#include <Wire.h>
#include <I2Cdev.h>
#include <MPU6050.h>
#include <Mouse.h>

MPU6050 mpu;
int16_t ax, ay, az, gx, gy, gz;
int vx, vy;

void setup() {
  Serial.begin(9600);
  Wire.begin();
  mpu.initialize();
  if (!mpu.testConnection()) { while (1); }
}

void loop() {
  mpu.getMotion6(&ax, &ay, &az, &gx, &gy, &gz);

  vx = (gx+300)/150;  // change 300 from 0 to 355
  vy = -(gz-100)/150; // same here about "-100"  from -355 to 0

  Serial.print("gx = ");
  Serial.print(gx);
  Serial.print(" | gz = ");
  Serial.print(gz);

  Serial.print("        | X = ");
  Serial.print(vx);
  Serial.print(" | Y = ");
  Serial.println(vy);

  Mouse.move(vx, vy);

  delay(20);
}
//air_mouse_with_click
#include <Wire.h>
#include <I2Cdev.h>
#include <MPU6050.h>
#include <Mouse.h>

MPU6050 mpu;
int16_t ax, ay, az, gx, gy, gz;
int vx, vy, vx_prec, vy_prec;
int count=0;

void setup() {
  Serial.begin(9600);
  Wire.begin();
  mpu.initialize();
  if (!mpu.testConnection()) {
    while (1);
    }
}

void loop() {
  mpu.getMotion6(&ax, &ay, &az, &gx, &gy, &gz);

  vx = (gx+300)/200;
  vy = -(gz-100)/200;

  Mouse.move(vx, vy);


  if ( (vx_prec-5)<=vx && vx<=vx_prec+5 && (vy_prec-5)<=vy && vy<=vy_prec+5) { // for checking the cursor doesn't move too much from its actual position: (in this case a 10 pixel square)
    count++;
    if(count == 100){ // the click will happen after 2 seconds the pointer has stopped in the 10px square
      if (!Mouse.isPressed(MOUSE_LEFT)) {
        Mouse.press(MOUSE_LEFT);
        count = 0;
      }
    }
    else {
      if (Mouse.isPressed(MOUSE_LEFT)) {
        Mouse.release(MOUSE_LEFT);
      }
    }
  }
  else {
    vx_prec = vx; // updating values to check the position of the pointer and allow the click
    vy_prec = vy;
    count = 0;
    }

  delay(20);
}