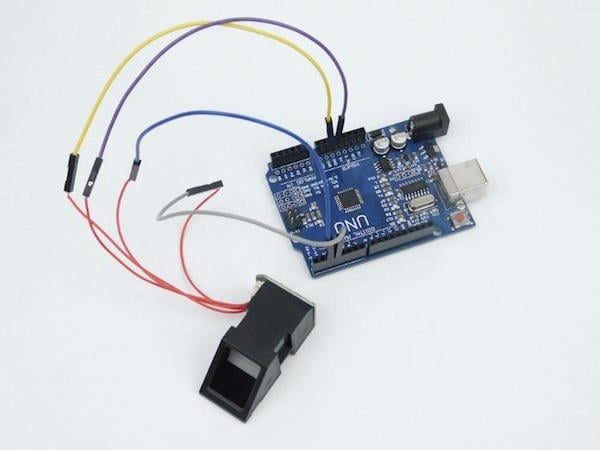
Make a fingerprint scanner using an FPM10A fingerprint module, an Arduino UNO, and the Arduino IDE.
Although you can access secure systems with passwords and keys, both options can be inconvenient and easy to forget. In this project, learn how to use the FPM10A with the Adafruit Arduino library to create a biometric fingerprint system.
Installing and Using the Library
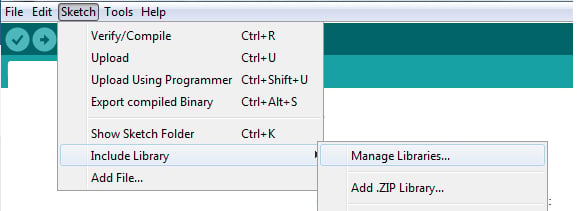
The first step in using the FPM10A is to install the Adafruit Fingerprint Library, which can be done using the Library Manager. Open the Arduino IDE and navigate to Sketch > Include Library > Manage Libraries.
When the library manager loads search for “Fingerprint” and the first result should be the Adafruit Fingerprint Sensor Library. Go ahead and install this.
With the library installed, it's time to create a new Arduino project. Click File > New and then save the project in its own folder. At this point, open the project folder and copy the “fingerprint.h” file into it.
This is a special header file that I wrote, making the fingerprint library a tad easier to use. The header file only has three functions:
- fingerprint_setup() – configures the serial port for 9600 baud and connects to the module
- readFingerprint() – a polling function that returns -1 if anything invalid happened or other returns if a successful print was found
- enrollFingerprint(int id) – adds a fingerprint to the system with the assigned ID of “id”.
To include this file in your project, simply use the include command as shown below:
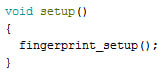
The first function you need to call in setup() is fingerprint_setup() which automatically connects to the module and confirms that everything is working.
To add a new fingerprint, call the enrollFingerprint(id) function. This will return -1 if a failure occurs, but other values indicate a successful fingerprint register. The ID passed to this function the links to the scanned fingerprint and each fingerprint has a unique ID number.
Construction and Using the Fingerprint Scanner
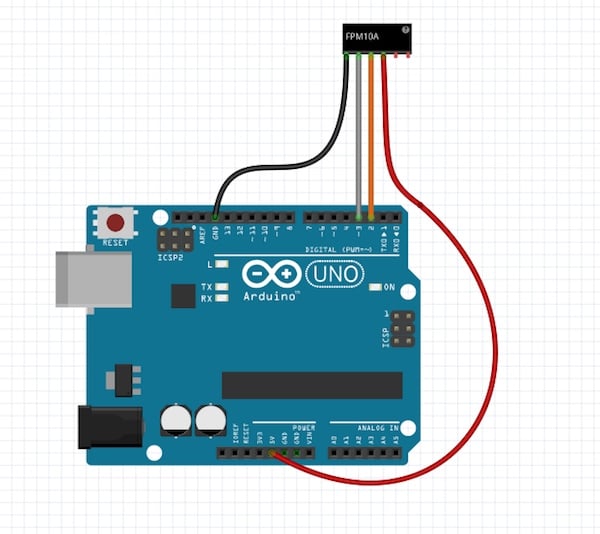
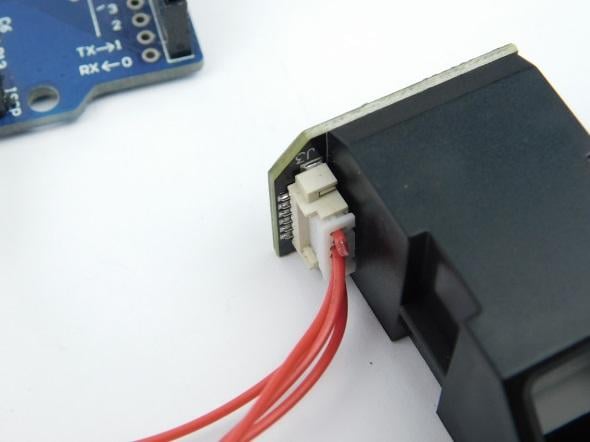
Getting this module to work is incredibly easy due to the fact that it uses a serial port to communicate. However, since the Arduino Uno only has one hardware serial port, you need to use a software serial port using pins 2 and 3 to talk to the fingerprint module (the hardware serial port is reserved for PC communication).
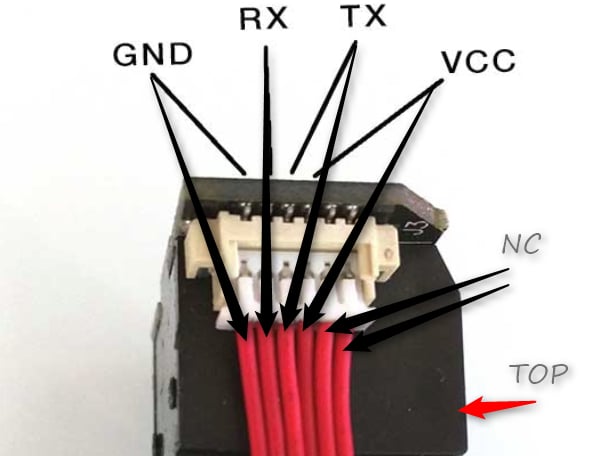
The ribbon cable that comes with the FPM10A module is not hobby friendly as it sits in a 1.27mm pitch package so I cut one side off and then exposed the wires which are then connected to jumpers.
Image courtesy of Adafruit.
When you power this project up, it will first ask you to place your finger on the scanner. If the scanner is able to read your fingerprint, it will ask you to remove and then replace your finger on the scanner. This should result in the scanner successfully adding your fingerprint to ID 1, and placing your finger on the scanner should result in the system granting access.
This project can easily be expanded to include solenoid locks and relays to only allow authorized users to make changes and unlock systems. Once it’s ready, install your new scanner into doors, cupboards, safes, windows, electrical systems, computers, and much more!
The code for this project is shown below.
#include "fingerprint.h"

void setup()
{
  fingerprint_setup();
}

void loop()
{
  // Create a new fingerprint entry
  enrollFingerprint(0x01);
  delay(1000);

  // Request entry
  Serial.println(" \nUSER LOGIN REQUEST...PLACE FINGER ONTO SENSOR  \n");
  while(readFingerprint() == -1);
  Serial.println(" \nACCESS GRANTED \n");
  Serial.println(" \nFingerprint confidence : " + String(confidence) + " \n");
  delay(3000);
}