In this tutorial, I will teach you how to create your own IoT projects using the NodeMCU Wi-Fi module and Blynk app.
What is NodeMCU?
NodeMCU is an open-source firmware for which open-source prototyping board designs are available. The name "NodeMCU" combines "node" and "MCU" (micro-controller unit). The term "NodeMCU" strictly speaking refers to the firmware rather than the associated development kits.
Both the firmware and prototyping board designs are open source.
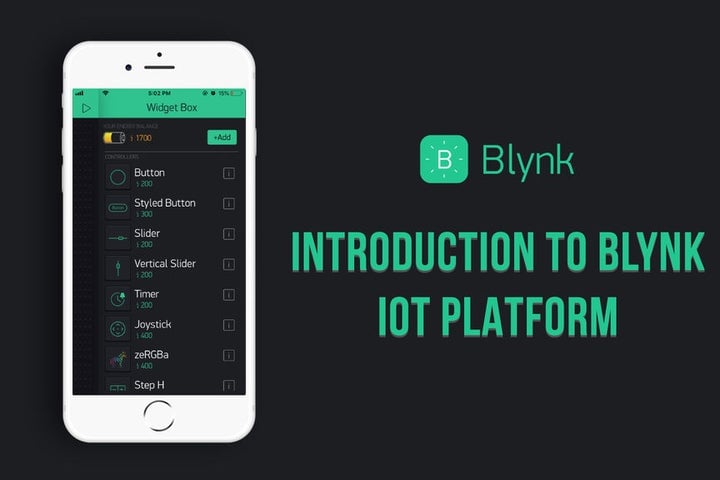
The Blynk App
Blynk is a platform for IOS and Android apps to control Arduino, Raspberry Pi, and the likes over the Internet. It's a digital dashboard where you can build a graphic interface for your project by simply dragging and dropping widgets.
Installing the Blynk App
Install the Blynk app on your iPhone or Android device.
Create Your First IoT Project
Now that you have installed Blynk, we can move on to creating your first IoT project.
>create a Blynk account and login
>once you have logged into your account, click on new project
>Give your project a name, select the board as NodeMCU, the connection type as Wi-Fi, and click create project
>Drag button icon on the main screen and then click on that button icon
> Click the '+' button and add a switch to control your led
>Change Pin to whatever pin you want to connect your LED to in the output section. I connected my LED to D7, so I changed the pin to D7. Then change the mode type if you want it as switch. Please refer to the image.
>Go back to main screen
>Check your email and copy the auth token sent by Blynk
Installing the Board in Arduino IDE and the Blynk Library
Now we have to install the node mcu board in the arduino ide and install Blynk library.
>Open arduino ide and click on tools.
>click on board
>click 'board manager'
>now search for node mcu in the search box and install the board.
Now that we have installed the board in the arduino ide, we have to install the Blynk library
click on this github link and download the library:
https://github.com/blynkkk/blynk-library/releases
UPloading the Code to the Node Mcu
>Import the blynk library to your code.
>Under examples, select Blynk esp8266 standalone.
>Change the SSID and password with your SSID and password
>Paste the auth token which you copied from your email.
>Compile and upload your code.
Connecting the LED to the NodeMCU
>Connect the power pin of the led to digital pin 7 of the NodeMCU.
>Connect the GND pin to GND on the NodeMCU.
Testing Your First IoT Project
Now let us check if our IoT project works
So you guys can see the photos and video and the NodeMCU IoT project is working perfectly fine.
If you liked my tutorial, like, comment and share it.