Automate WhatsApp alerts with Arduino and a cloud API in a simple IoT setup
Introduction
Sending real-time notifications from your hardware projects can take them to the next level. In this project, you’ll learn how to send WhatsApp messages directly from an Arduino using a cloud-based service. This is especially useful for IoT applications like home automation, security alerts, and monitoring systems. Discover hands-on IoT projects for beginners and experts to build smart automation and connected devices.
How This Project Works
The core idea is simple:
- Arduino collects or detects data (like sensor readings or events)
- It connects to the internet using a Wi-Fi module
- A cloud API processes the request
- A WhatsApp message is sent to a predefined number
Instead of directly interacting with WhatsApp (which is restricted), the system uses a cloud intermediary to handle messaging.
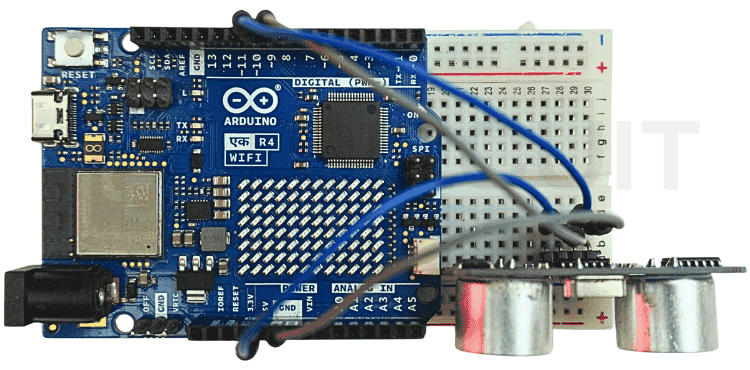
Required Components
Arduino board (Uno, Nano, or similar)
ESP8266 Wi-Fi module (or NodeMCU as an alternative)
Jumper wires
Breadboard
Power supply
Internet connection
Software & Tools Needed
Arduino IDE
Cloud service account (for API-based messaging)
WhatsApp number for receiving messages
Setting Up the Cloud Service
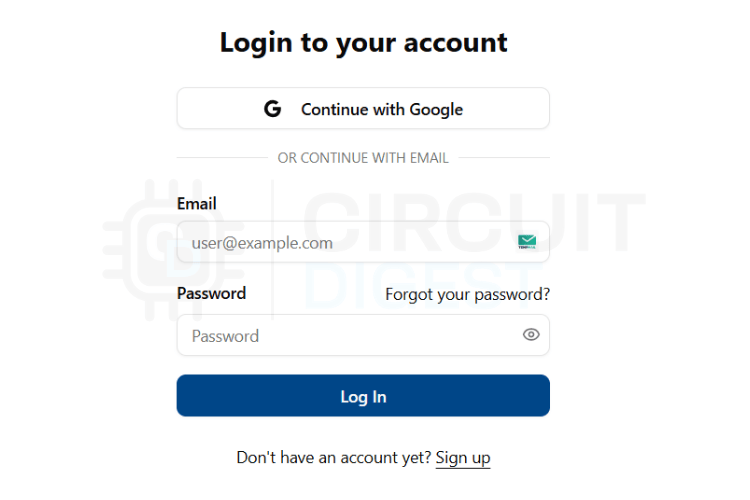
Create an Account
Sign up for the cloud platform used for messaging. This service acts as the bridge between your Arduino and WhatsApp.
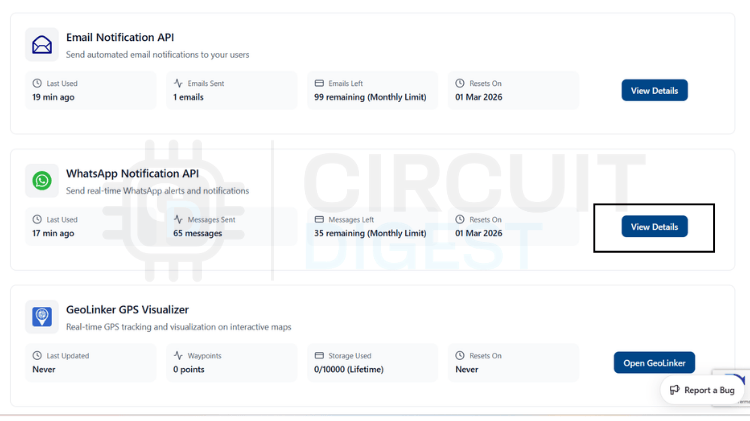
Get API Credentials
After registering, obtain:
- API key
- Device ID or channel ID
These credentials will be used in your Arduino code to authenticate requests.
Install Required Libraries
Make sure your Arduino IDE includes libraries for:
- Wi-Fi communication (ESP8266WiFi)
- HTTP requests (WiFiClient / HTTPClient)
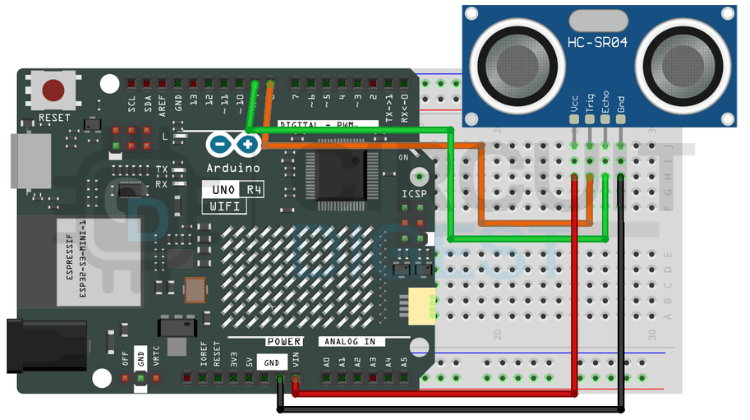
Connect Hardware
- Wire the ESP8266 module to the Arduino
- Ensure proper voltage levels (use a level shifter if needed)
Configuring the Arduino
Programming the Arduino
Wi-Fi Connection
Start by connecting your Arduino to a Wi-Fi network using your SSID and password.
Sending HTTP Request
The Arduino sends an HTTP request to the cloud API with:
- Your API key
- Target phone number
- Message content
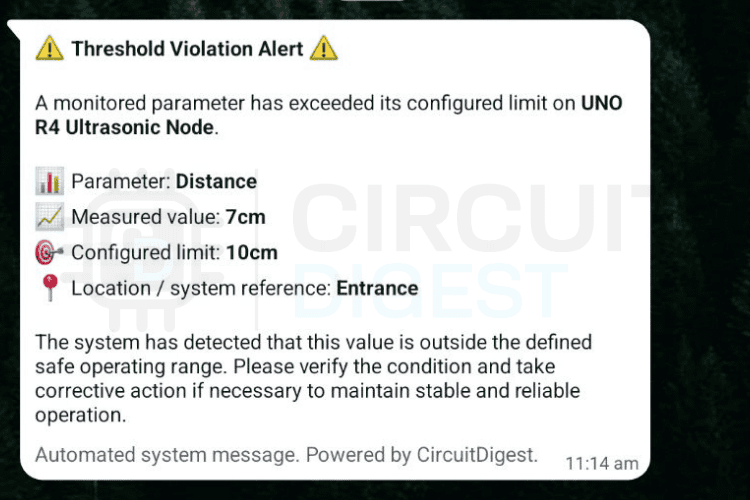
Triggering the Message
You can trigger messages based on:
- Sensor values
- Button press
- Timed intervals
Example Use Cases
Home security alerts (intrusion detection)
Temperature or humidity warnings
Machine status notifications
Smart doorbell alerts
Testing the System
Upload the code to your Arduino
Open the Serial Monitor
Check Wi-Fi connection status
Trigger the event
Verify message delivery on WhatsApp
Troubleshooting Tips
Ensure correct API credentials
Check Wi-Fi connectivity
Verify phone number format (include country code)
Monitor serial output for errors
Enhancements You Can Try
Add multiple recipients
Integrate sensors (motion, gas, temperature)
Build a dashboard for control
Use NodeMCU for a compact design
Conclusion
This Arduino WhatsApp notification project demonstrates how easily you can integrate messaging into your Arduino-based systems. By leveraging cloud APIs, you bypass platform restrictions and create powerful real-time notification systems for your IoT applications. Explore a wide range of creative and practical DIY builds on CircuitDigest Arduino Projects for inspiration and step-by-step guides.