Build a simple IoT system to trigger WhatsApp alerts from ESP32 using an online API service
Overview
This project shows how to send WhatsApp messages directly from an ESP32 using a cloud-based API. Instead of relying on complex GSM modules, the ESP32 connects to Wi-Fi and communicates with an online service that handles message delivery. This makes the system simple, cost-effective, and scalable for IoT applications like alerts, notifications, and remote monitoring. Browse practical Internet of Things projects with code and tutorials for real-world applications.
How It Works
The ESP32 connects to a Wi-Fi network and sends an HTTP request to a cloud API whenever a specific event occurs (like a button press or sensor trigger). The API then processes this request and delivers a WhatsApp message to a predefined phone number.
Key Features
No GSM module required
Uses Wi-Fi for communication
Fast and reliable message delivery
Easy integration with sensors and automation systems
Suitable for real-time alerts
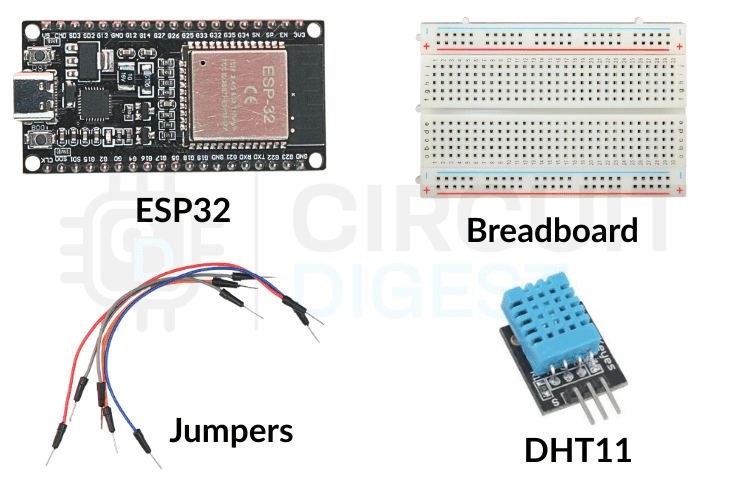
Components Required
ESP32 development board
Push button (or any sensor input)
Jumper wires
Breadboard
Wi-Fi connection
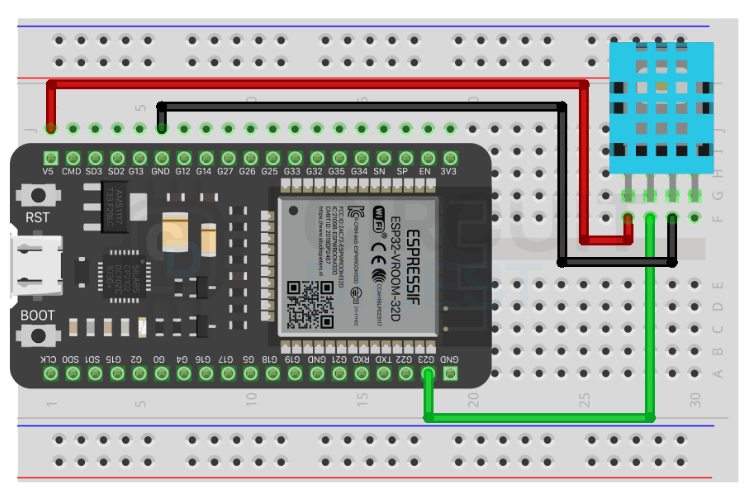
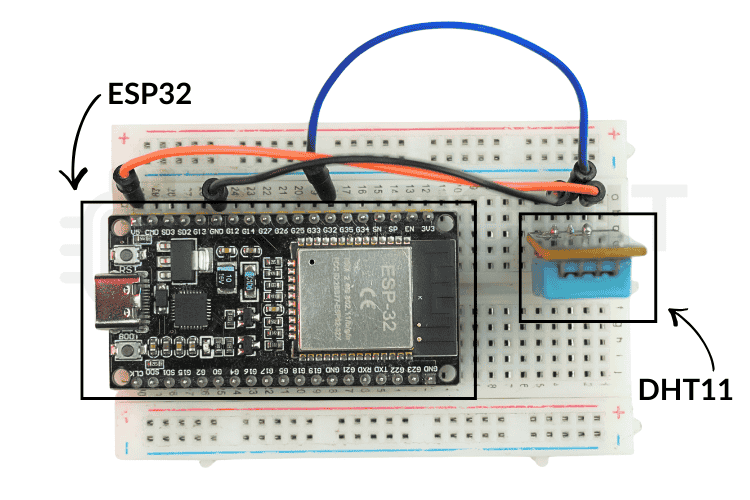
Circuit Setup
Connect one terminal of the push button to a GPIO pin on the ESP32
Connect the other terminal to GND
Enable internal pull-up resistor in code
No complex wiring is required since communication happens over Wi-Fi
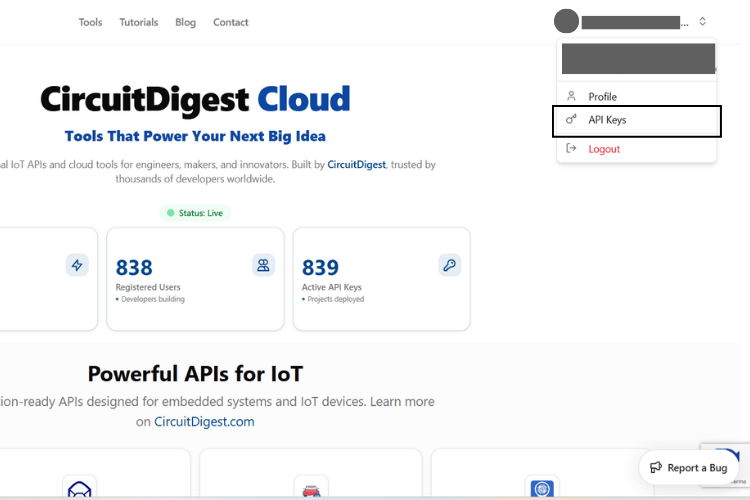
Setting Up the Cloud API
Sign up on the messaging service platform used in the project
Create a new API instance
Link your WhatsApp number by verifying it
Obtain your unique API key or token
Note the API endpoint URL for sending messages
Programming the ESP32
Step 1: Install Required Libraries
- WiFi library (built-in for ESP32)
- HTTPClient library
Step 2: Configure Wi-Fi Credentials
Set your SSID and password in the code to allow the ESP32 to connect to the internet.
Step 3: Add API Details
Include:
- API endpoint URL
- API key/token
- Phone number (with country code)
- Message content
Step 4: Trigger Condition
Define when the message should be sent (e.g., button press or sensor reading).
Code Logic Explained
- Connect to Wi-Fi
- Monitor input pin (button or sensor)
- When triggered:
- Create HTTP request
- Send data to cloud API
- Receive response
Print status on Serial Monitor
Testing the Project
Upload the code to ESP32
Open Serial Monitor
Press the button (or trigger input)
Check your WhatsApp for the message
Applications
Home automation alerts
Security systems
Industrial monitoring
IoT-based notification systems
Smart agriculture alerts
Tips for Better Performance
Ensure a stable Wi-Fi connection
Use debounce logic for button inputs
Handle API response errors properly
Keep the API key secure
Conclusion
This ESP32 WhatsApp notification project demonstrates a modern way to send WhatsApp messages using an ESP32 without additional hardware like GSM modules. By leveraging cloud APIs, you can build scalable IoT systems that deliver real-time notifications efficiently and reliably. Explore innovative ESP32 projects featuring IoT automation, wireless communication, smart home systems, sensor integration, and real-time cloud connectivity for modern embedded applications.