Imagine a fan that tracks your every move, ensuring a cool and refreshing breeze is always directed towards you. This is SmartBreeze, a Face-Tracking Fan Powered by Vision AI Module and Seeed Studio XIAO ESP32S3
f you're someone like me, who loves using a fan to beat the hotness in summer, you might get this crazy idea as I did since I was a child. Imagine a fan that effortlessly tracks your every move, ensuring a cool and refreshing breeze is always directed towards you. Yes, a fan that doesn't require any manual adjustments or discomfort from stagnant air.
Now in a world where no-code computer vision is already possible and accessible, it's time to bring this fan to life. Please meet SmartBreeze Face-Tracking Fan: experience refreshment automation with Vision AI on MCU!
Acknowledgment! This project is an adaptation from a Seeed Studio wiki, where you can also explore other 2 cool projects using Grove Vision AI V2, including a Gesture-Controlled Mouser and an Automatic Lock.
Materials Needed
Step 1: Upload Face Recognition Model to Grove Vision AI V2
Connect your Grove Vision AI V2 to your computer. Ensure the device is properly connected via the USB interface.
Open SenseCraft AI. SenseCraft AI is a web-based platform developed by Seeed, that allows users to deploy pre-trained and custom AI models on Seeed Edge devices with ease. It offers instant visualization of inference results for quick performance evaluation. Currently, SenseCraft AI natively supports devices of Seeed reComputer (NVIDIA Jetson), Seeed Studio XIAO ESP32S3 Sense Board, and Grove Vision AI modules.

Connect Grove Vision AI Module to SenseCraft AI
Upload the Face Recognition Model. Select and upload the face recognition model suitable for real-time tracking.
Preview and Test. Use the preview wi
ndow in SenseCraft AI to ensure the model correctly identifies and tracks faces.
Deploy the Face Detection Model to Grove Vision AI V2
Title here
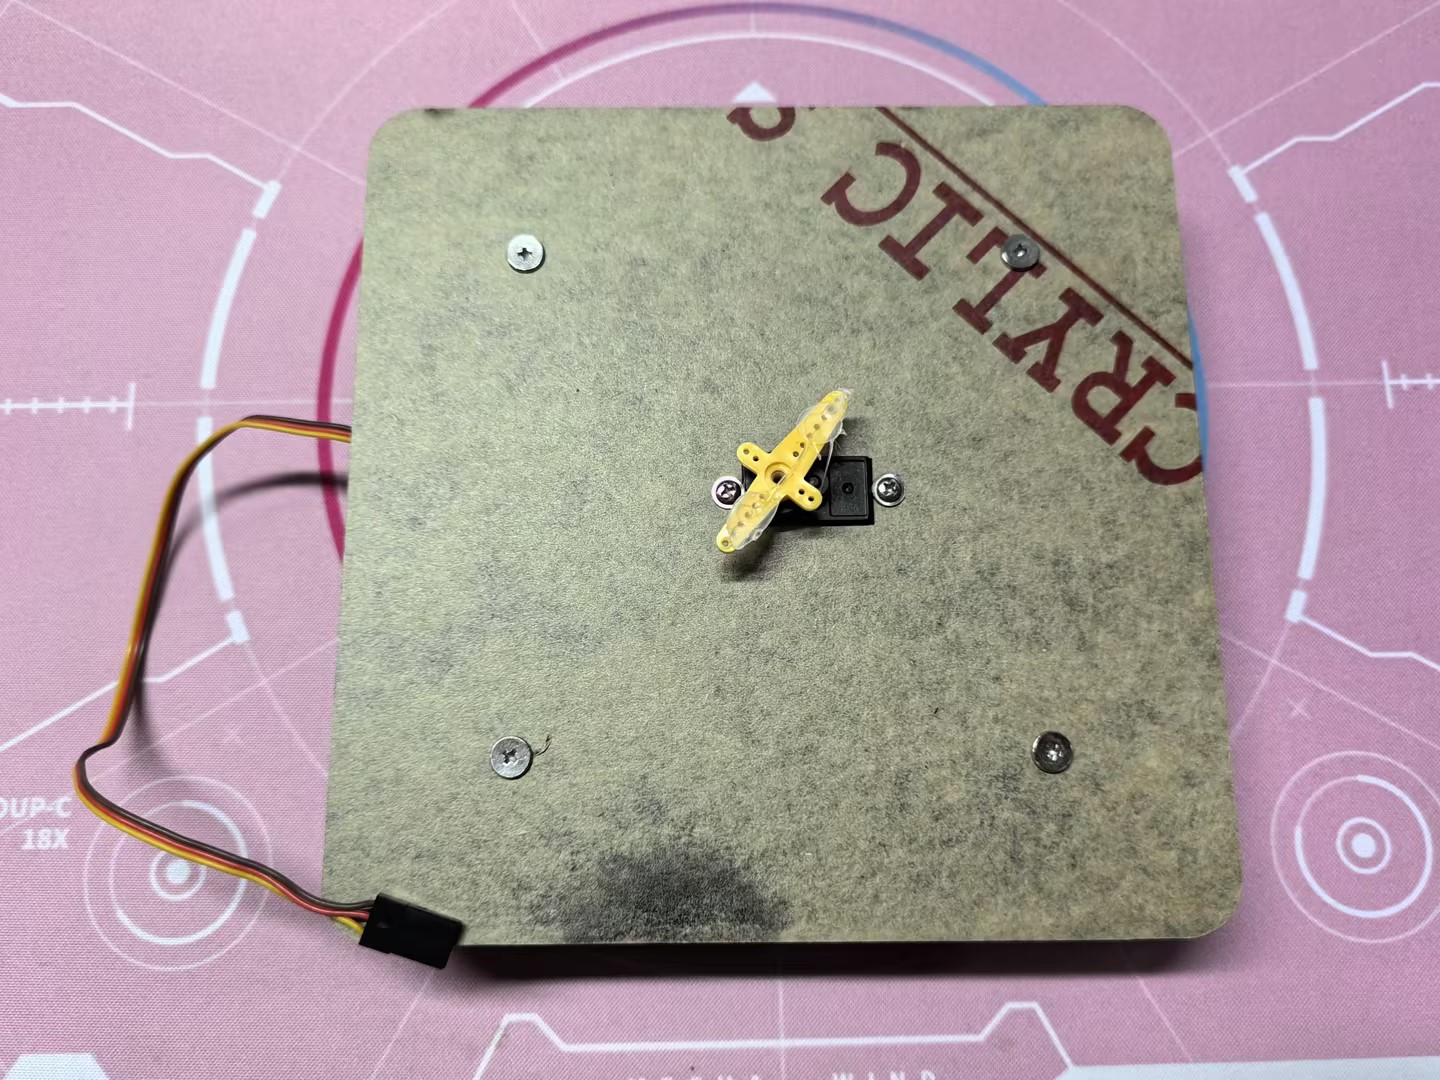
Step 2: Preparing the Fan and Rotating Mechanism
Attach the Fan to the ServoBase
Secure the fan onto the servo motor using hot melt glue. Ensure it is stable and balanced.
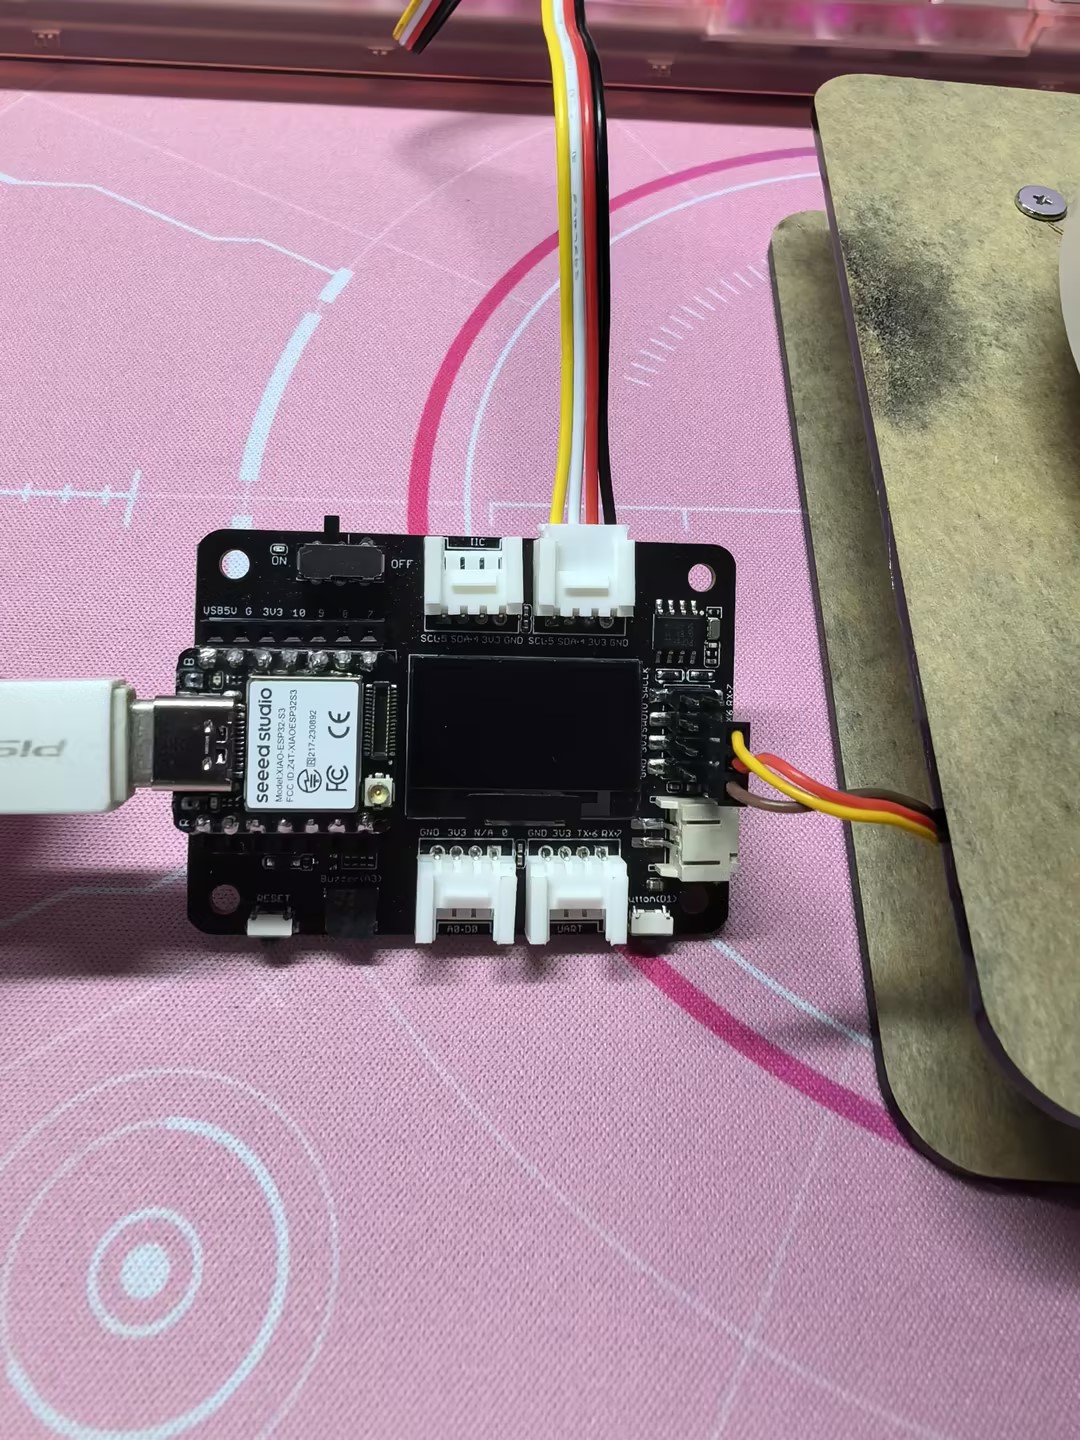
Connect Servo to XIAO ESP32S3.
Connect the servo wires to the D6 pin on the XIAO ESP32S3. Power the servo with a 5V connection.
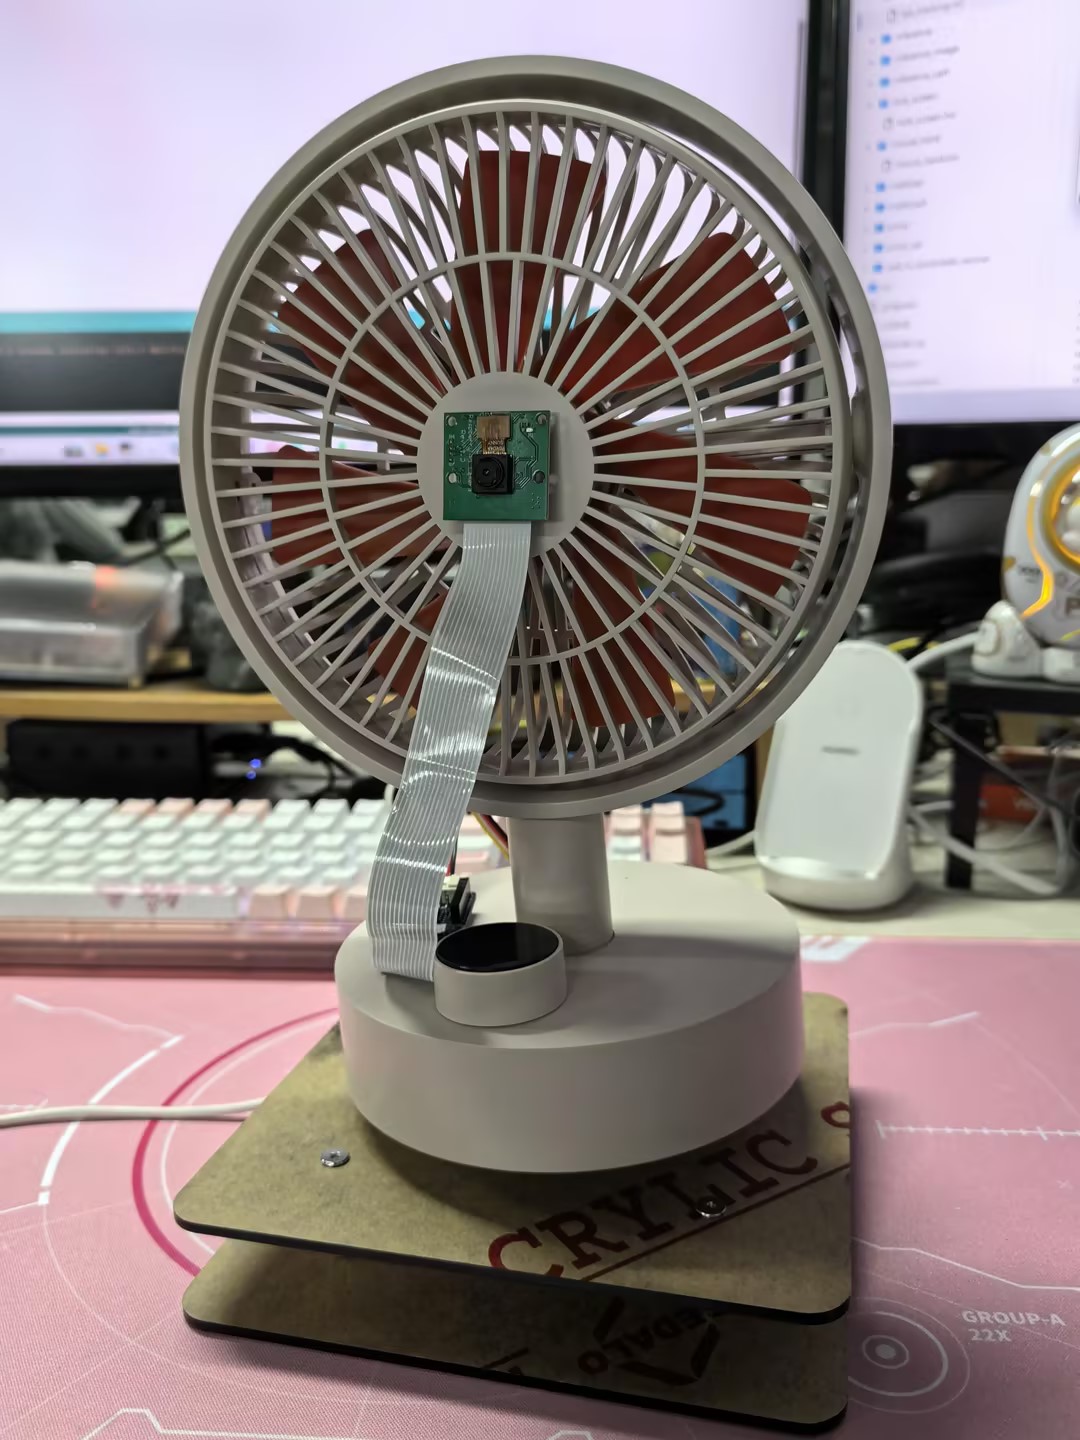
Install the Grove Vision AI V2.
Attach the Grove Vision AI V2 to the XIAO using the Grove interface on the Expansion Board Base for XIAO. Place the camera so it faces forward, ideally at the center of the fan.
Secure the Entire Setup.
Use hot melt glue or screws to ensure all components are securely mounted and connections are stable. Make sure to glue the Grove Vision AI V2's camera in the middle of the fan.
So, the system schematics look like this.
Step 3: Upload Program to XIAO
Open Arduino IDE. Copy the provided code into a new Arduino sketch. Please make sure you select the correct board (XIAO ESP32S3) and port in the Arduino IDE before you upload the Code. When everything is confirmed, compile and upload the sketch to your XIAO ESP32S3.
#include <Seeed_Arduino_SSCMA.h>
SSCMA Infer;

void stop_rotate(void)
{
    digitalWrite(D6, HIGH);
    delayMicroseconds(1500);
    digitalWrite(D6, LOW);
}

void servo_rotate(int rtime, bool revers = false)
{
    uint32_t sleep;
    if (revers)
    {
        sleep = 2500;
    }
    else
    {
        sleep = 500;
    }
    digitalWrite(D6, HIGH);

    delayMicroseconds(sleep);
    digitalWrite(D6, LOW);
    delay(30 * rtime);
    stop_rotate();
}

void setup()
{
    Infer.begin();
    Serial.begin(9600);
    pinMode(D6, OUTPUT);
}

void loop()
{
    if (!Infer.invoke())
    {
        if (Infer.boxes().size() > 0)
        {
            if (Infer.boxes()[0].x < 80)
            {
                servo_rotate(1, true);
            }
            else if (Infer.boxes()[0].x > 140)
            {
                servo_rotate(1, false);
            }
            Serial.print("X==>>");
            Serial.print(Infer.boxes()[0].x);
            Serial.print("Y==>>");
            Serial.println(Infer.boxes()[0].y);
        }
    }
}
The code is structured as follows:
Library Inclusion:
It enables inferencing with the Grove Vision AI V2.
Object Declaration:
Creates an instance of the SSCMA class for inferencing.
stop_rotate Function:
Stops the rotation of the servo motor by sending a specific pulse width.
servo_rotate Function:
Rotates the servo motor for a specified duration and direction.
rtime: Determines the rotation duration in units of 30 milliseconds.
revers: Specifies the rotation direction (true for reverse, false for forward).
Setup Function:
Initializes the Grove Vision AI V2, serial communication, and configures the servo motor pin (D0) as an output.
Loop Function:
- Continuously invokes the inferencing process.
- If an object is detected:1) If the object's x-coordinate is less than 80, the servo motor rotates in the reverse direction for a short duration.2) If the object's x-coordinate is greater than 140, the servo motor rotates in the forward direction for a short duration.
- Prints the x and y coordinates of the detected object to the serial monitor.
Power the System.
Connect the XIAO ESP32S3 to a power source.
Monitor the Output.
Watch the serial monitor in the Arduino IDE to see the output coordinates of detected faces.
Adjust the Fan's Response.
If necessary, adjust the threshold values in the code (80 and 140) to optimize the fan’s responsiveness to face movement.
Fine-tune the Servo Settings.
Depending on your servo's specifications, you might need to tweak the pulse width in the servo_rotate function for optimal performance.
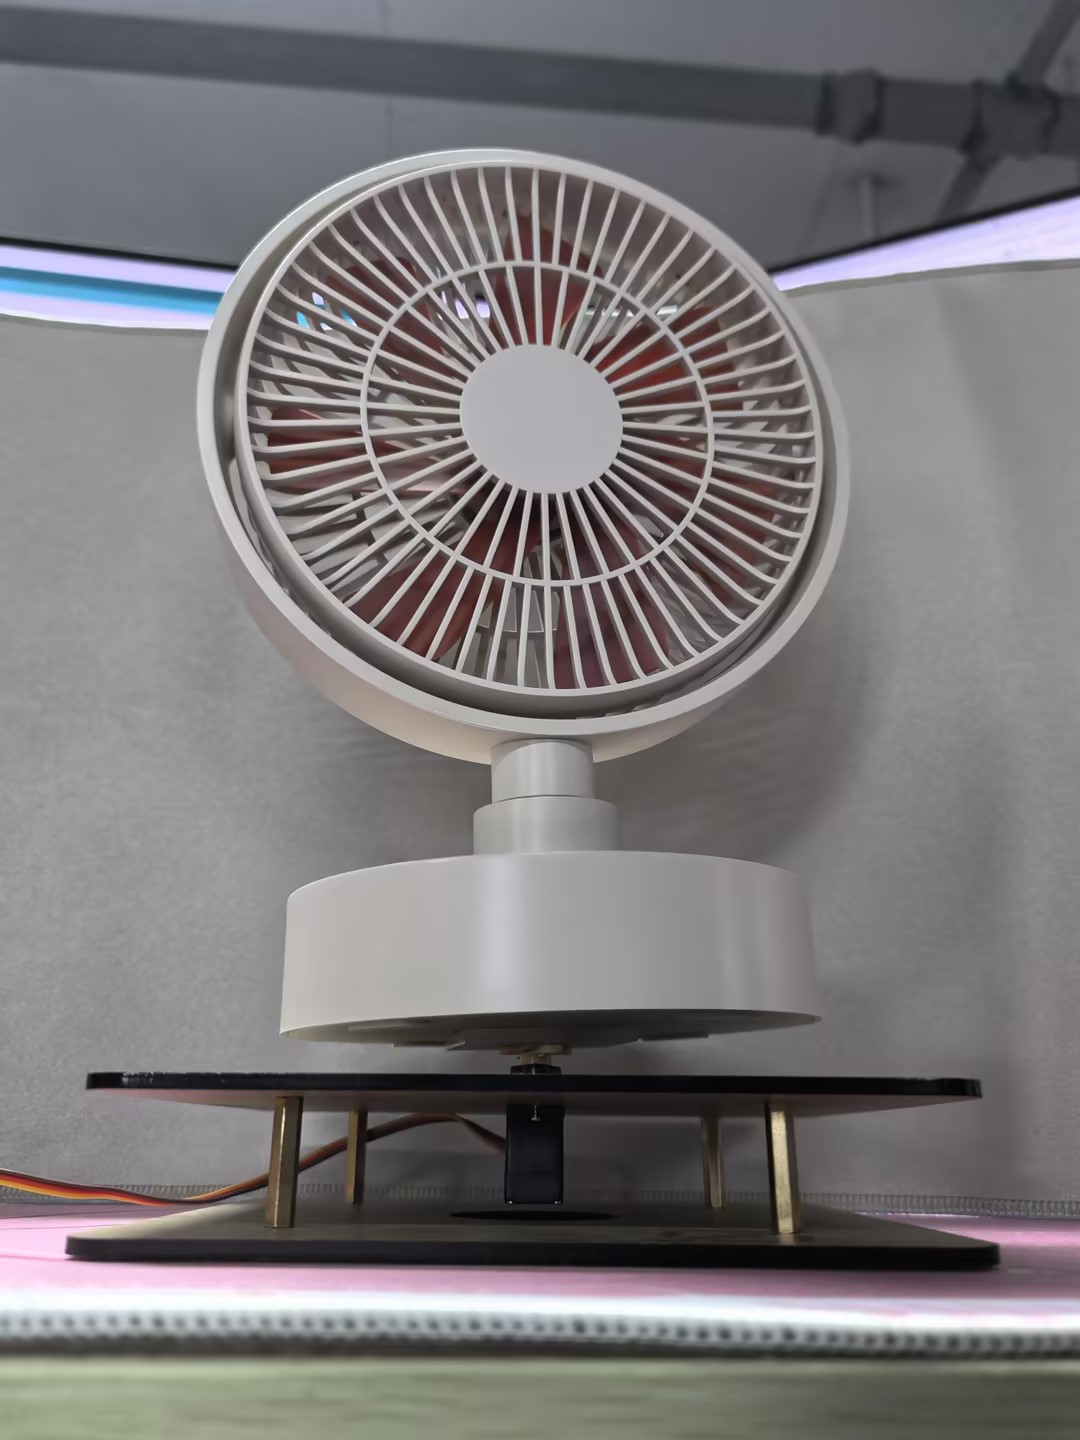
Viola! Meet SmartBreeze Face-Tracking Fan
Here is the very COOL fan that always follows you!