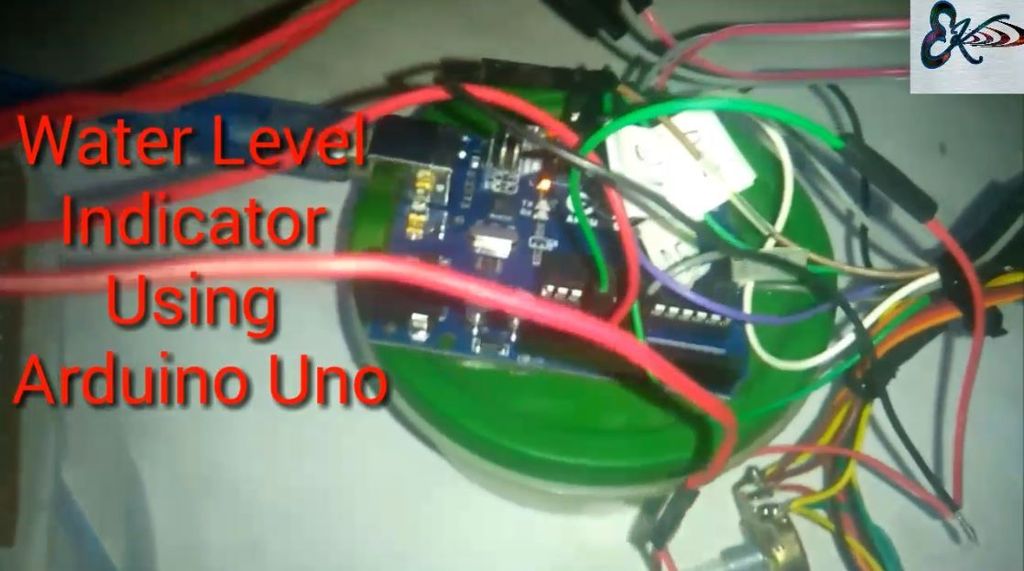
It was a simple water level indicator using SR-04 Ultrasonic Sensor.
Hello guys and welcome to a new project. Today I decided to share one of my first project that I made using Arduino Board. It was a simple water level indicator using SR-04 Ultrasonic Sensor. Do read this full instructable to know how to make it. Also let know if you like it.
Step 1: Things We Need
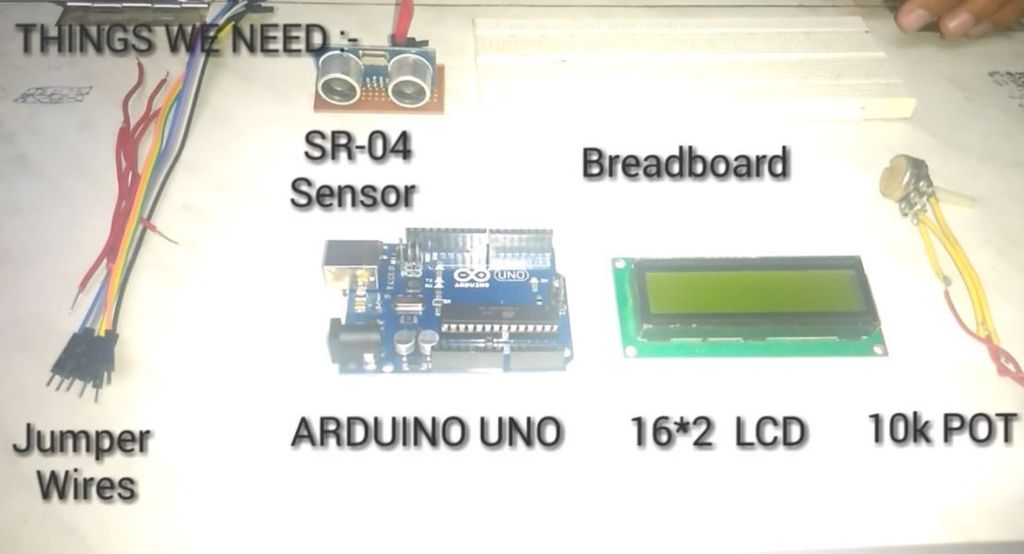
So lets get to the component list -
For this project we need
An Arduino Uno Board
SR-04 Ultrasonic Sensor
16 * 2 LCD
10 K POT
Bread Board
And Header wires
Step 2: Working of This Project
The working of this project is quite simple and I tried my best to explain it all to you guys. Here the ultrasonic ranging module is placed on top of the tank facing the water surface. The water reflects the ultrasonic pulses emitted by the module. The module picks the reflected waves and also measures the time lag. The distance between the water surface and the sensor is calculated from the collected data and the module outputs a pulse whose width is proportional to the distance.The Arduino reads the width of this output pulse and does necessary math on it to get the distance. Here we can see that the water level is measured from top to bottom unlike most sensors which measure the level from bottom to top. This is done to make this device suitable for a wide range of depths. Since the sensor is placed on top of the tank we need to subtract the distance from the sensor to the water surface from the total depth of the tank in order get the level of water from bottom to top. Since different tanks have different depths the individual user has to measure the depth of the tank manually and alter the program with this data. This problem is solved by measuring the level from top to bottom. In the video the height of the tank/container is 8cm from the ultrasonic sensor to the bottom. Therefore, if the measure of the ultrasonic sensor is greater than 7.2 the lcd displays "TANK EMPTY" If the measure is greater than 6 cm then the lcd displays "FILLING" If the measure is greater than 4.8 cm then the lcd displays "HALF FILLED" If the measure is greater than 3.6 cm then the lcd displays "TANK FULL" If the measure is greater than 2.4 cm then the lcd displays "OVERFLOW" This is the basic working of the water level indicator.
Step 3: Connections
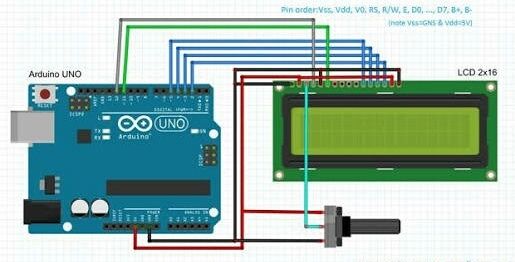
The connections are simple and will take about 15 minutes to assemble the entire project.
Refer the lcd connections from above.
LCD ARDUINO
PIN 1, 5, 16 ARDUINO GROUND
PIN 2, 15 ARDUINO 5V
PIN 4, 6 ARDUINO PIN 12 AND 11
PIN 11, 12 ARDUINO PIN 5 AND 4
PIN 13,14 ARDUINO PIN 3 AND 2
The 10k ohm pot is used to adjust the contrast of the LCD.
Then connect the SR04 sensor to the Arduino as follows -
SR04 ARDUINO
VCC PIN ARDUINO 5V
GND PIN ARDUINO GROUND
ECHO PIN ARDUINO PIN 7
TRIGGER PIN ARDUINO PIN 8
Once the connections are done. Connect your Arduino Board to your computer.
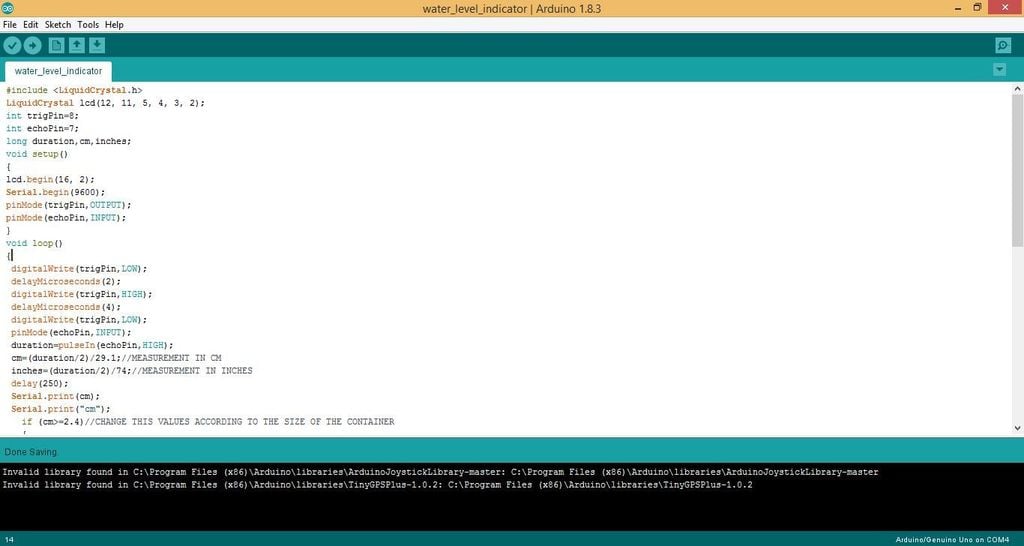
Step 4: Coding
Now upload the code to your Arduino Board. You can either copy it from here or you can download the .ino file from below.
#include<LiquidCrystal.h>
LiquidCrystal lcd(12, 11, 5, 4, 3, 2);
int trigPin=8;
int echoPin=7;
long duration,cm,inches;
void setup()
{
lcd.begin(16, 2);
Serial.begin(9600);
pinMode(trigPin,OUTPUT);
pinMode(echoPin,INPUT);
}
void loop()
{
 digitalWrite(trigPin,LOW);
 delayMicroseconds(2);
 digitalWrite(trigPin,HIGH);
 delayMicroseconds(4);
 digitalWrite(trigPin,LOW);
 pinMode(echoPin,INPUT);
 duration=pulseIn(echoPin,HIGH);
 cm=(duration/2)/29.1;//MEASUREMENT IN CM
 inches=(duration/2)/74;//MEASUREMENT IN INCHES
 delay(250);
 Serial.print(cm);
 Serial.print("cm");
   if (cm>=2.4)//CHANGE THIS VALUES ACCORDING TO THE SIZE OF THE CONTAINER
   {
 {
   lcd.setCursor(1, 0);
   lcd.print("  OVERFLOW   ");
 }
  if (cm>=3.6)
  {
 {
   lcd.setCursor(1, 0);
   lcd.print("  TANK FULL  ");
 }
  if (cm>=4.8)
 {
  {
   lcd.setCursor(1, 0);
   lcd.print("  HALF FILLED  ");
 }
 if (cm>=6)
 {
  {
   lcd.setCursor(1, 0);
   lcd.print("    FILLING    ");
 }
 if(cm>7.2)
 {
  {
   lcd.setCursor(1, 0);
   lcd.print("  TANK EMPTY   ");
  }
 }}}}}
 delay(1000);
}
This was my first Arduino Project. So please forgive my coding skills but this code worked for me and hope it will work for you too.
Step 5: Video of the Project
I have attached a video of the working of this project below. If you are unable to download the video then you can see the gif I included (#data saver). If you plan on making this project or already made it do let me know through the comments. Lastly, don't forget to share it with your friends and do follow me here to see more amazing projects.You can also check out the project which I published earlier. That's it for today see you guys soon with another project.