Learn the important parts of an Arduino, how to download the Arduino IDE, and how to complete a simple test project!
The Arduino is a platform for makers, hobbyists, and professionals alike to create microcontroller projects with ease. Only requiring a USB connection, these devices are easily programmed with a simple to use program. Complex parts such as displays, sensors, as well as software platforms (such as Adafruit IO), are easy to use thanks to the wide range of libraries available for the Arduino IDE. But what IS the Arduino?
Arduino Fundamentals
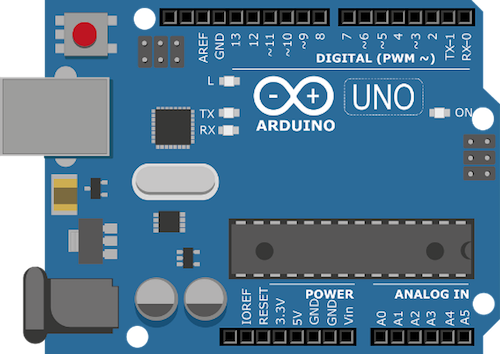
At its core, the Arduino is an entire microcontroller development board that includes a USB connection, power regulation, and access to GPIO that make microcontroller projects easy. Since the Arduino platform is open source many different companies produce their own Arduinos (one of the main reasons why they are very cost effective).
Arduinos often have GPIO headers or connectors that allow you to connect them to external circuits which is incredibly useful in projects that need to use external circuits including buttons, LEDs, displays, and sensors.
Along with the GPIO headers or connectors, Arduinos will also typically have several mounting holes, so the board can be screwed down securely which is useful when using the GPIO sockets. Arduinos that have soldered sockets (Uno, Mega, and the Due for example), do not require any soldering at all since wires can easily be inserted into the individual socket holes.
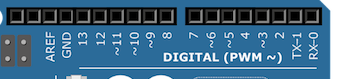
Some of the headers found on the Arduino Uno.
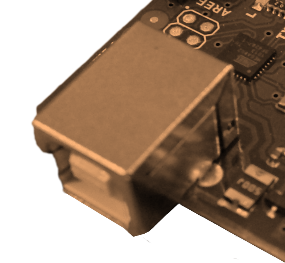
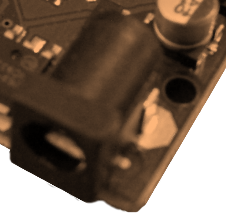
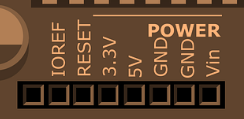
Arduinos can be powered in a number of ways including the USB connection itself, a DC jack, and even from the GPIO header itself.
Arduino Uno power sockets
Installing the Arduino IDE on Windows
Installing the Arduino IDE is easy on most operating systems and the IDE can be downloaded from the Arduino website.
When the IDE downloads, run the executable and follow the onscreen instructions to install the software. After the IDE installs you should have a desktop icon for loading the Arduino IDE.
At this point, you need to connect your Arduino Uno to the PC using a USB cable.
While most modern operating systems should recognize the Arduino as a serial port automatically some systems may not. If this is the case, then you will need to install drivers whose installation instructions can be found here.
Configuring the Arduino IDE
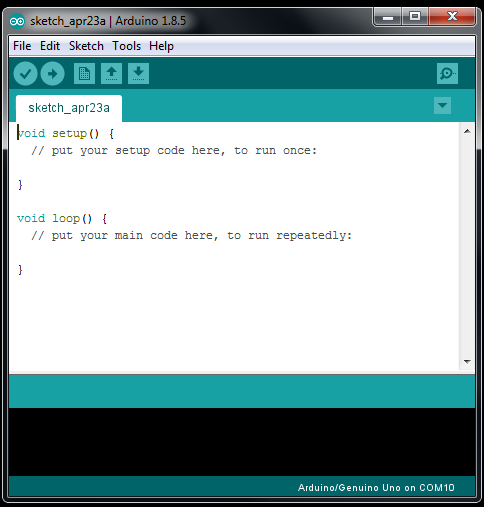
With the IDE loaded you should be presented with a similar window as shown below.
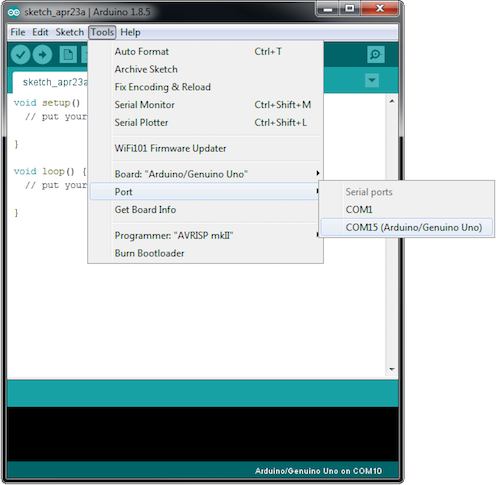
Before we can load an example project to test the Arduino, we need to configure the IDE to use the Arduino that is connected to the computer. To do this, navigate to Tools > Port and then look for the COM port that is your Arduino.
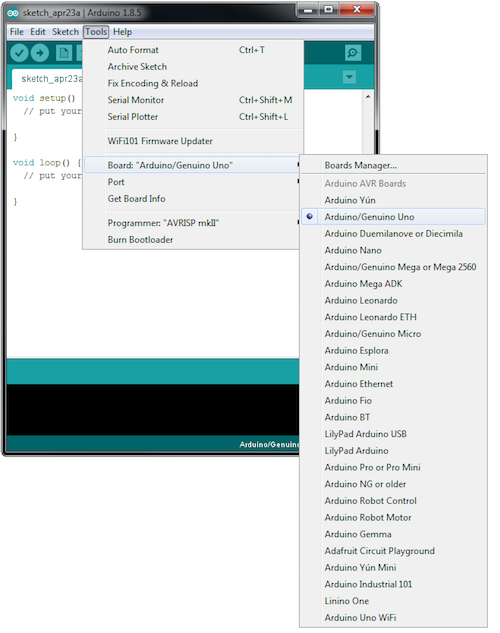
With the port selected you will also need to tell the IDE what board you are using. Since this example uses the Arduino Uno you will need to tell the IDE that you are using the Uno. To do this, navigate to Tools > Board and then select “Arduino / Genuino Uno”.
Running the Blink Example
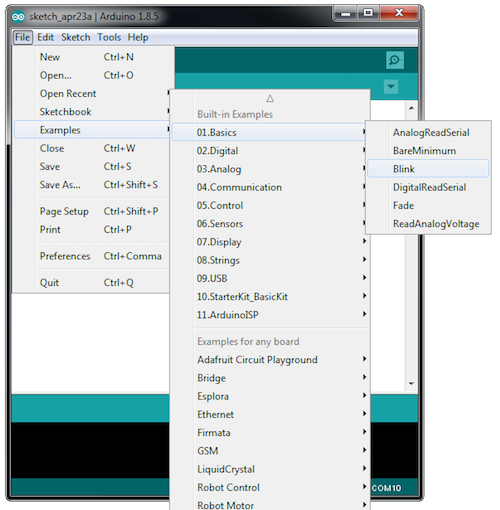
With the Arduino connected and the IDE configured we can load the blink example which will blink the onboard LED on the Arduino. To load this project, navigate to File > Examples > 0.1Basics > Blink.
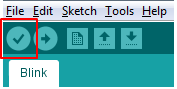
When the example loads (in a new IDE window) you will need to compile the code first. The Arduino is a small machine that can only read machine code, but code written in the IDE is in a language called C. Therefore, for the Arduino to understand the C instructions we have to convert them into machine code (this can be thought of as a translation of English to French or vice versa). This translation is called compilation and so to compile the code click the “Verify” button shown below.
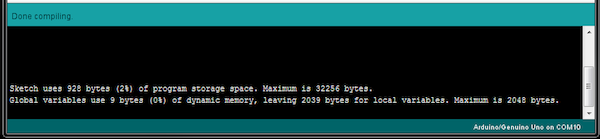
Once the IDE has finished compiling the Blink example you should see a similar output from the output window at the bottom of the IDE. The output window is useful for seeing build successes, errors, warnings, and memory usage.
The last step is to program the Arduino itself! To do this, click the Upload button which is the right-pointing arrow to the right of the Verify button.
The Arduino's onboard LED light should now be blinking, and you have just uploaded your first Arduino program to the Arduino Uno!