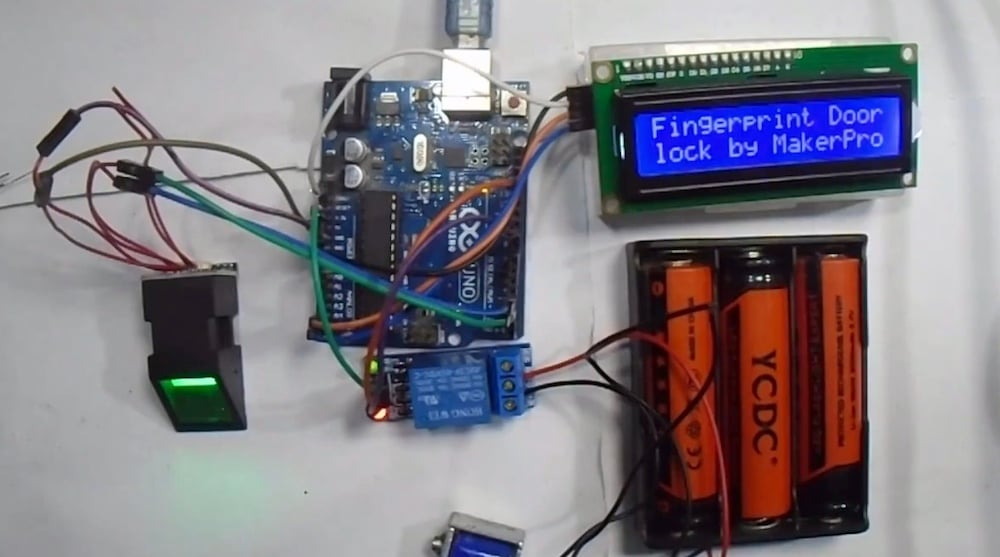
Learn how to create fingerprint-controlled doorlock with a sensor module, an I2C LCD, and an Arduino UNO.
In this tutorial, I'm going to show you how to build a door lock that uses a fingerprint sensor and an Arduino UNO. This door lock will only open the door when the user scans the right fingerprint that is recorded on the system, but the door will remained close upon entering the wrong fingerprint.
Circuit Diagram and Explanation
First of all, connect the fingerprint sensor to the Arduino UNO. Make sure you get a fingerprint sensor that works with the Arduino through the serial communication.
The default pins for serial communication on the Arduino UNO are pin 0 (RXD) and pin 1 (TXD) of the board, but we are going to use other pins for serial communication. For this project, we will use the SoftwareSerial library in the code.
Here are the required connections between the fingerprint sensor and the UNO:
Then connect the I2C LCD module to the UNO. The connections are as follows:
After that, connect the relay module to the Arduino UNO as shown in the circuit diagram below.
Fingerprint door lock circuit diagram.
For controlling the door lock, you will need a battery source from 7 to 12V—I used three 18650 cells.
Download the Project Libraries
The libraries for fingerprint sensor and I2C LCD are easily available.
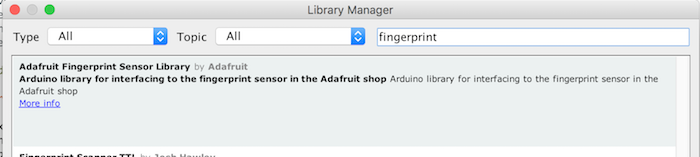
To install the Adafruit Fingerprint library, open up the Arduino Library Manager and type in "fingerprint" and you will see the Adafruit Fingerprint library pop up. Click install.
Type "fingerprint" into the Arduino Library Manager to find the correct library.
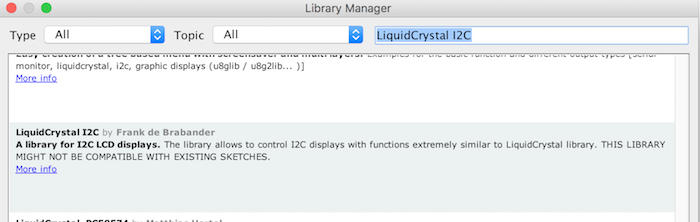
You can install the LiquidCrystal I2C library in the same way. Search for "LiquidCrystal I2C" and you will be able to see this library:
Type "liquidcrystal I2C' into the Arduino Library Manager to find the correct library.
Code Walkthrough and Explanation
Let's take a look at the sections of code and what purpose they serve in the project. For your convenience, full code for this project is available for download at the end of this article.
The software serial library will allow us to use other pins than the default 0, 1 pins for the serial communication. Copy the code from the section below and upload it.
#include <Adafruit_Fingerprint.h>
#include <LiquidCrystal_I2C.h>
#include <SPI.h>
#include <SoftwareSerial.h>
SoftwareSerial mySerial(2, 3);
In the setup function, set the baud rate at which the fingerprint sensor works. Then, check whether the fingerprint sensor is communicating with the Arduino or not.
finger.begin(57600);

  if (finger.verifyPassword()) {
    lcd.setCursor(0, 0);
    lcd.print("  FingerPrint ");
    lcd.setCursor(0, 1);
    lcd.print("Sensor Connected");
  }
  else  {
    lcd.setCursor(0, 0);
    lcd.print("Unable to found");
    lcd.setCursor(0, 1);
    lcd.print("Sensor");
    delay(3000);
    lcd.clear();
    lcd.setCursor(0, 0);
    lcd.print("Check Connections");

    while (1) {
      delay(1);
    }
  }
Now we need to set up your actual fingerprint! The following code section is for the user to place their finger on the fingerprint scanner that will convert the fingerprint into an image.
uint8_t p = finger.getImage();
  if (p != FINGERPRINT_OK)  {
    lcd.setCursor(0, 0);
    lcd.print("  Waiting For");
    lcd.setCursor(0, 1);
    lcd.print("  Valid Finger");
    return -1;
  }

  p = finger.image2Tz();
  if (p != FINGERPRINT_OK)  {
    lcd.clear();
    lcd.setCursor(0, 0);
    lcd.print("  Messy Image");
    lcd.setCursor(0, 1);
    lcd.print("  Try Again");
    delay(3000);
    lcd.clear();
    return -1;
  }
p = finger.fingerFastSearch();
  if (p != FINGERPRINT_OK)  {
    lcd.clear();
    lcd.setCursor(0, 0);
    lcd.print("Not Valid Finger");
    delay(3000);
    lcd.clear();
    return -1;
  }
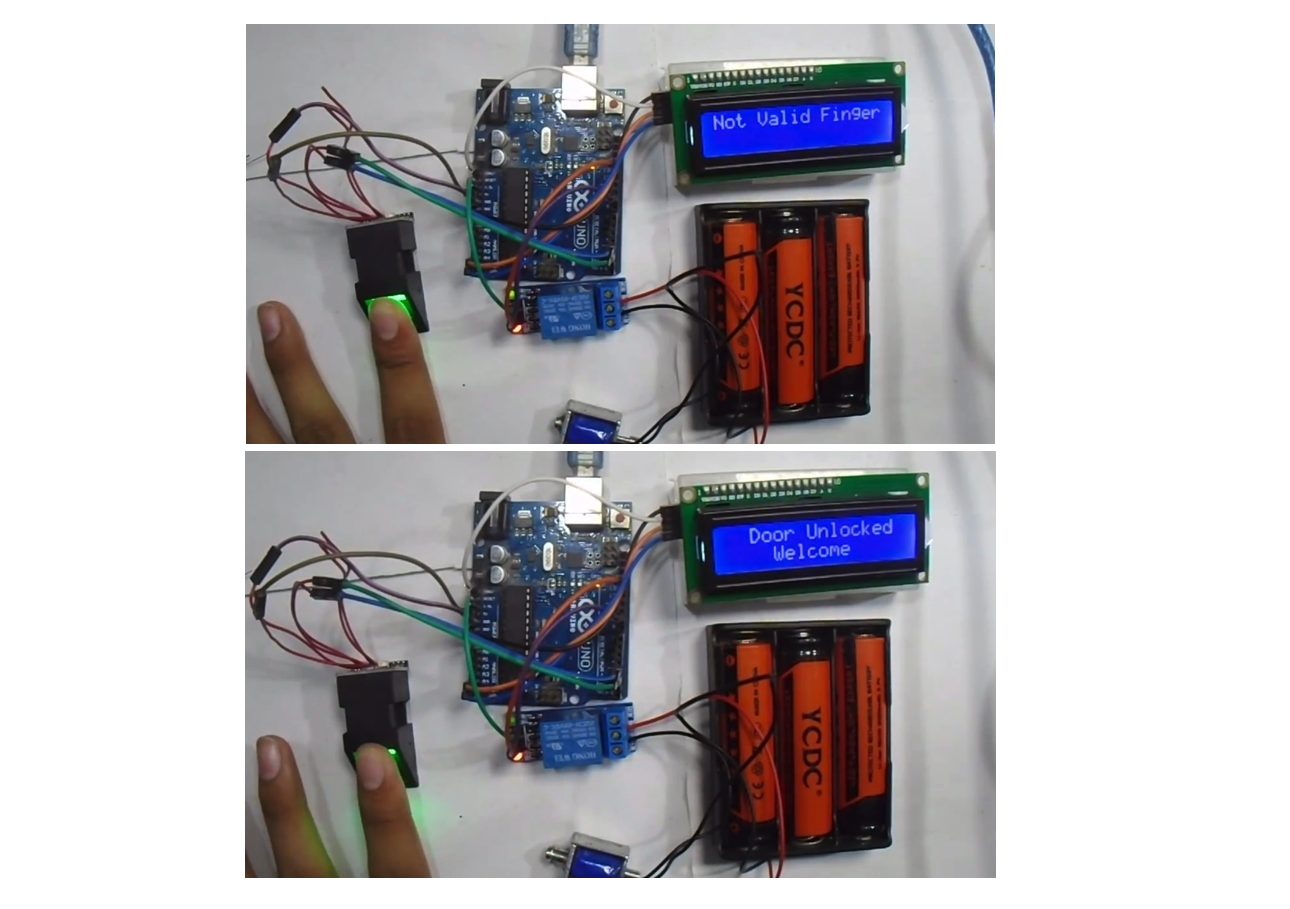
If the image is messy, it will ask to scan your finger again in order to have a good fingerprint image that will be compared to the saved images of all the fingerprints in your system. Upon matching the image, the door will open. Otherwise, the door will remain closed.
Place your finger on the sensor so the system can create a picture of your fingerprint.
Once the system receives a clear fingerprint, your door lock is ready to use!