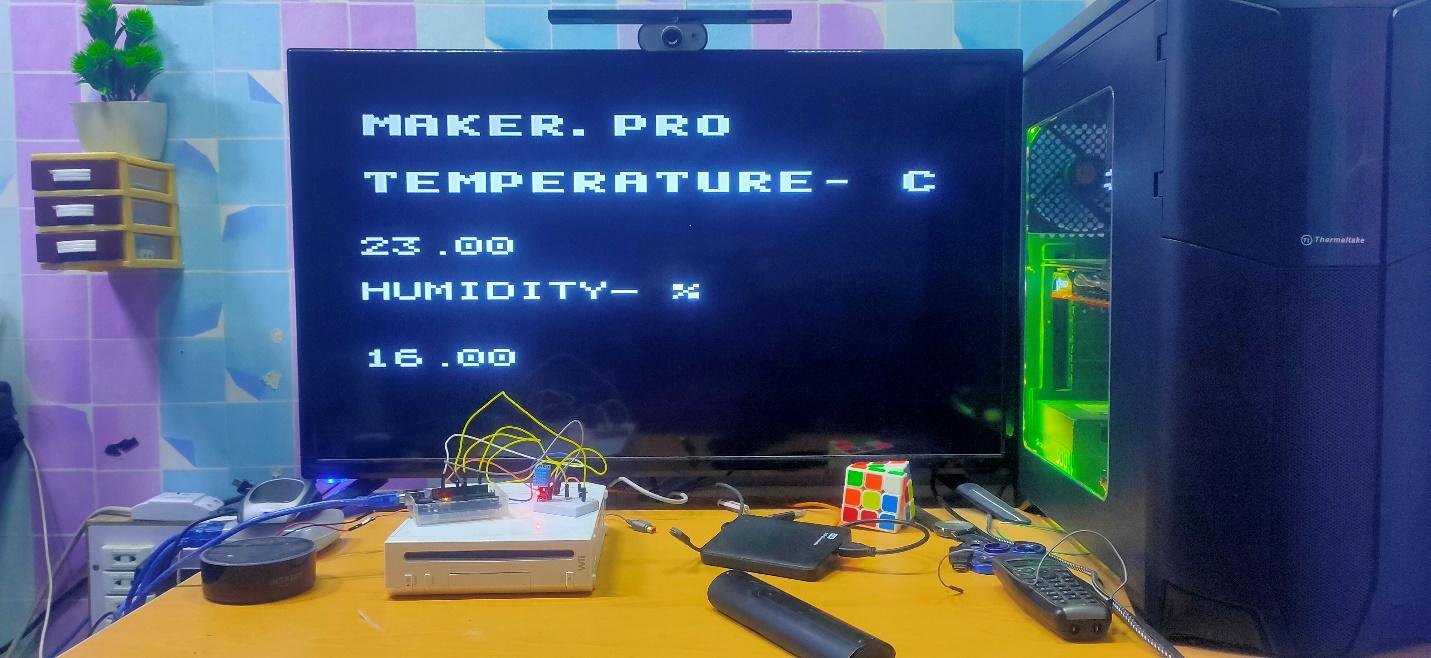
In this article, you will learn how to display sensor data from an Arduino to your TV!
We will do this using an old-school RCA cable, which will connect the Arduino to the TV via RCA input. The TVoutlibrary will help us to use our Arduino with RCA.
The Arduino Uno isn’t powerful enough to display content via HDMI the way Raspberry Pi boards can. However, it is capable of displaying simple black and white interfaces via RCA, which can still be fun to play with. So, if you don’t have a Raspberry Pi but want a way for your Arduino to display information, this is the setup for you!
The information we display on the TV comes from a DHT11 temperature and humidity sensor module connected to the Arduino.
Required Hardware
- Arduino UNO
- DHT11 Sensor
- TV
- 470 Ohm Resistor
- 1k Ohm Resistor
- Spare RCA cord cable (one that you don't mind cutting up)
- Jumper Cables
- Breadboard
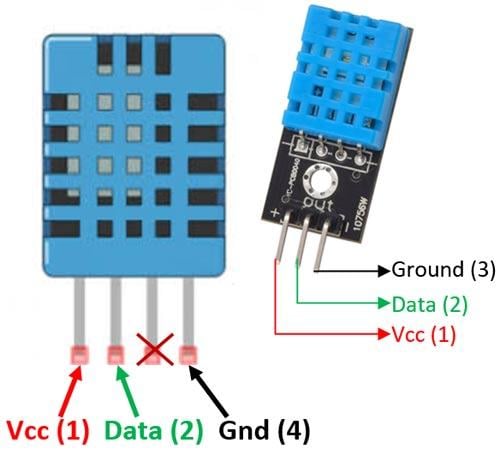
What is a DHT11 Sensor?
A DHT11 is used to collect temperature and humidity readings. It can be purchased as a stand-alone sensor or as a module.
The DHT11 sensor (left) and module (right).
The sensor comes with a 4-pin package and the module comes with a 3-pin package. The main difference between these two options is that the module has a pull-up resistor and a filtering capacitor built-in. For the sensor, you will have to use them externally if they’re required.
The module also comes with a built-in 8-bit microcontroller, known as NTC. This microcontroller outputs the sensor data in serial. It has a range of measurement from 0°C to 50°C for temperature and 20% to 90% for humidity with an accuracy of +/-1%.
Wiring
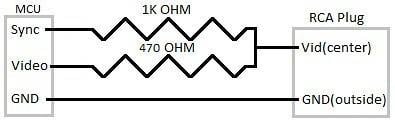
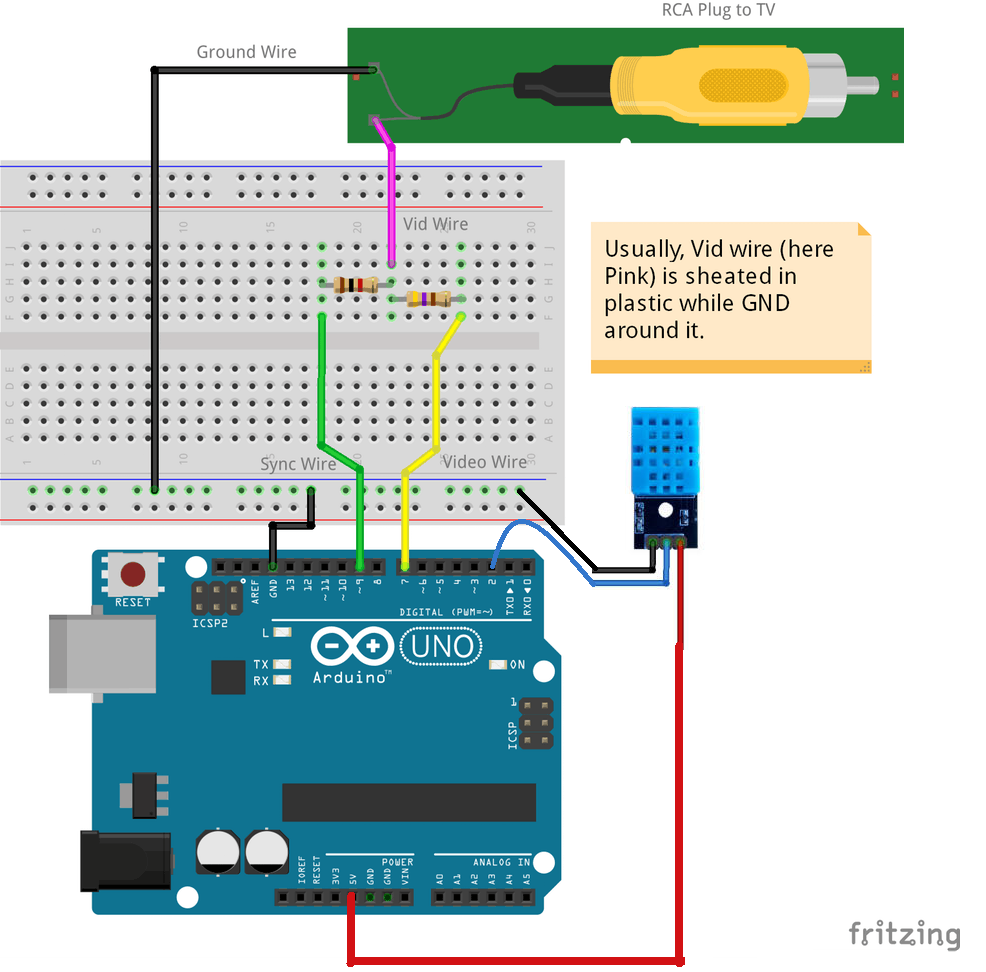
RCA cables have two wires: video data and ground. The ground connects to the ground of the Arduino. On the Arduino side, there are three wires: sync, video, and ground. The sync and video wires will connect to the RCA video wire via two resistors as shown below.
Connections between the Arduino and the RCA plug.
It is also possible to get audio out from an Arduino. It depends on what you want to do with your project (if you need audio or video or both). Depending on which Arduino board you have, follow the table below for the correct GPIO pins that can be used with RCA.
Follow the Fritzing diagram shown below to interface the sensor and RCA cable with Arduino. Arduino Nano and the Arduino micro will also use this same pin wiring.
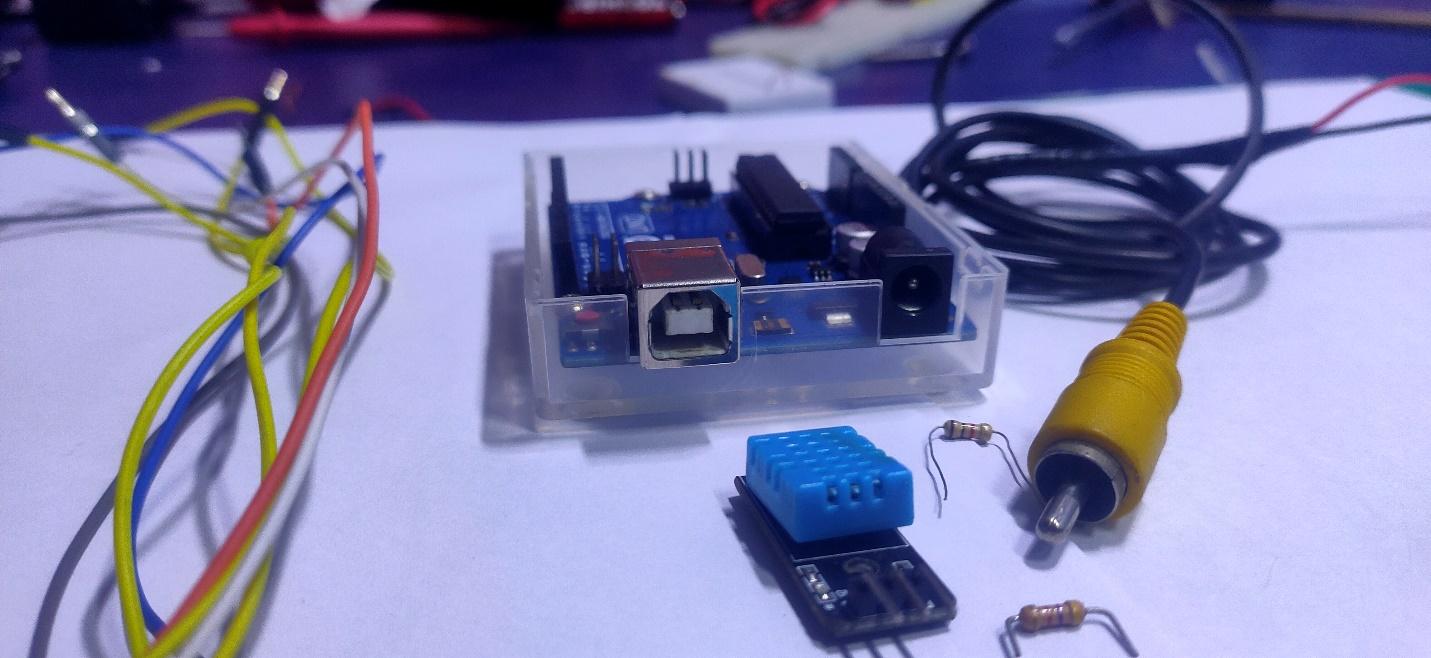
All of our hardware is connected!
Software Requirements
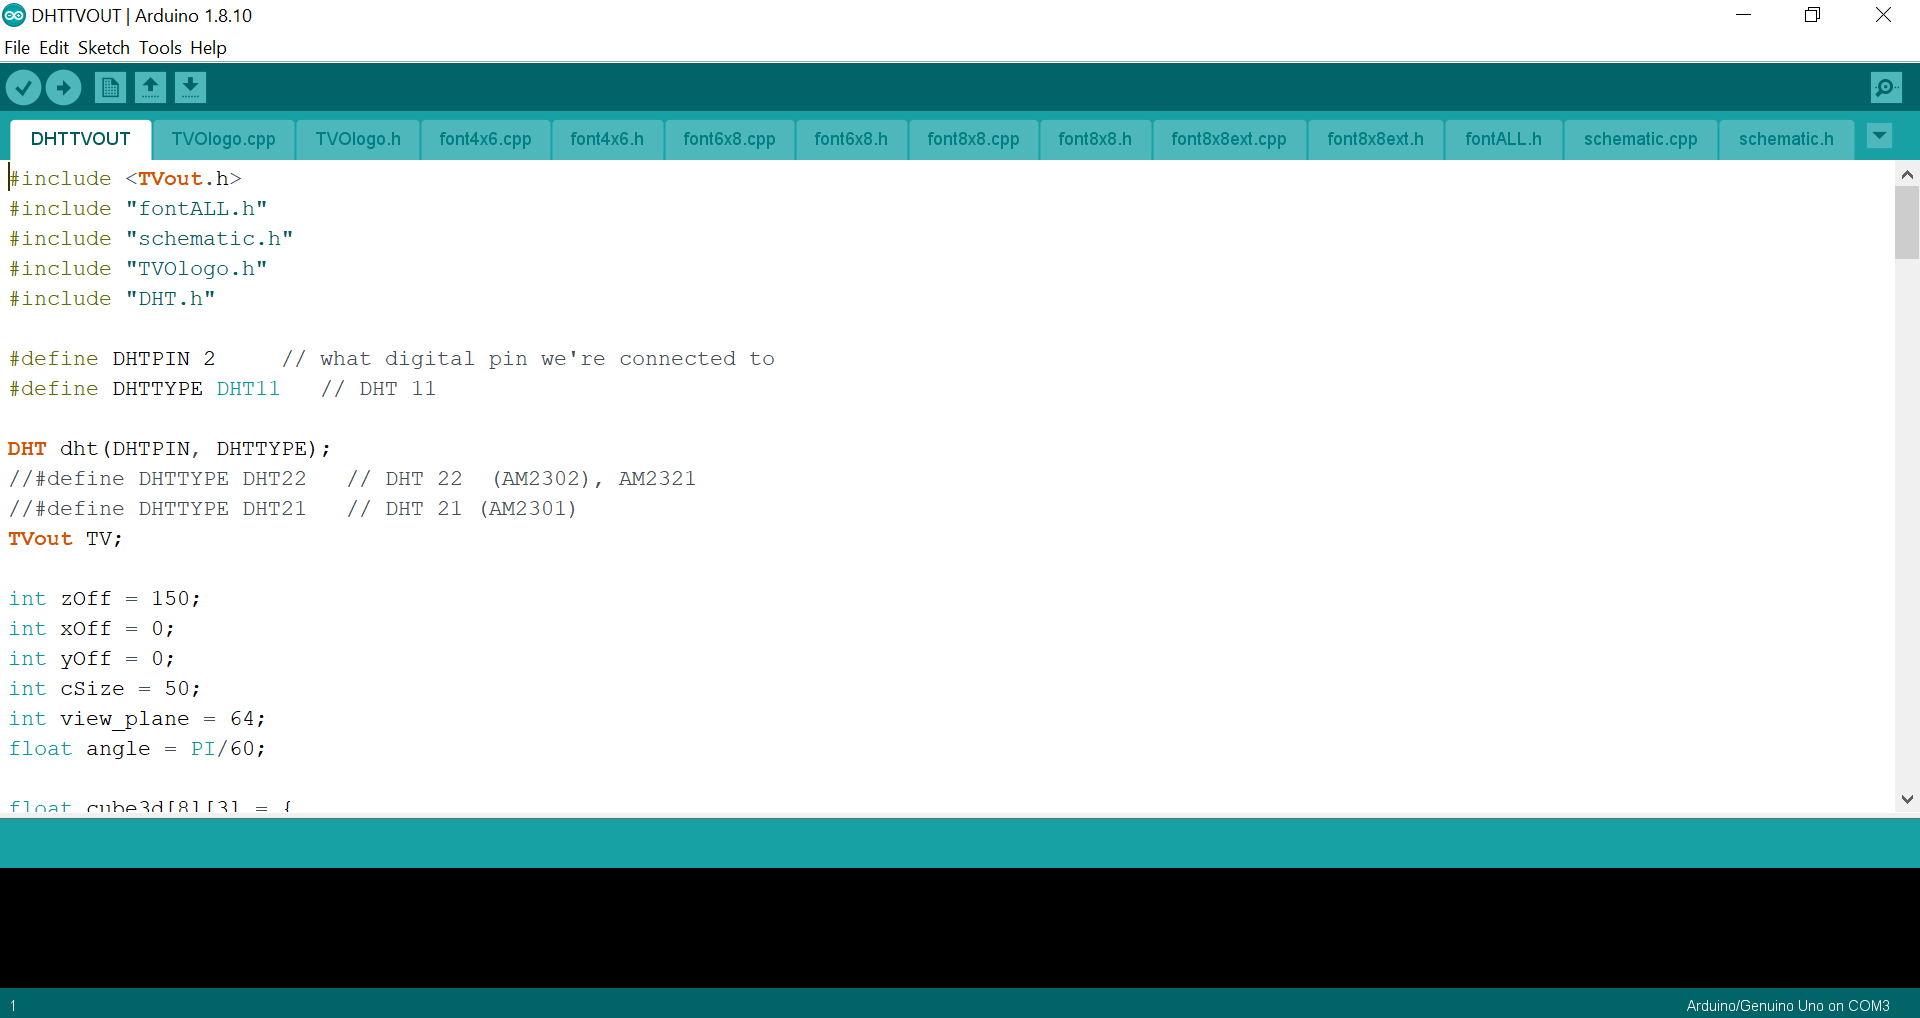
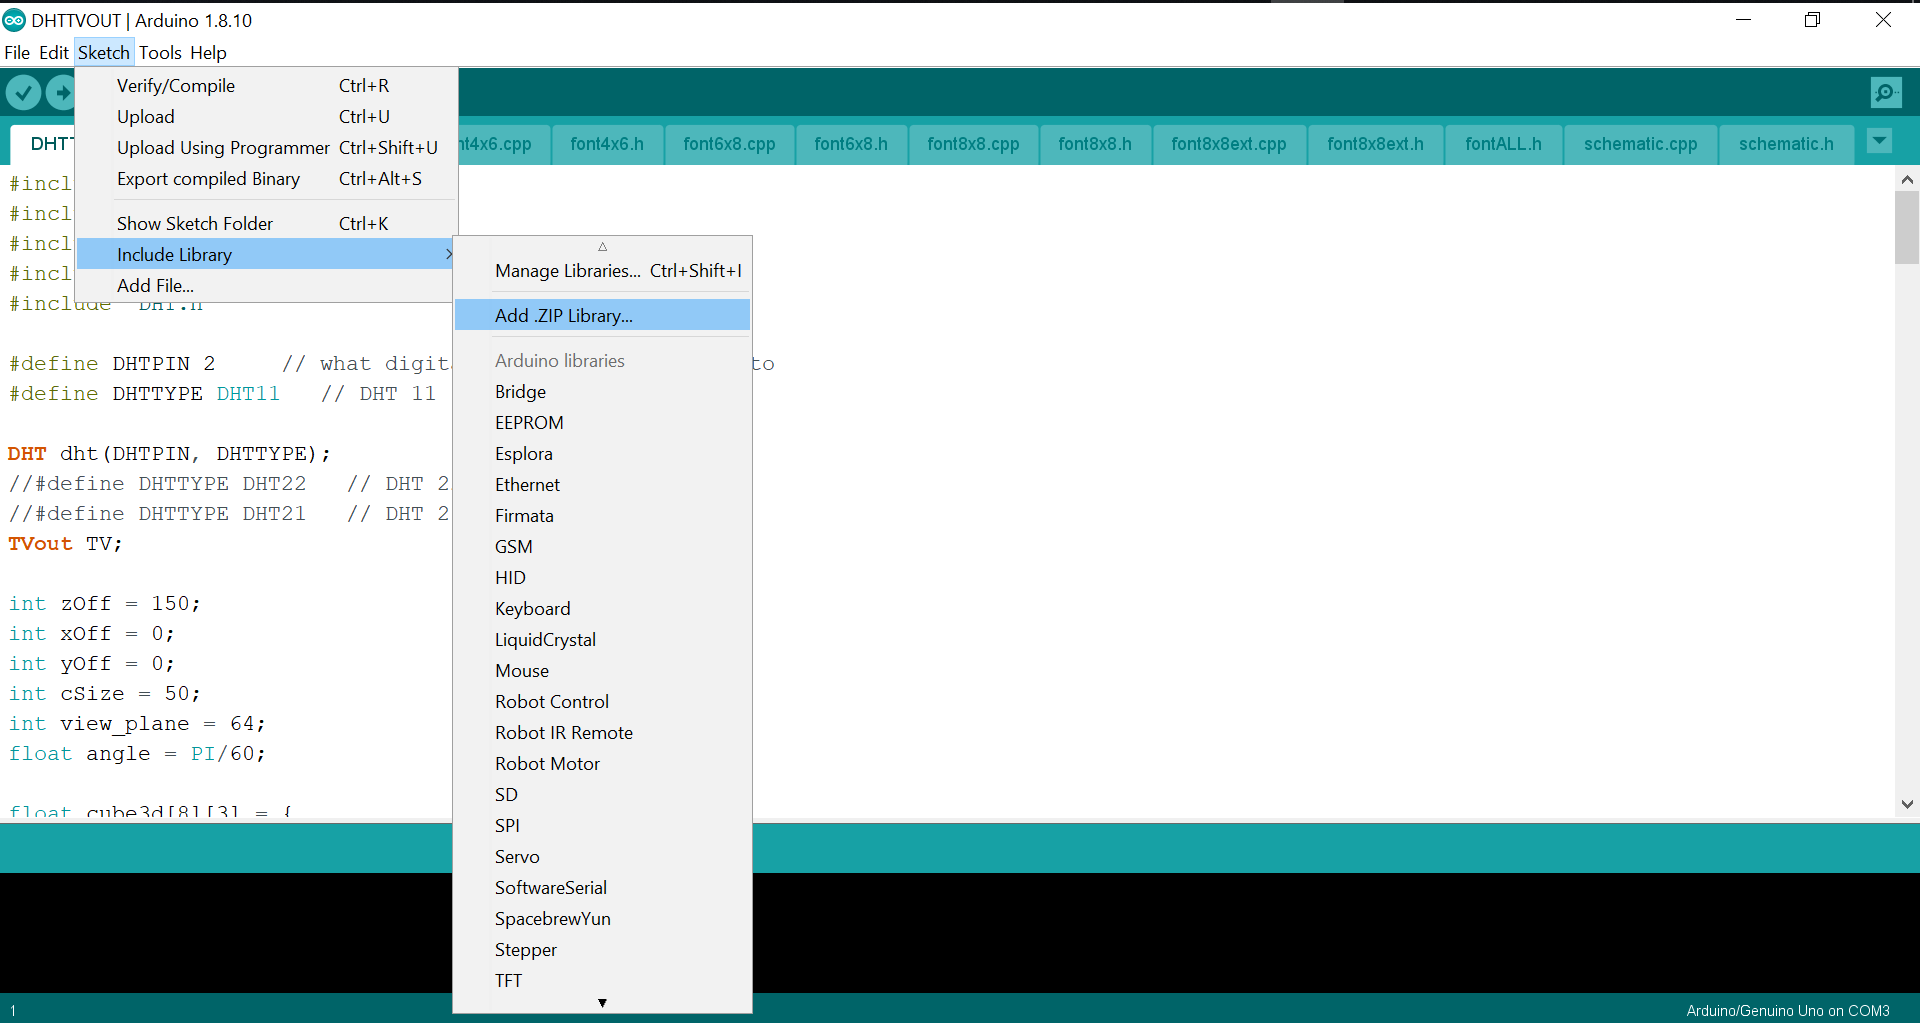
If you are a beginner, download and install Arduino IDE onto your computer. Then download both of the libraries listed above and add those files to your Arduino library by following these steps in Arduino IDE:
Click on Sketch menu —> Include Library —> Add .ZIP Library/
Now download the source code DHTTVOUT and upload it to your Arduino UNO. Connect your Arduino to your TV via the RCA cable and test. You will see something like this: