Learn how to set up Microsoft’s Visual Studio Code and get more features as you work on your Arduino Projects!
While Arduino IDE is an easy-to-use and functional IDE a lot of us use for our Arduino projects, it may not contain all the features you want in an IDE. Microsoft’s Visual Studio (VS) Code is a free application that works on Windows, Mac OS, and Linux.
With a little bit of set up, VS Code can provide many useful features that are not available in Arduino IDE, such as syntax highlighting and intellisence. It can be configured to work with many other languages via its comprehensive extensions system. VS Code has many advantages over Microsoft’s main IDE, Visual Studio — it’s lightweight, easily adaptable, and is multiplatform which means that it also runs on Raspberry Pi’s Raspbian operating system.
In this tutorial, I will demonstrate how to set up VS Code for Arduino development within a Windows 10 environment.
Prerequisites
Before you begin, you need to install the Arduino IDE on your PC. VS Code uses the Arduino libraries in the background.
Installing VS Code
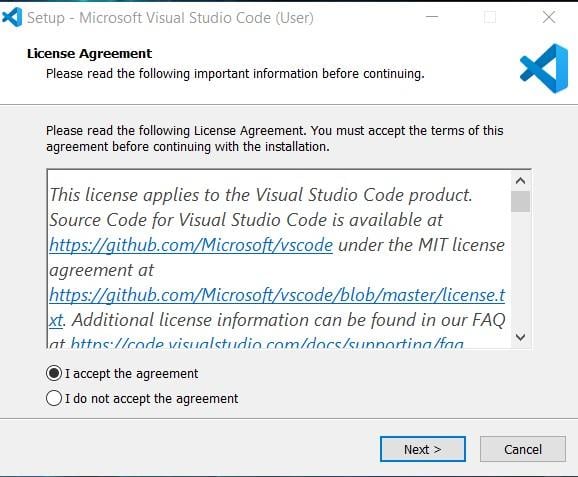
Once Arduino IDE is installed, VS Code can be downloaded for free. Once it’s downloaded, double click on the exe file to install. Clicking the exe file should display the following License Agreement:
Select “I accept the agreement” and click Next
You can change where VS Code is installed by clicking on the “Browse” button, but for most the default location will do. Click “Next”
I would recommend keeping the defaults for your start menu. Click “Next”.
The additional tasks dialog box allows you to associate VS Code with most programming file types like *.cpp,*.py or *.ino. This can be useful for quickly opening VS Code when you double click on a programming file. Make sure that “Add to Path” is selected. Click “Next”.
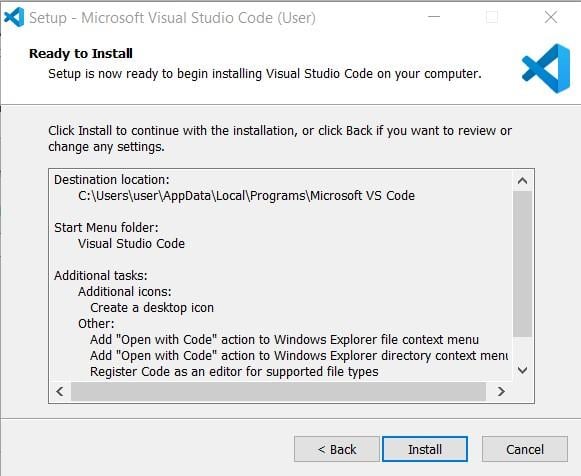
The above screenshot is just a summary of where VS Code will be installed. Click “Install” to begin.
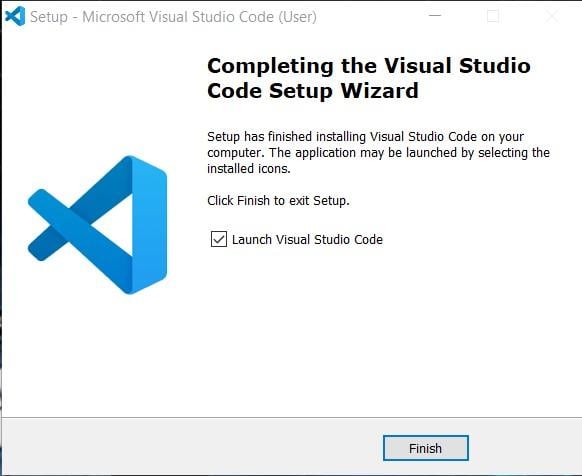
If the installation is successful, you should now see the dialog box above.
When you run VS Code for the first time you may get a Security Alert pop up:
Select “Private networks, such as my home or work network” and then click “Allow Access”.
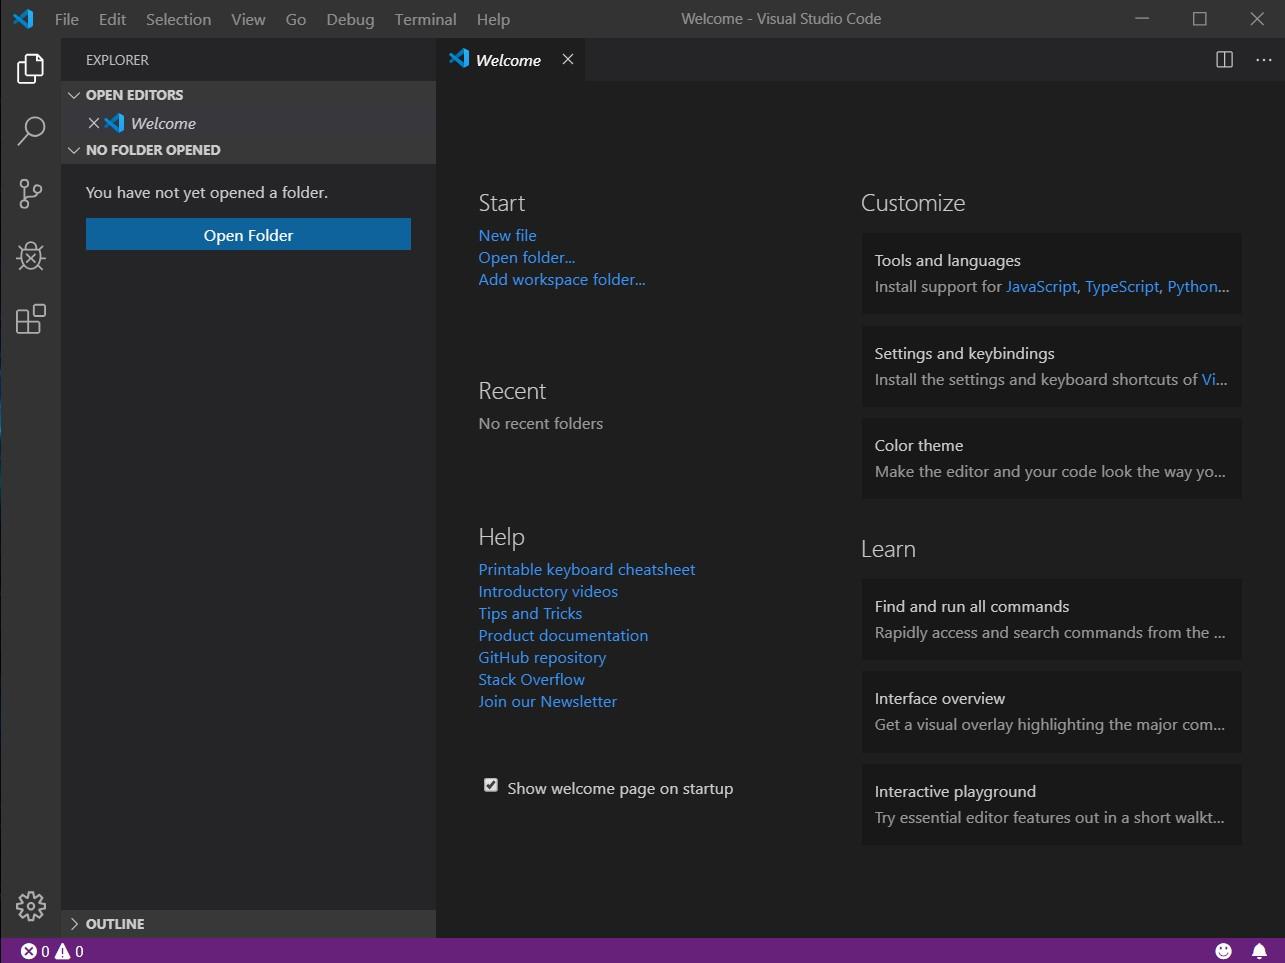
When you run VS Code for the first time, it will display this window:
Installing Extensions in VS Code
Out of the box, VS Code doesn’t support all languages, but there is a large number of extensions that add functionality to support additional features. To enable extensions, either click on the “Extension” icon on the left-hand margin of VS Code or use the shortcut “Ctrl-Shift-x”.
Installing the C++ Tools Extension
We need to install Microsoft’s C++ tools extension using the following steps:
- In the search bar type ms-vscode.cpptools
- Select the C/C++ search result
- Click on “Install” in the information window on the right
VS Studio Extensions Marketplace
This tutorial has demonstrated how to install just one extension, but I would recommend browsing through Microsoft’s Extension Marketplace to see the vast amount of additional functionality that is available for VS Code.
Here are some of my recommendations for useful extensions available in the Marketplace:
- Dracula – A popular dark theme that is available for many IDEs.
- vscode-icons – Adds file icons to the explorer window.
- Code Spell Checker – Checks all source code for spelling mistakes and suggests corrections.
- Bracket Pair Colorizer – Makes your source code easier to debug by colorizing matching brackets.