Managing electronic components through a web browser offers numerous possibilities for makers and hobbyists looking to explore practical automation.
Raspberry Pi 5 board. Image credit: TME
By configuring a Raspberry Pi as a web server, you gain access to a platform capable of operating LEDs, sensors, motors, and relays from any networked device in your home or workshop. This capability teaches fundamental Internet of Things principles while allowing you to build functional automation systems—ranging from basic controls to complex monitoring dashboards for displaying real-time sensor data.
The Advantages of Browser-Based Control
Web interfaces provide several practical benefits over alternative control methods. For example, Bluetooth connections typically reach only 30 feet and require pairing, while mobile apps must be installed on every device you want to use for control. In contrast, web browsers already exist on virtually every smartphone, tablet, and computer without requiring any additional download or setup.
Moreover, HTTP communication protocols used in web browsers offer proven reliability that has been refined over decades. The architecture of separating user interface from hardware control code offers great flexibility as your projects evolve, allowing you to redesign how controls appear and function without modifying a single line of GPIO code.
Choosing the Right Raspberry Pi Model
Let’s begin with the basics of how to make your selection.
Transfer Multisort Elektronik (TME) offers multiple Raspberry Pi models, each suited for different project requirements based on processing power and physical constraints. The Raspberry Pi 5 is the current flagship, offering a 2.4GHz quad-core and 64-bit Arm Cortex-A76 processor with up to 16GB memory. The processor is well-suited for handling complex applications like processing camera feeds or for managing over 20 connected devices simultaneously. In addition, PCIe support allows you to connect solid-state drives, which enhances data logging performance when compared to standard SD card storage. Raspberry Pi 5 requires a 5V/5A (27W) USB-C PD power supply for full functionality, but can operate with 3A minimum if USB power demands are kept low.
The Raspberry Pi 4 offers a 1.8GHz quad-core Cortex-A72 processor, providing adequate capability for web server projects that control five to ten outputs while monitoring multiple sensors. Its 2GB of RAM configuration can support most web server applications, balancing performance and cost for home automation tasks. Pi 4 requires a 5V/3A power supply, though 2.5A can suffice with minimal USB devices connected.
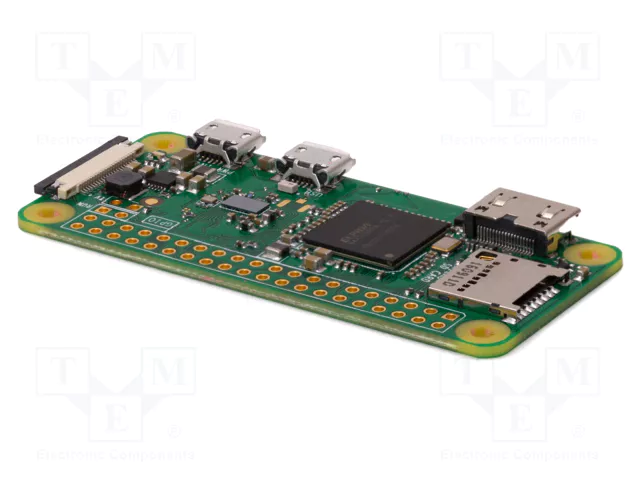
Raspberry Pi Zero W model. Image credit: TME
For space-constrained or battery-powered applications, the Raspberry Pi Zero W model comes in a compact 65mm by 30mm footprint. Despite this model’s small size, it includes integrated Wi-Fi and Bluetooth connectivity. This offering eliminates the need for external adapters while managing simple applications, such as controlling relay outputs or reading temperature sensors. The model also has a lower current draw that can help extend the battery life in portable projects. Pi Zero W requires a 5V/1.2A power supply due to its lower power consumption.
Important: Your component list must include a microSD card of at least 16GB capacity (32GB recommended for Raspberry Pi OS Desktop version), since the operating system and libraries consume approximately 4GB of storage space.
Understanding the Software Stack
Python paired with Flask is great for web-based device control. Flask’s lightweight design suits projects requiring between 50 to 200 lines of code, without adding unnecessary complexity.
To get started, you’ll need to install Raspberry Pi OS on your computer. After installing the Raspberry Pi OS, add Flask with the command pip3 install flask. The RPi.GPIO library comes preinstalled on recent versions to provide the interface for pin manipulation.
Note: RPi.GPIO doesn’t work with Raspberry Pi 5 due to its RP1 microcontroller architecture. For Pi 5 projects, use the GPIO Zero library or lgpio library instead.
Flask applications work by connecting URLs to Python functions using a routing mechanism that serves as the basis of web-based hardware control. For example, when a user enters http://192.168.1.100:5000/activate/led into their browser, Flask will execute the designated function that sets GPIO pin 17 to logic high, illuminating an LED, before returning HTML content that confirms the was action completed successfully.
Avoiding Errors
Driving relays from GPIO pins requires careful attention to electrical specifications that could catch a beginner by surprise. For example, standard mechanical relays need 5V to energize their coils, but GPIO pins output 3.3V max, and each pin sources merely 16mA compared to the 70 to 100mA that most relay coils draw. The solution involves using transistor driver circuits or purchasing optocoupler relay modules designed to work with 3.3V logic levels. This approach can handle both the voltage conversion and current amplification while safely isolating your Raspberry Pi from the higher voltages being switched.
Creating Effective User Interfaces
Although basic HTML forms can perform device control, they force complete page reloads with each button press that can feel clunky and slow. JavaScript’s fetch API creates smoother experiences by sending requests in the background while updating the affected page elements only, eliminating the jarring refresh.
You can configure button onclick events to call JavaScript functions that send GET requests to endpoints like /toggle/output, process the JSON response containing new states, and then change button colors to visually indicate whether outputs are currently active or inactive.
You can use JavaScript’s setInterval to query endpoints like /readings/temperature every 5000 milliseconds to refresh displayed temperature values. This works for gradually changing measurements, such as temperature or humidity levels. For rapidly changing data like motion detector triggers, WebSocket connections offer better performance by immediately pushing updates to the browser when events occur, eliminating the polling delay entirely.
Including status feedback can build user confidence when operating equipment remotely, where physical verification isn’t possible. Your Flask routes should query and return current GPIO pin states so users can verify whether outputs are energized, display timestamps indicating when the last command successfully executed, and show error messages when operations fail due to network issues or hardware problems, to help users understand what went wrong.
A Note on Security and Reliability
Before opening your system for internet access, set up authentication first, then configure port forwarding. Use Flask-Login to add password protection and session management. HTTPS will encrypt your credentials during transmission to prevent anyone monitoring network traffic from intercepting them. Equally important is building robust error handling that can keep your system running smoothly when individual components fail. Wrap GPIO operations in try-except blocks to catch hardware errors gracefully. This way, your application will work even when sensors malfunction.
When a sensor read fails, it should display the most recent successful reading with a timestamp rather than showing errors or blank spaces. Log exceptions with timestamps to help diagnose intermittent problems that come up during your debugging sessions.
Grow Your Skills with Practice
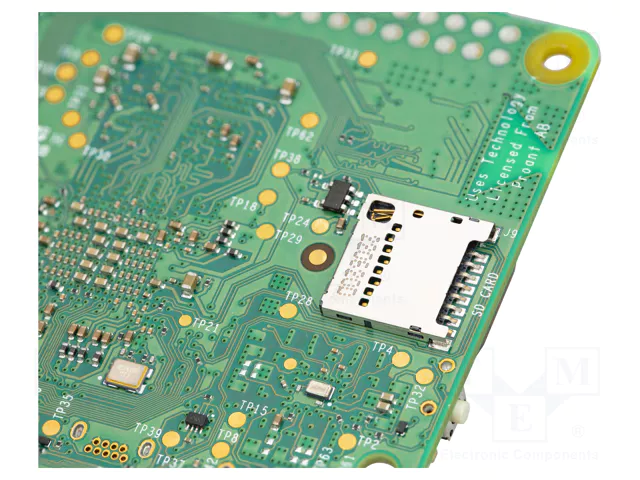
Closeup of the Raspberry Pi 5 board showing SD card slot. Image credit: TME
Building a web server teaches you programming concepts in a context where results are visible and tangible. You’ll learn how request routing directs different URLs to specific functions, how to render HTML templates with dynamic content, and how to format JSON responses for JavaScript—all while observing how LED behavior reflects what your code instructs.
Growing your skills will allow you to solve real-world problems. Project ideas include: configuring your system to monitor greenhouse temperature and humidity levels, automatically activating exhaust fans when readings exceed safe ranges for your plants, or controlling aquarium lighting and filtration equipment on schedules that mirror natural day-night cycles for healthier fish.
Studying Python and Flask documentation and belonging to maker communities like Maker Pro should help you overcome any challenges along the way. Start with basic LED experiments and progressively build and add more complex features to sharpen your programming and practical automation skills. Find the right Raspberry Pi systems for your projects at TME.