Installing a security camera system involves setting up the hardware, software, and network. Regular maintenance is crucial to keep your security system running optimally.
Security cameras have become indispensable in our digital age, providing enhanced safety for homes and businesses. Before you can take advantage of any advanced security camera technology like facial recognition, you’ve got to get your system up and running.
Installing and maintaining a security camera system can be straightforward with the right knowledge. This simplified guide will cover the essential steps to setting up a system, taking into account the differences between IP cameras and coax cameras, as well as wired and wireless cameras.
Setup Differences Between IP Cameras and Coax Cameras
When choosing between IP and coax cameras, the differences lie primarily in the types of cables used for transmission and the method of video encoding.
- IP Cameras: IP (Internet Protocol) cameras, or network cameras, transmit video footage over a network using Ethernet cables (CAT5 or CAT6). They encode the video signal at the camera itself before sending it to the NVR. This capability makes them perfect for high-resolution video as they can handle a larger data stream. To set up an IP camera, you need to connect it to a network via an Ethernet cable. The cable also provides power through PoE (Power over Ethernet), reducing the need for separate power cables. Once connected, you assign the camera an IP address, which allows the NVR or your viewing device to locate it on the network.
- Coax Cameras: Coax cameras, also known as analog cameras, transmit their video signal over coaxial cable to a Digital Video Recorder (DVR), which then encodes the video for storage or viewing. Setting up a coax camera requires running a coaxial cable from the camera to the DVR. A separate power cable is typically needed to supply electricity to the camera. Each coax camera is directly wired to the DVR and doesn't require network configuration like an IP camera.
Setup Differences Between Wired and Wireless Cameras
- Wired Cameras: Wired cameras (both IP and coax) are directly connected to the recording device (NVR or DVR) via cables. This setup offers a stable and interference-free video transmission, making it ideal for high-resolution cameras and larger installations where a strong, consistent signal is required. The downside is the installation complexity and potential aesthetic impact due to visible cables.
- Wireless Cameras: Wireless cameras transmit video signals over Wi-Fi, reducing the need for cables and making installation easier and cleaner. They're great for home use or smaller businesses where cabling can be challenging. To set them up, you connect each camera to your wireless network, often through a smartphone app or through a computer. The video footage is then sent wirelessly to an NVR. Remember, while 'wireless' suggests no wires, these cameras still need power. Unless they're battery-operated, you'll need to plug them into a power outlet, which can limit where you place them.
When choosing between IP and coax cameras or wired and wireless cameras, consider your security needs, budget, installation complexity, and the environment in which the system will be installed. Each system has its advantages and disadvantages, but all can provide valuable security surveillance when properly installed and maintained.
Security Camera System Installation Steps
1. Hardware Setup
Setting up the hardware forms the basis of your security system. This process involves connecting the camera to your network. Depending on your need for control over cable length and ease of use, you can choose between using premade or custom Ethernet cables. For a premade Ethernet cable, one end needs to be connected to your camera, and the other to a Power over Ethernet (PoE) switch or a Network Video Recorder (NVR). If opting for a custom Ethernet cable, you'll cut the cable to your desired length, affix RJ45 connectors, and then make similar connections. This camera setup phase is crucial as it establishes the physical foundation for your surveillance system, ensuring the secure and reliable transmission of video footage.
2. Software Setup
Once your hardware is properly installed and connected, the next step is powering up your NVR to initialize your device. In this phase, you'll be prompted to input various settings, such as date, time, and language preferences, to personalize your user interface. The security of your system is paramount. So, you should establish a robust password to deter unauthorized access. Depending on your system, you might also be asked to create an unlock pattern, providing an extra layer of security. Additionally, to aid in account recovery, most systems will require setting up security questions and associating an email address with your account. This process is vital in ensuring your system remains exclusively under your control.
3. Network Settings
Upon successful software setup, you need to connect your system to the internet, an essential aspect of modern security camera systems. If your setup is wired, ensure your NVR is directly linked to your router using an Ethernet cable. However, for wireless cameras, each unit must connect individually to your wireless network. This procedure is generally facilitated via an onboard menu system or a smartphone app provided by the camera manufacturer. Connecting your camera system to the internet enables remote access and alerts, increasing the versatility and efficacy of your surveillance setup.
4. Remote Viewing Setup
Remote access is a valuable feature of contemporary security camera systems. This feature is usually enabled via a method known as peer-to-peer (P2P) networking. Enabling P2P networking will create a unique ID for your system, which is critical for accessing your footage remotely. Most security systems have associated mobile applications that can use this unique ID, allowing you to view live and recorded footage from virtually anywhere. This function expands the capabilities of your surveillance system, providing you with real-time access to your security feeds.
5. Add Security Cameras
Once your network setup is complete and the system is accessible online, you can add additional cameras to your surveillance system. Each camera can be added by scanning a QR code usually found on the camera body or by manually inputting the camera's unique IP address into the NVR's system settings. This ability to expand your system ensures that you can easily enhance your surveillance coverage as your security needs evolve.
6. Storage Disk Management
Disk management involves carefully controlling how and where your security footage is stored. This process involves determining how much disk space to allocate to each camera and setting rules for overwriting older footage when the disk nears full capacity. Efficient disk management ensures optimal use of storage resources and aids in preserving crucial security footage for future reference.
7. Recording Settings
Customizing your system's recording settings allows you to tailor your security system to your specific needs. These settings could involve setting up continuous recording, scheduled recording based on time and day, or event-triggered recording, such as when motion is detected. Such control over your recording parameters ensures that your system records the most relevant footage, optimizing storage use and making event search more efficient.
8. Motion Detection
Motion detection is a key feature in modern security camera systems, helping to save significant storage space by only recording when motion is detected. This setup process includes adjusting sensitivity levels to avoid false alarms, defining specific areas for motion detection, and deciding what actions are triggered when motion is detected, like sending alerts or starting recordings. Efficiently calibrated motion detection ensures your system remains vigilant to relevant activities without wasting storage on uneventful footage.
Backup and Maintenance
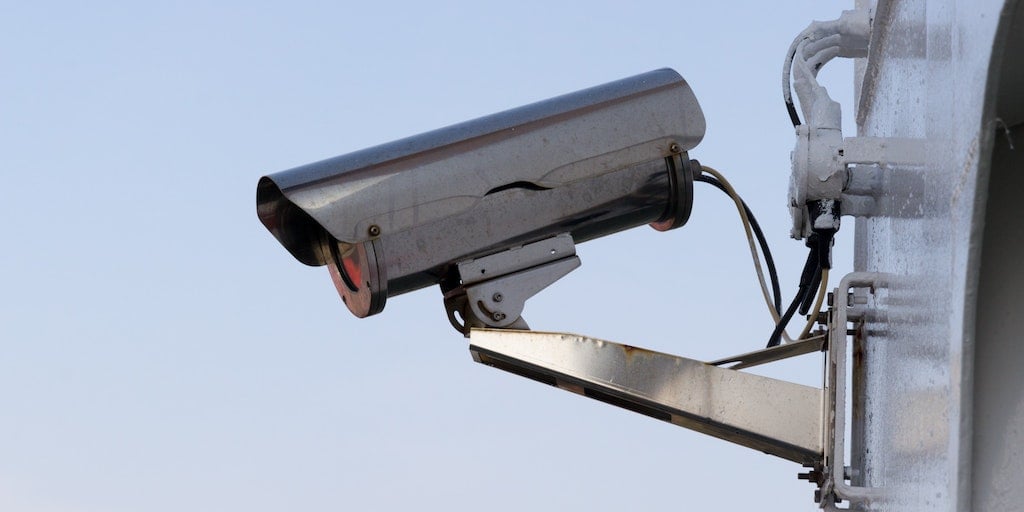
Photo by Erik Mclean: https://www.pexels.com/photo/a-close-up-shot-of-a-security-camera-7635126/ | Focused on protection: A close-up of a security camera, symbolic of the crucial steps outlined in our article for effectively installing and managing your security camera system.
The effectiveness of your security system doesn't end at setup. Regular maintenance is crucial to keep it running optimally. Become familiar with your NVR's search and backup options. Being able to quickly search for specific events and create backups of important footage ensures that your evidence is preserved and accessible. Regular system checks, camera cleaning, connection inspections, software updates, and overall system health checks contribute to the longevity and efficiency of your security system.
In Conclusion
Installing and maintaining a security camera system involves numerous steps, from hardware setup and software initialization to regular maintenance. Each step contributes significantly to the effectiveness of your system, ensuring it serves as a reliable security measure for your home or business.