Learn how to use the Revolve Tool on SelfCAD by making a bishop chess piece.
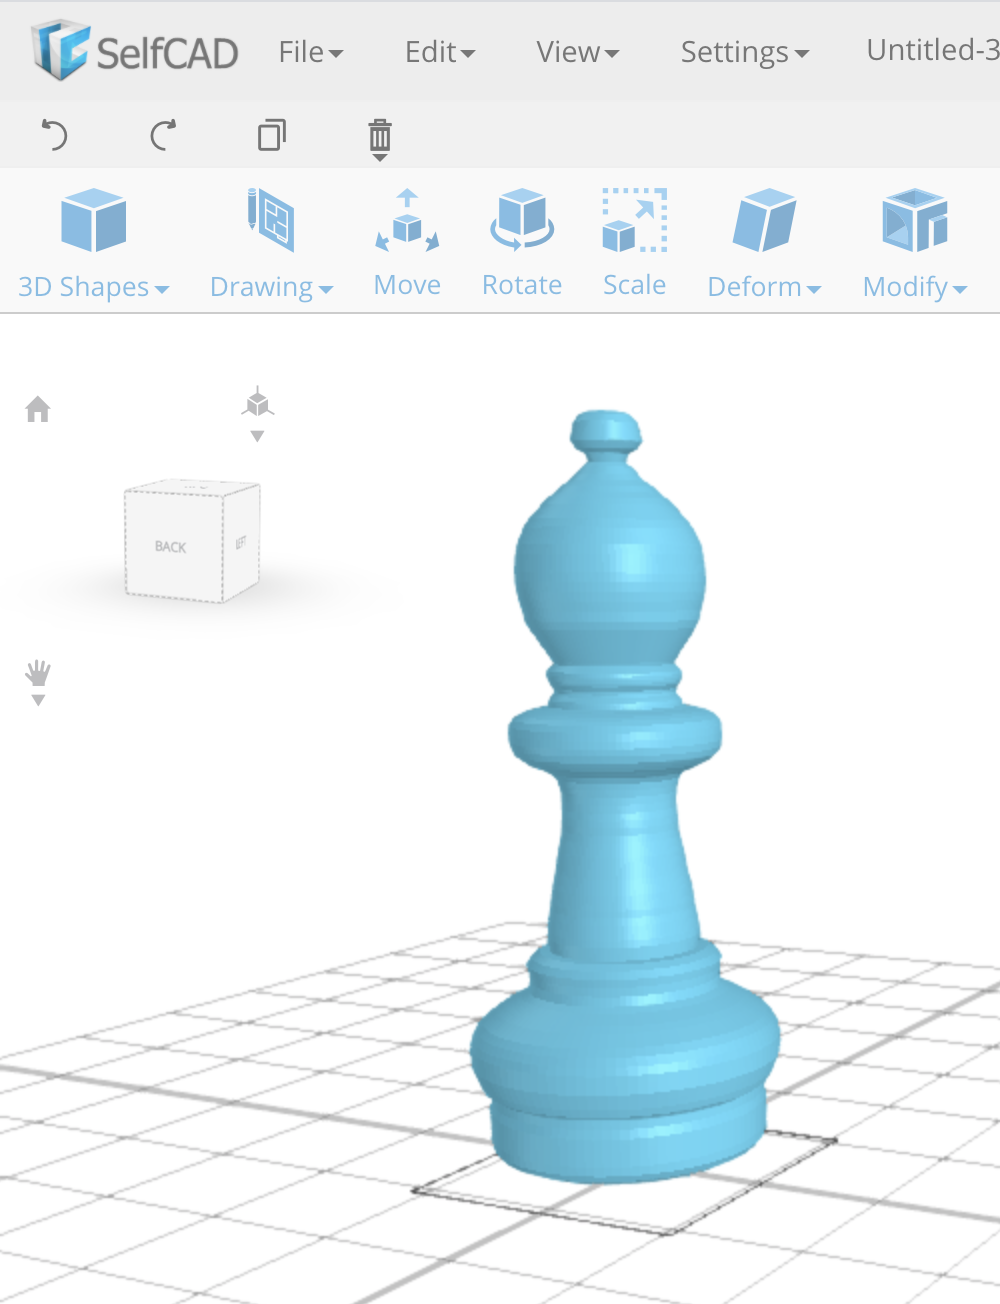
Today we’re going to learn how to make a bishop chess piece (or anything rounded).
Bring in a reference image into the center. It would also be a good idea to set your orientation to top.
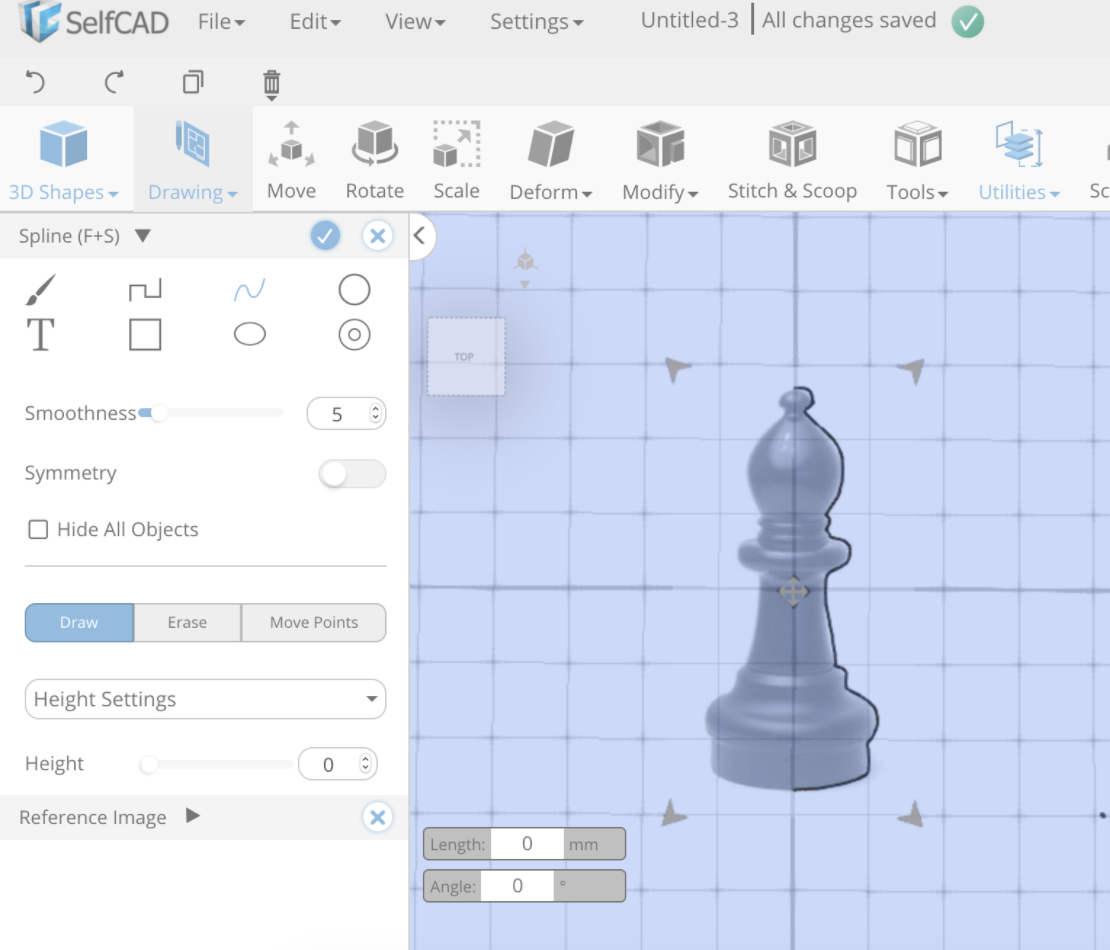
Now click on Drawing, freehand drawing and click spline. Before we start drawing make sure you go to height settings and make sure the height is set to 0!
We’re going to be drawing a profile, not a surface and not a 3D object. Should I backup for a minute?
A profile is an outline made up of splines without any mesh.
A surface is a filled in profile without any thickness, even if the surface is a twist so it’s not 2D, if there’s no thickness it’s still not an object.
A 3D object is an object that has thickness and depth to it.
Ok so back to drawing, there are a bunch of cool features on here let’s say if we wanted to make a flat object but symmetrical, we could check off symmetry and only draw half and the other half will be drawn for us. Because we want our bishop to be round, even though it’s symmetrical we’re not going to use that tab. But we are only going to draw half the object, you can start by freehand drawing half the bishop. Don’t be scared of free hand drawing, there is a button smoothness that you can set which will make your lines less shaky and if you go slow the spline will automatically be attracted to the lines in your reference image so SelfCAD is actually doing half the work for you!
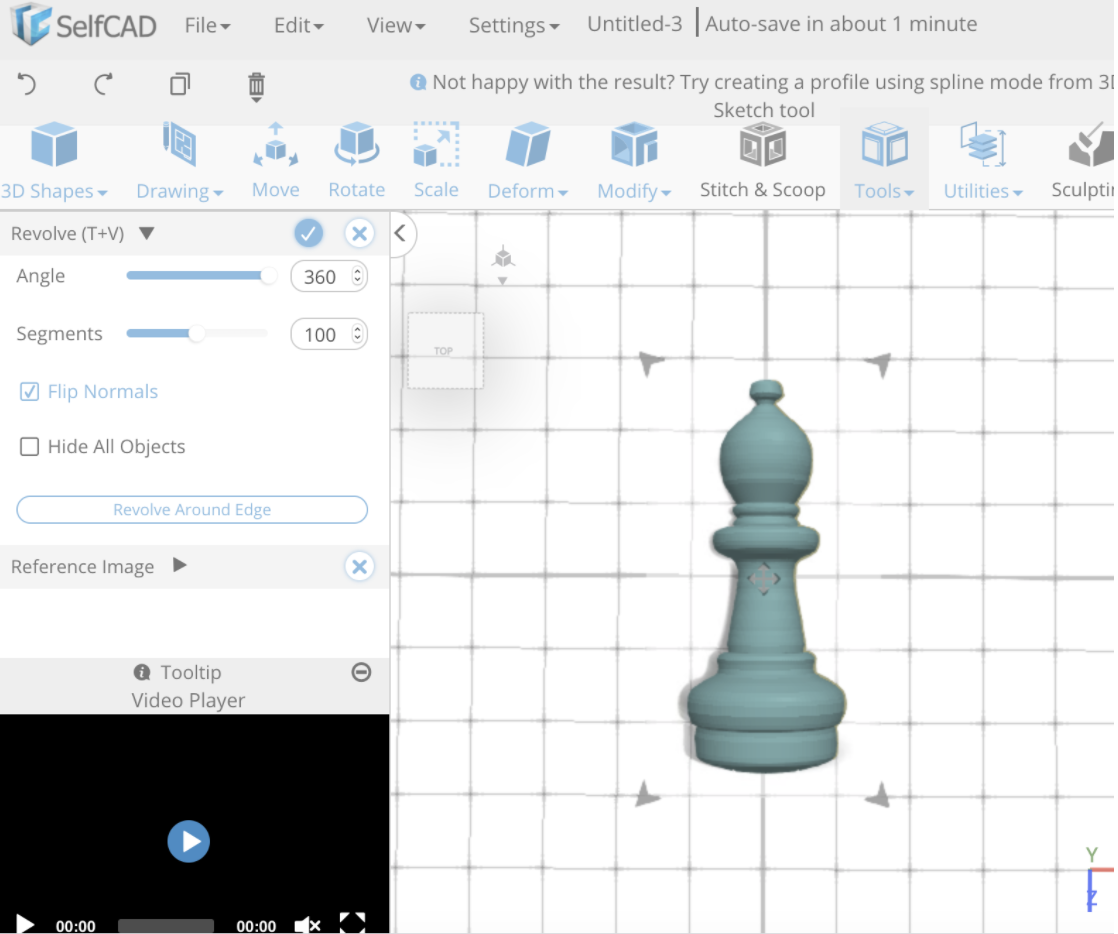
Now with our spline selected go to tools, revolve. The computer will already try figuring out what we want and revolve the wrong way but just ignore that for a moment, we will fix it.
On the revolve tab select revolve around edge. Because we don’t have an edge selected that we want to revolve around, click draw and close up the open spline we drew before, right now it’s also helpful that our reference image is in the center so we can close up our spline along our grid.
Now you can choose how many segments you want which will choose how round your piece is. If you click flip normals you’ll be able to see more clearly to decide how many segments you need. Also in case you only wanted half a piece, you can decrease the angle to 180 and it will only revolve halfway around, there are so many cool things you can do!
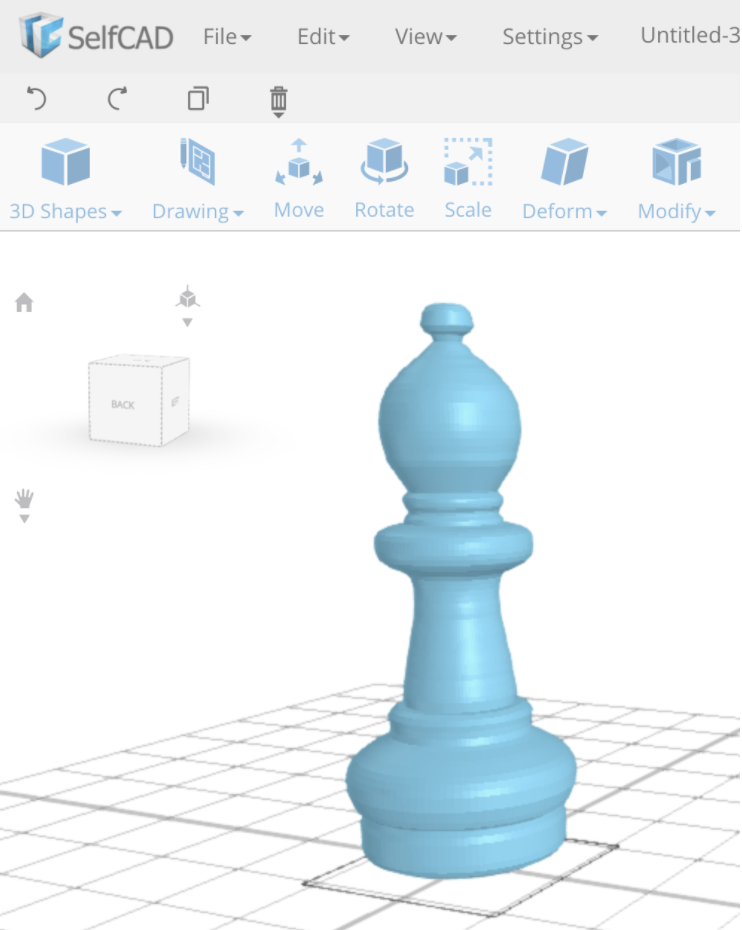
Now once you click confirm you will have your bishop piece!
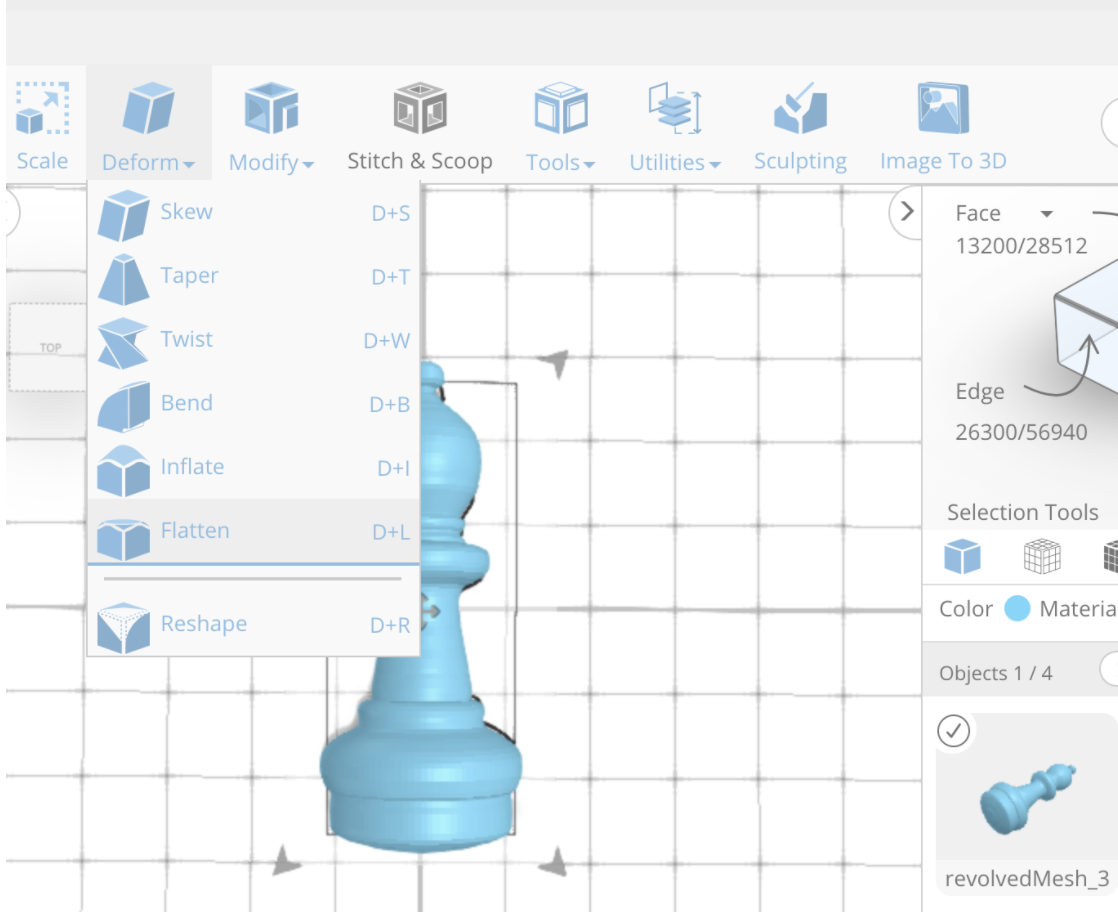
There is just one more step we need to do. We need to make sure our bishop stands flat on our chess board. With our bishop object selected, go to deform and flatten.
Then using the gizmos, flatten the bottom of your bishop just slightly so you know it won’t wobble.
Now rotate your bishop so it’s standing up and start modeling the rest of your pieces!
For beginners or masters at the game of chess, I hope modeling and printing your own pieces gives a nice spin to the game that makes you smile. Enjoy and have fun!