This article focuses on the DHT-11 temperature and humidity sensor, highlighting its specs and common applications.
The popular DHT-11 (and DHT-22) temperature and humidity sensors can be used in many different applications. In this article, we discuss what the module is and how to use it so that you can quickly and easily use it in your project.
About the DHT-11
As mentioned above, both the DHT-11 and DHT-22 are temperature and humidity sensors. The two options are fully interchangeable — the main differences between the two are accuracy, measuring range, and price.
The DHT11 Sensor. Image Courtesy of Adafruit.
Both variants can be used in a wide variety of projects ranging from home automation systems and HVAC solutions to weather stations and monitoring systems.
Either module is readily available as either a separate component or a ready-to-use breakout board from different manufacturers and suppliers including Adafruit and Iduino.
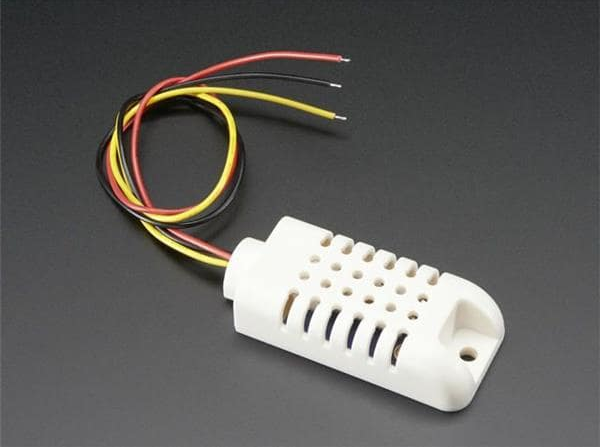
As mentioned before, the DHT-11 and DHT-22 are fully interchangeable and therefore, they have the same package size. However, the DHT-11 usually comes in a blue plastic case, compared to the DHT-22’s white case.
The DHT-22 Sensor. Image Courtesy of Mouser.
Important Specs
The dimensions refer to the component itself, not a finished breakout board. Please refer to your board’s datasheet for the exact measurements.
- Overall length (incl. pins): 23.5 mm (9/10 in)
- Length (plastic case only): 15.5 mm (6/10 in)
- Width: 12.0 mm (½ in)
- Height: 5.5 mm (⅕ in)
- Typical price: Around 4$ (DHT-11) and around 8$ (DHT-22)
- Supply voltage: 3.3V to 5V
- Operating voltage: 5V
- Working current: 0.3mA
- Operating range (temp., °C): 0°C to 50°C (DHT-11) and -40°C to 80°C (DHT-22)
- Operating range (temp., °F): 32°F to 122°F (DHT-11) and -40°F to 176°F (DHT-22)
- Operating range (humidity): 20-90% (both types)
- Claimed precision: 2°C (DHT-11) and 0.5°C (DHT-11) and 2% RH (both)
- Measuring speed: 2s for humidity and 10s for temperature
Principle of Operation
As described above, the DHT-11 and 22 are temperature and humidity sensors that add measuring capabilities to your projects. Both use a single-wire serial communication protocol to transmit the results. The bus line of the sensor simply needs to be connected to any digital pin of the microcontroller you want to use. Make sure to use a pull-up resistor on the bus line so that it is high when no data is being transmitted. Many datasheets recommend a resistor value of around 5000 Ohms.
There are a few different libraries available, that take care of the communication for you, If you are using an Arduino or a Raspberry-Pi. Other microcontrollers might require you to implement the simple protocol yourself. However, to keep the article short, I won’t explain the protocol. Most datasheets cover this topic in great detail.
Datasheets
There are many datasheets available on the internet. However, I found these to be the most useful ones:
Projects That Use the DHT-11
Summary
The DHT-11 and 22 are readily available, relatively cheap, and easy-to-use modules. However, keep in mind that the measuring speed is relatively slow and a few seconds can pass before the sensor transmits the correct values.