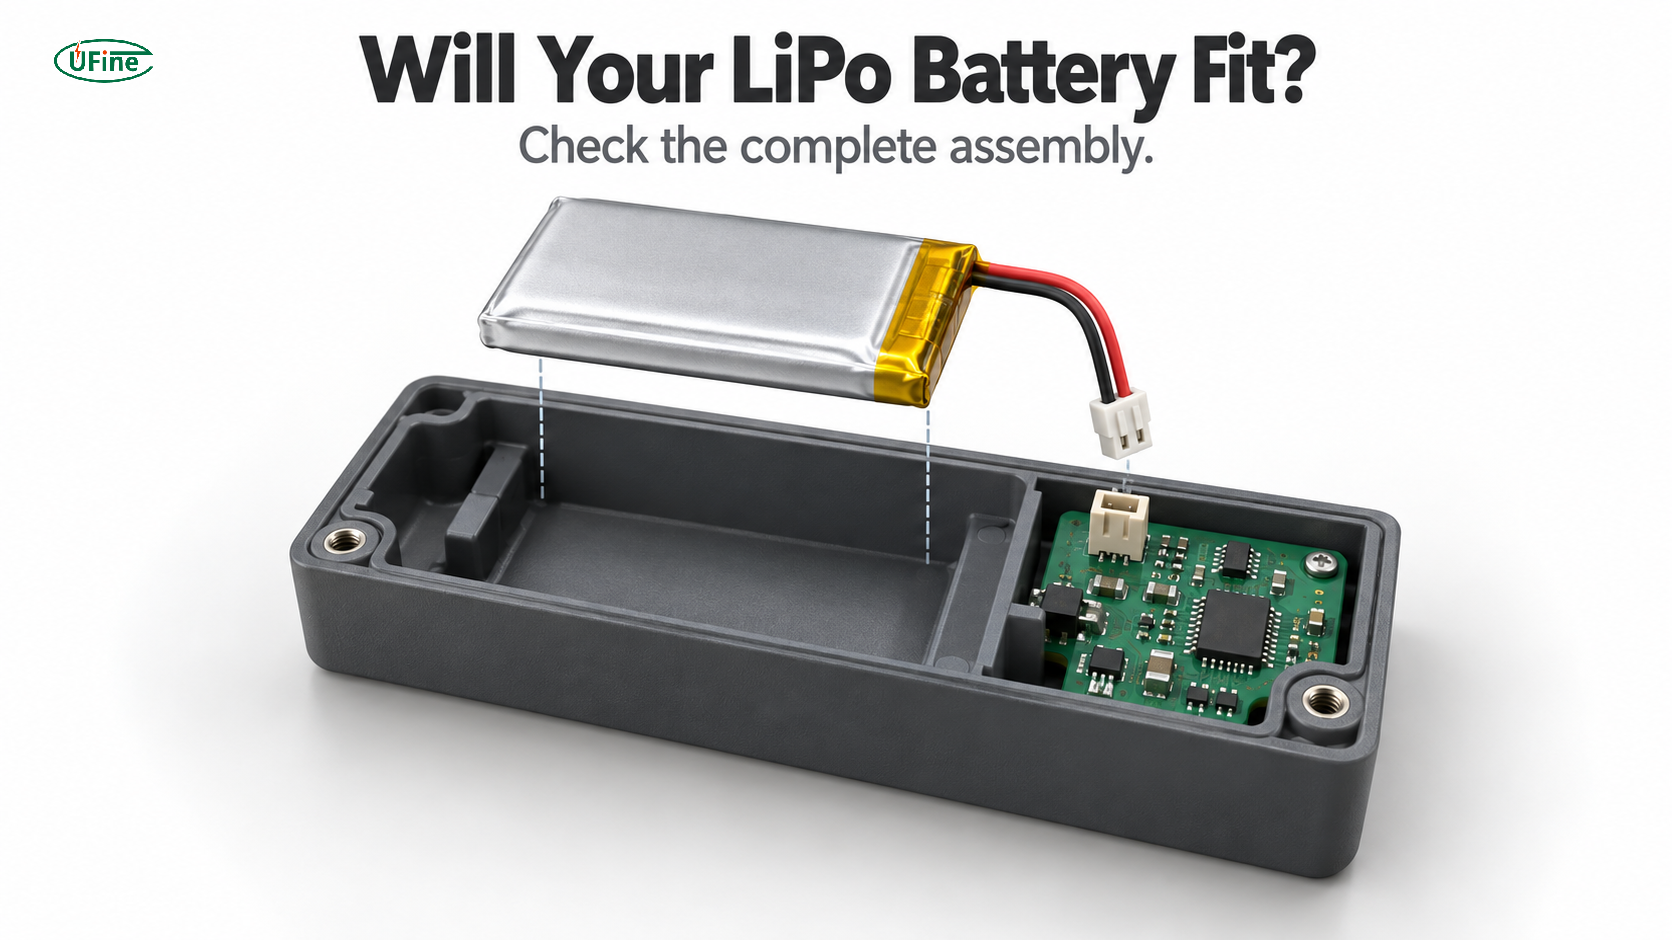
Learn how to check whether a small LiPo battery fits your enclosure. This guide covers finished dimensions, installation clearance, wire routing, connector access, and prototype validation before sample approval.
Before ordering a small battery for a compact electronics project, check the complete installation—not just the dimensions printed in a product listing. If your design needs different wiring, protection, or connector placement, define those details in your custom lithium battery request before approving samples.
This tutorial walks through a practical fit check for a small single-cell LiPo assembly.
What You Need for the Battery Fit Check
Prepare:
- The proposed battery’s current dimensional drawing.
- Your enclosure drawing, CAD model, or prototype.
- A nonconductive dummy representing the maximum finished battery dimensions.
- Connector and wire-routing information.
- The supplier’s installation and clearance requirements.
Use a dummy for early mechanical checks. Do not squeeze, bend, puncture, or trim a pouch cell to make it fit.
Step 1: Confirm What the Battery Dimensions Include
Ask whether the stated dimensions describe the bare cell or the finished battery assembly.
Check whether the drawing accounts for the protection board, insulation, tape, and wire exit. Identify which dimensions are nominal and which are maximum limits.
Do not treat a cell model code as a complete mechanical specification. Use the approved drawing for the proposed configuration.
Step 2: Measure the Usable Enclosure Space
The enclosure’s outside dimensions do not tell you how much room is available inside.
Check for features that reduce the battery cavity:
- Screw bosses and reinforcing ribs.
- PCB components and solder joints.
- Connector housings.
- Adhesive or mounting materials.
- Edges that could contact the pouch.
Confirm appropriate clearances with the supplier, including any allowance needed for dimensional variation during use. Avoid choosing a universal clearance value without reviewing the actual cell and mounting arrangement.
Step 3: Test the Assembly Sequence
Place the dummy in the enclosure and follow the intended assembly sequence.
Can you install the battery after the PCB is secured? Can you connect the plug without pulling the wires? Does closing the lid move another component against the battery?
A battery may fit in its final position while still being difficult to install correctly.
Record these problems before changing the enclosure tooling or ordering production quantities.
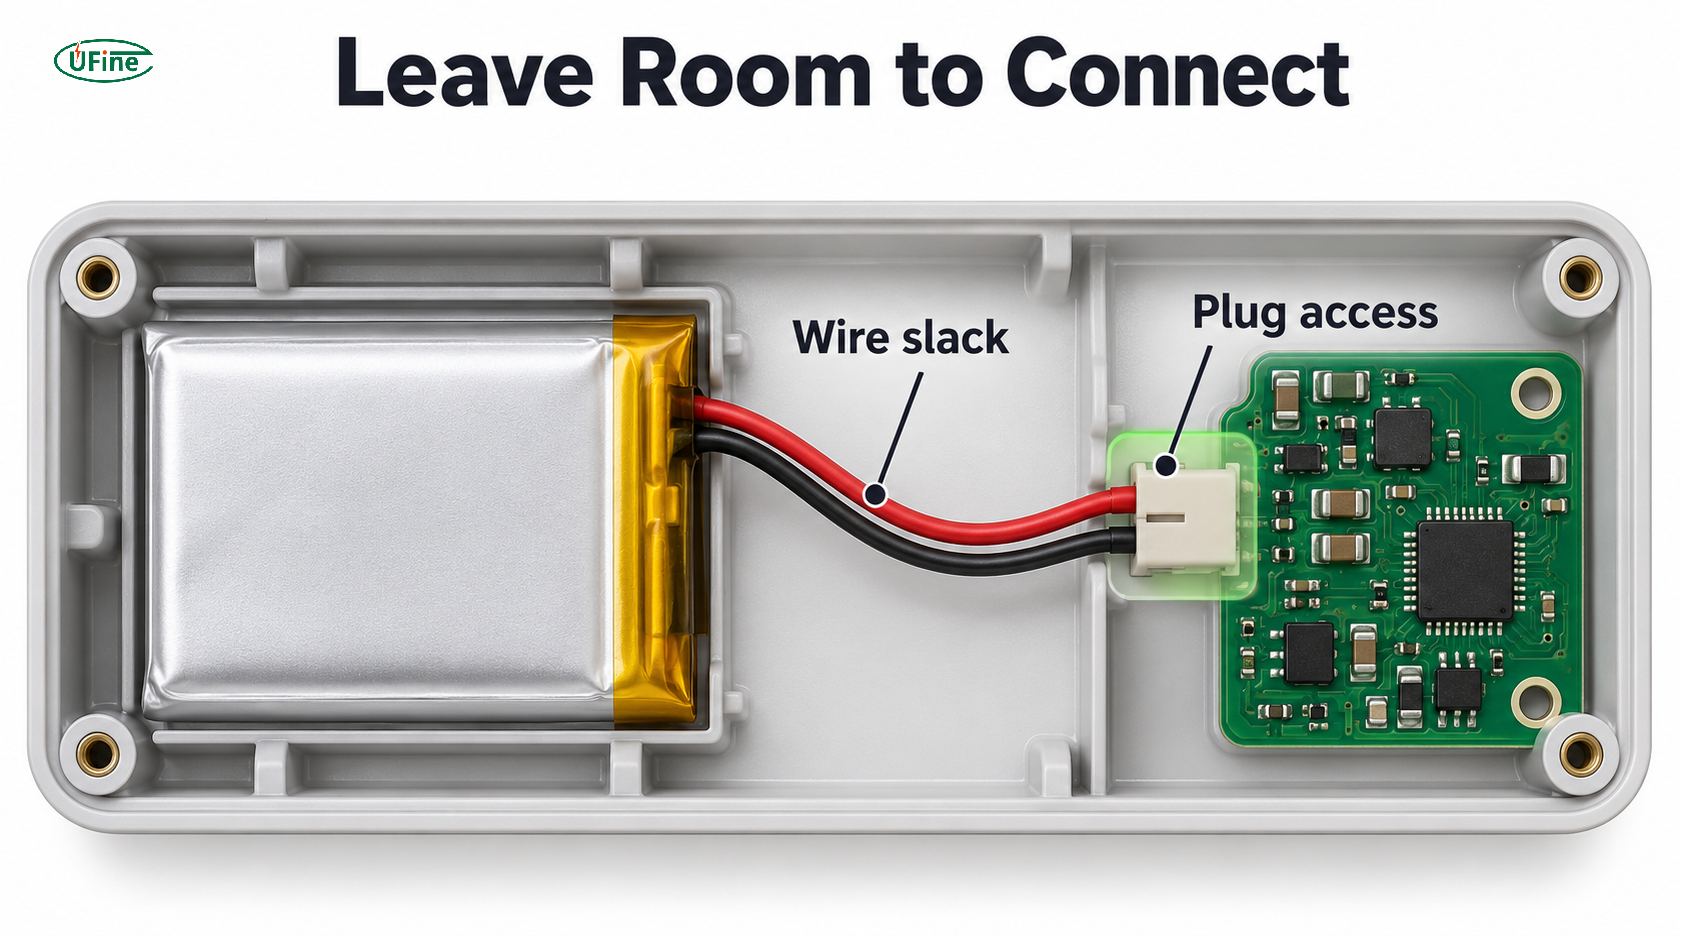
Step 4: Check Wire Routing and Connector Access
Route the proposed wires through the actual path.
Look for tension at the battery’s wire exit, pinching between enclosure halves, and contact with sharp edges. Allow access to the connector without using the wires as a handle.
Then verify the connector part number, mating connector, and polarity. Similar-looking plugs can have different pin assignments.
Top view of a small LiPo battery installation with relaxed wire routing and accessible connector space
Step 5: Record the Fit-Check Result
Use a short approval table:
Include the battery drawing revision and enclosure revision with the results.
Step 6: Validate the Working Prototype
Mechanical fit is only one part of approval.
With the intended battery installed, verify charging, runtime, peak-load operation, and temperature behavior under the defined operating conditions.
Keep the configuration traceable. A later change to the connector, protection board, or insulation arrangement may require another fit check even if the cell model stays the same.