Learn the basics of soldering, including necessary tools and soldering tips and tricks.
Soldering is the process of joining two or more items together with the help of filler metal (the solder). When you experiment with electronics you’ll need to use a soldering iron sooner or later to proceed.
While the matter can look intimidating at first, you’ll soon realize that you don’t need to be afraid of the process. This guide will introduce you to the basics of soldering, including necessary tools and soldering tips and tricks to help you dive in.
What Soldering Tools Do You Need?
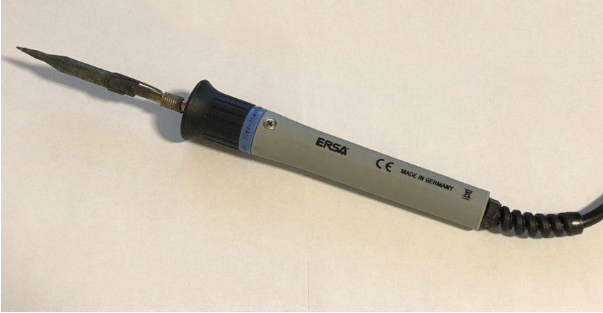
To successfully solder your projects, you’ll need to start with a good soldering iron, the proper solder metal, and a soldering stand.
Choosing a Soldering Iron
To allow a clean, easy solder with thick wires and large components on PCBs, you need to make sure to get a soldering iron with enough power. However, I don’t recommend getting the most powerful iron either, especially if the power can’t be regulated manually. Otherwise, you run the risk of destroying delicate components.
Your soldering iron should also have a changeable tip.
You can, of course, get a soldering station, too. Personally, I’ve never really found them particularly useful because they feel less versatile. You’ll have to decide for yourself which type you prefer.
It’s important to note that you don’t have to get the most expensive soldering iron, especially if you’re a beginner. However, I definitely can’t recommend getting the cheapest one either. For a good soldering iron, expect to pay at least around 35 to 50 dollars.
Getting the Right Solder
For beginners, the solder you choose won’t make a huge difference. However, you should try to find a lead-free one and, like the soldering iron, don’t try to get the cheapest product you can find. Cheap solder usually performs poorly, making the job unnecessarily hard, especially for beginners.
An example of solder material. Try to find lead-free solder.
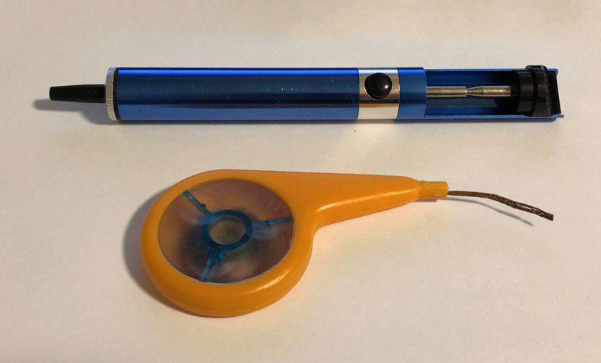
Soldering Stand, Desoldering Pump, and Solder Wick
I recommend getting a simple stand If your iron didn’t come with one so that you have a place to safely store your hot soldering iron. Ideally, you should also have a small sponge to clean the tip of your iron. Both of these are optional but highly recommended.
You can get a desoldering pump to help you remove parts from PCBs. Solder wick essentially serves the same purpose. However, both of these are optional. As a rule of thumb, you should get a pump for desoldering through-hole components and solder wick for SMT chips.
As a beginner, you won’t really need additional flux because high-quality solder will flow just fine for most applications.
Soldering Health and Safety Tips
While a lot of these safety tips seem like common sense, they still deserve to be mentioned.
First and foremost, be careful when handling the soldering iron! The tip is hot (it can be up to 450°C) and you won’t immediately notice it, which can result in some pretty nasty burns.
Make sure to place the iron in its stand or on a fireproof surface when it’s not in use but still hot. Never leave the hot iron unattended, especially when there are pets or children around. Let it cool down completely before putting it away for storage.
While soldering, try not to breathe in the fumes. Always work in a well-ventilated area. If you plan to solder often, get a fume extractor.
The Act of Soldering
Once you have gathered all the necessary tools and materials, it’s time to start soldering! These steps are targeted towards absolute beginners to give some tips and tricks on how you can start soldering quickly.
How to Tin Wires
Wire tinning is the process of melting solder around the strands of wire to make it more robust and easier to work with. It’s a very simple technique that you’ll often use in projects and it’s a great way to practice soldering.
To begin, Grab the wire you want to tin and strip off the insulation.
Strip the insulation off of your wire.
Then hold onto the uninsulated part of the wire and twist the individual strands together so that they form a thicker metal core.
Twist the wire strands together.
Use the soldering iron to heat up the bare metal of the wire for about ten to twenty seconds.
NOTE: The necessary time for heating the wire varies depending on the soldering iron you use and the thickness of the wire.
Apply some solder to the heated part of the wire until it melts.
Apply solder to the heated wire.
Make sure to heat the wire from underneath and add the solder from the top. That way, gravity helps the solder flow. It will melt and fill in the voids between the wire’s individual strands.
The following video shows the wire tinning process:
In the video, I added a tiny amount of solder to the tip of the iron right before tinning the wire. This will help transfer the heat to the wire.
How to Connect Wires
Connecting two wires works almost the same as tinning a single wire. Start by removing about a half-inch of the insulation on both of the wires you want to join.
Remove the insulation on both wires you want to join.
Then connect the two wires by gently weaving their individual strands together. This will hold them in place and give the solder a good structure to flow into.
Gently weave the wire strands together.
Then, just like with wire tinning, heat the bare metal part up for a few seconds and apply a little bit of solder until it melts and gets pulled into the strands of the wires.
Apply solder to the heated wires.
Whenever you connect two wires, you should consider adding a bit of heat-shrink tubing to one of the two wires before adding the solder. Once you’re done, heat the tube up for a few seconds until it shrinks. This replaces the missing insulation. The following video illustrates the entire process.
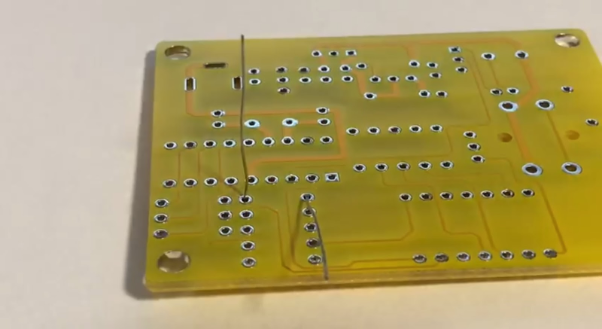
How to Solder Electronic Components
Once you have a feeling for the tools and the solder, it’s time to work with some electronic components.
The process is basically the same for all components. However, some — like integrated circuits and other parts with a plastic case — are more delicate and can get damaged when handled incorrectly.
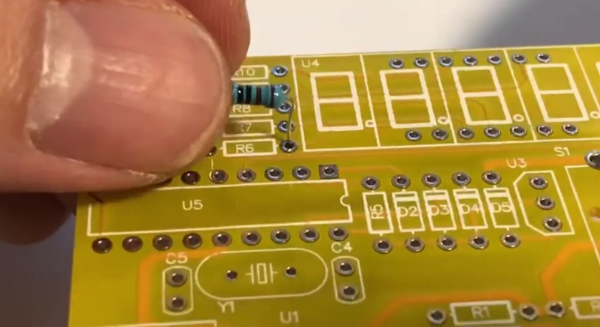
Start by bending the pins of the part you want to solder so that they fit through the intended holes on the PCB.
Bend the pins of the component to get them to fit through the PCB’s holes.
Turn around the PCB and bend one leg of the component, if you want to, to make it stay in place:
Bend one pin of the component so it stays in place.
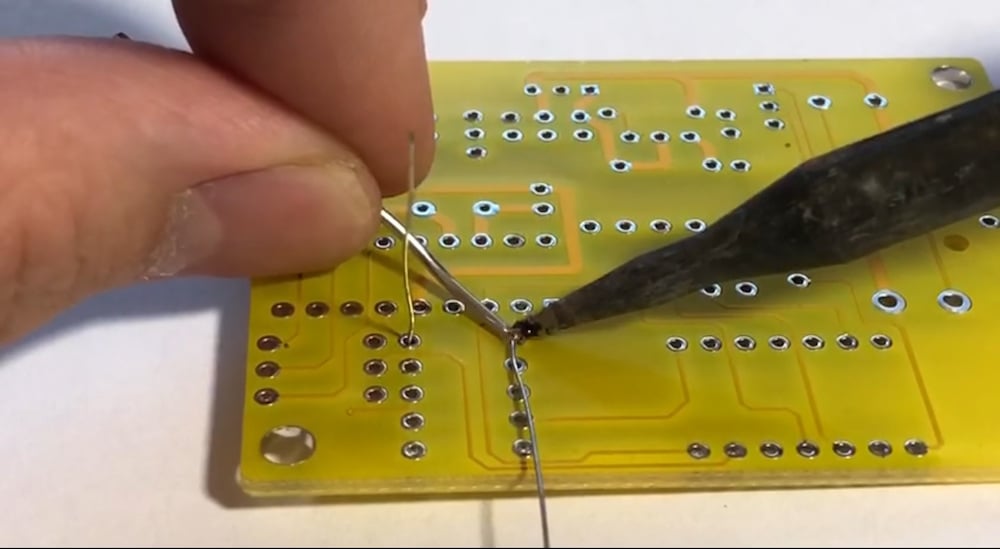
Heat up one leg and the pad on the PCB simultaneously for about one to two seconds. Then bring in the solder. It should immediately melt and flow onto the pad and the pin of the part.
Heat the pin of the component and then add solder.
When you’re done, let the part cool down for a few seconds and bend the legs of the part back up and cut them off.
Let the solder cool, then snip the pin.
If you want to solder ICs, put them in carefully and tuck down two pins so that the part stays in place while you work on the other pins.
The following video illustrates all the steps.
Final Soldering Tips and Tricks
- When soldering wires, make sure that you don’t touch the plastic insulation as it will almost immediately melt.
- When the soldering iron is hot, oxidation will happen at the tip. Make sure to regularly clean it on a wet sponge.
- You can get a third hand (a small metal helper for soldering) to make connecting wires easier. This is especially helpful for beginners.
- When soldering components, don’t trim their legs off too close to the board because the solder joint might crack.
- Don’t heat the pads on the PCB up for too long, they might lift off and destroy the board.
- Don’t add too much solder. A good solder joint looks like a shiny cone.