Learn how to use Unity Editor to build a VR app and contents.
Virtual reality can be created using different means. But here, I will mainly be using Unity Editor to build our VR app and contents. But prior to diving into VR using Unity, you need to learn how to navigate Unity. I am sure most of you must have the software installed, but if not, check out this tutorial on how to install Unity. In this post, I will quickly give you a guide on how you can navigate Unity.
VR App Development in Unity
Here are the most important basic controls for Unity:
- Left Mouse + W: move forward
- Left Mouse + S: move backward
- Left Mouse + A: move to the left
- Left Mouse + D: move to the right
- F: focus
You can learn about basic controls by visiting Unity's manual on hotkeys.
Awesome! Now you are ready to dive into VR app development. But you need to keep in mind that while you will be developing for VR, you cannot create the whole project on your own. You will be creating the controls, designing scenes, or creating objects and whatnot—not all three. VR app development is a vast field.
We will mainly use the imported designs and then add scripts and controls to them. Since this is your first VR app, most of the options and designs will be preset. Download the Unity project assets. It is a big file (~91MB ), so it will take some time to download.
Once downloaded, you can open the folder. You will find four or five folders. One of them will be the "Assets" folder. Inside, select the scene file named "rollercoaster3".
Unity will start. It will ask you to downgrade to lower API levels. You can select it and keep a backup.
Note: If Unity crashes, open the downloaded folder again and delete everything except the "Assets" folder. Run it again. Unity should run perfectly.
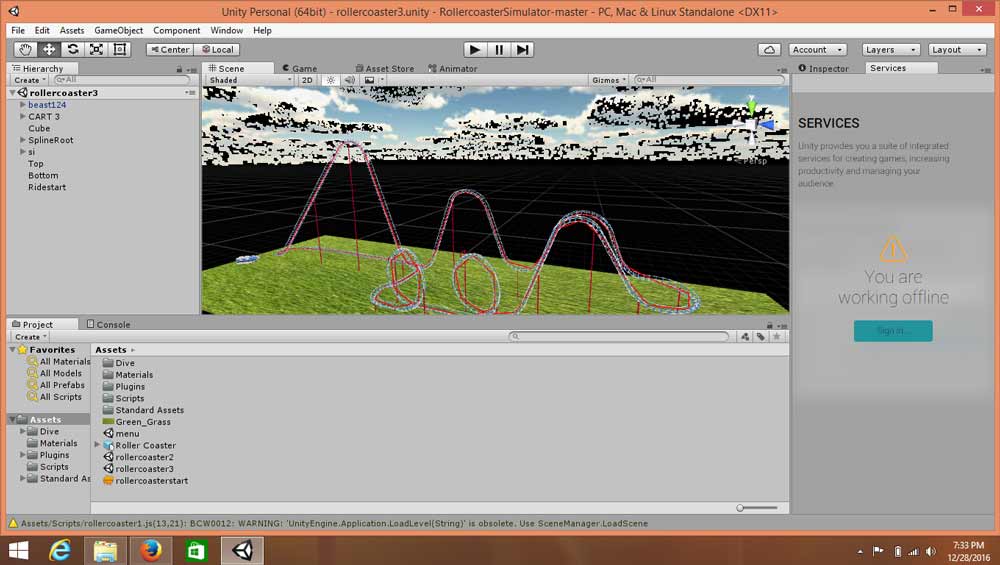
Once opened, it will look like this.
Doesn't look good, right? So, in order to fix that, navigate to Assets > Standard Assets > Skyboxes. Double click "Sunny Light" (you can choose any one) and select "Fix now" for every option. I wish Unity would automatically do that. But, oh well!
After every fix is applied, it should look like this.
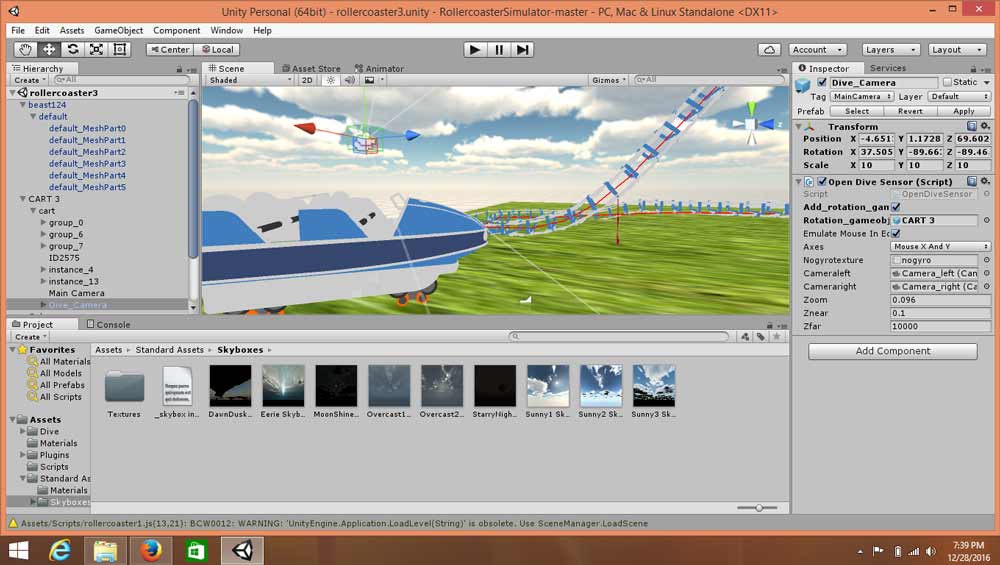
So, this is how it works: A roller coaster and a cart move along the path defined for them. Yes, the cart. If you can, focus your camera on the cart.
You can see two camera position for the game view. The code for the game is mainly driven by this cart only. For this tutorial, you don't need to worry much about the code.
Note: If you are working with Oculus or desktop-related VR devices, you should disable the Dive camera by unchecking it from the inspector window. You can also delete the gyroscope component by selecting the main camera (the other camera) in the inspector window, right-clicking it, and deleting it.
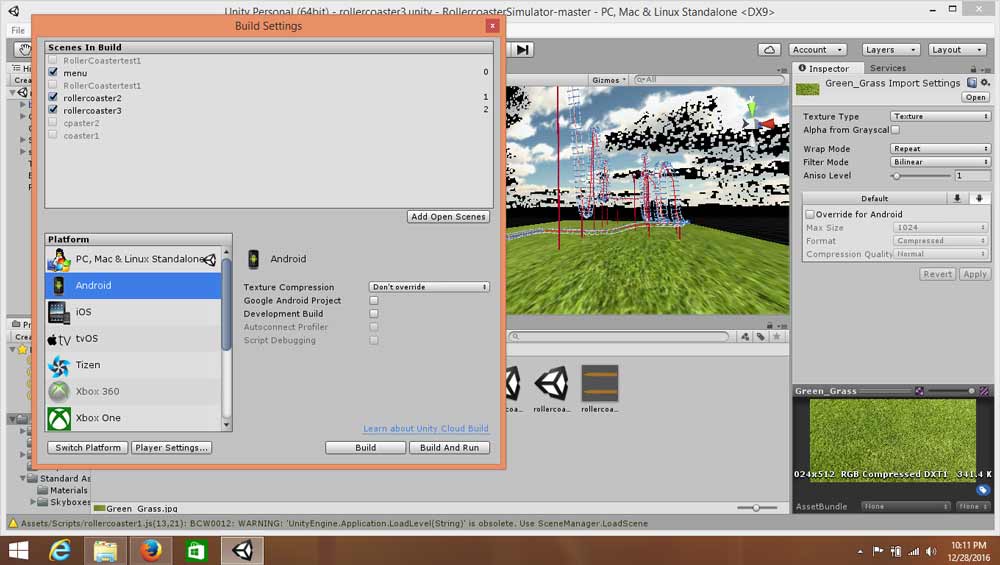
Now you can build the VR project. Note that your Unity symbol should be adjacent to Android. If not, you can select Android and switch platform.
Now select "Player setting", and change the bundle identifier in the inspector window to anything (com.FirstVR.app). Finally, run the app.
If this is your first time with Unity, it will ask you to locate the Android SDK folder on your computer. Download Android SDK and locate it in the dialog box while building the application.
You now have your first VR app. Congratulations! You can try using other assets available on the internet. It's simple, and if you are stuck anywhere, do ping me. I will be ready to help.
Keep following me for more easy tutorials on augmented reality or virtual reality. You can also connect with me on our online channel in Slack to get more guidance.