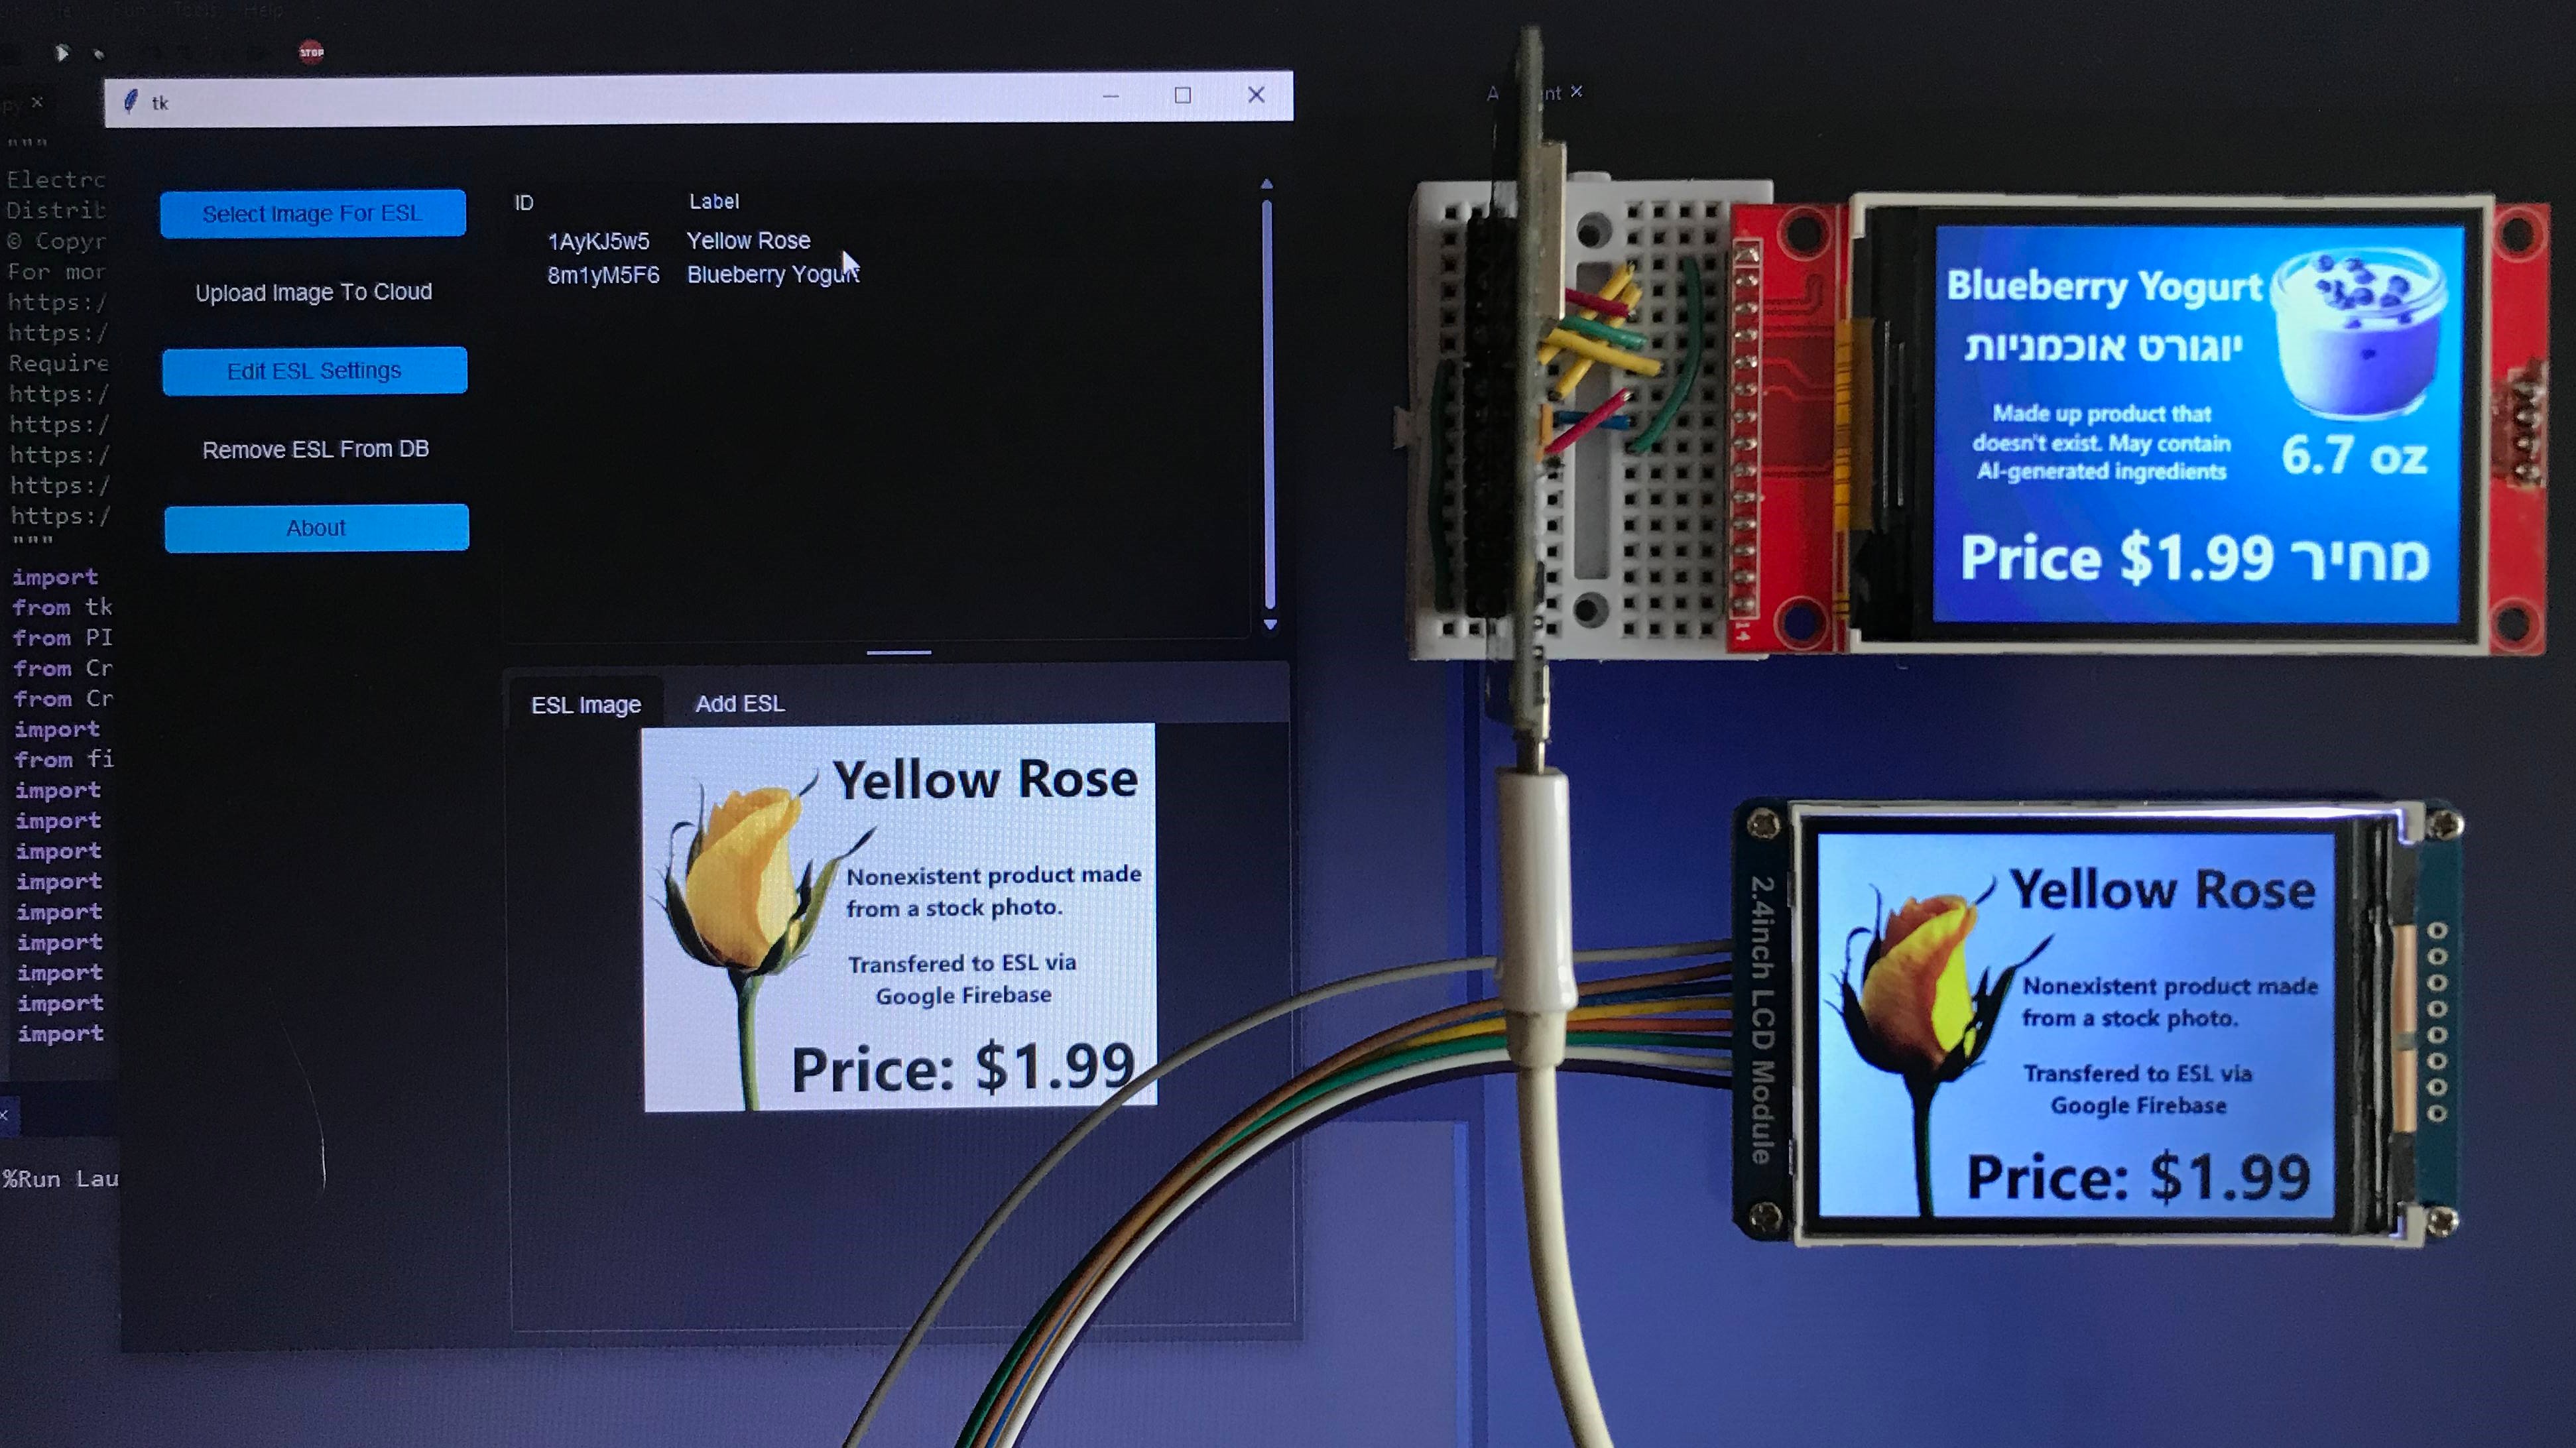
An Electronic Shelf Label is a device that’s typically attached to the front edge of retail shelving. ESLs can be used to show relevant prices, product descriptions, and other information. One of the advantages of employing the ESLs instead of the traditional paper price tag is the ease of updating it. With ESL acting as a price tag, you no longer need to wander around the store searching for the right price tag on the right shelf, all you need to do is select the image that will be displayed on the ESL using the ESL management software.
To make things even better, the ESL that I developed doesn’t require an expensive gateway to function, once configured, all it needs is a power supply and a Wi-Fi access point (so it can get the image from the Google Firebase).
You can also read this tutorial on Medium, Instructables, and Hackster.
Supplies
Supplies for the Desktop App (ESL Management Software):
- Environment that can execute the python code x1
Supplies for one ESL:
- ESP8266 x1
- TFT LCD with ILI9341 or TFT LCD with ST7789 x1
Supplies that can be shared by several ESLs:
- Access Point x1
- 3.3V or 5V Power Supply x1
Algorithm For Image Encryption
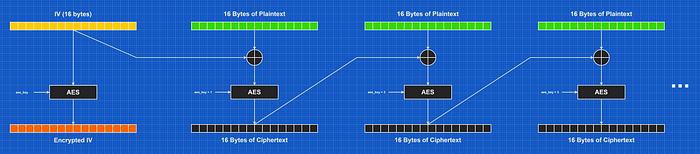
The software encrypts the image using AES-256 in CBC mode before uploading it to Google Firebase.
When you click the “Upload Image To Cloud” button, ESL Management Software extracts the pixels from the image, converts each 888-color pixel to a 565-color one, splits the resulting 16-bit color into two 8-bit values, and encrypts them with AES-256 in CBC mode.
Once the software encrypts a line of 320 pixels, it uploads the encrypted line to the Firebase.
The ESL then retrieves the encrypted image line by line, decrypts it, saves it in memory, and displays it.
Metrics
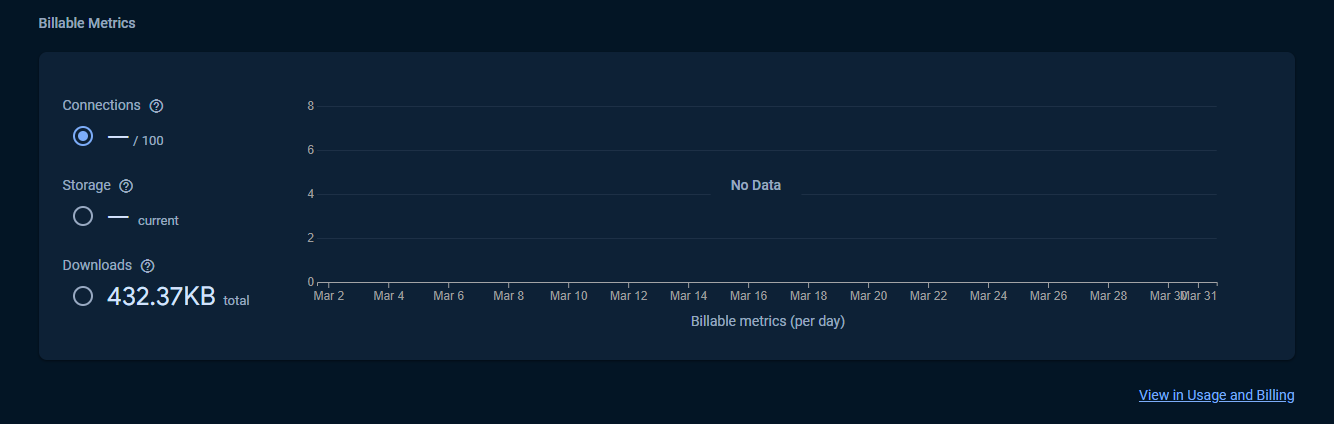
Take into account that the information presented in this step is just an opinion based on observations and should not be considered factual. The billing policy, methods used to calculate the billing amount, as well as methods for calculation of the used storage and bandwidth, are determined by Google.
Each encrypted image, excluding filenames and indexation of the file system, weighs 0.314944 MB. Based on this, you should be able to store up to 3251 encrypted images in Google Firebase for free. As for the bandwidth, Google offers a no-cost limit of 360 MB per day per project. In theory, you should be able to upload up to 832 encrypted images a day without paying for that, provided that no image is downloaded by ESL on that particular day.
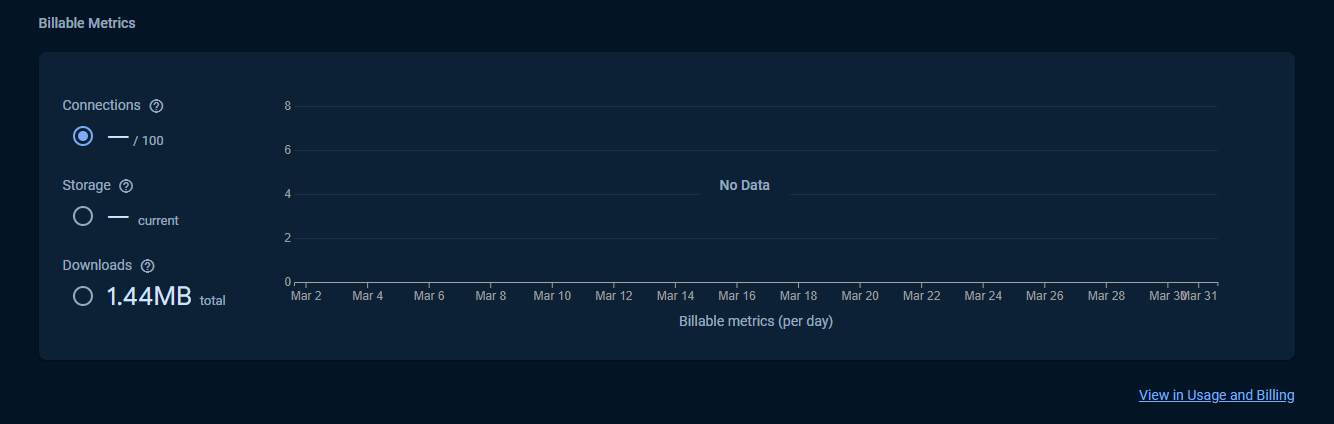
Uploading an image to Google Firebase and downloading it to the ESL takes 1.44 MB of bandwidth. So, technically, up to 250 images a day can be uploaded to the cloud and then downloaded by the ESLs for free, assuming that no ESL will request the same image more than once.
Checking whether the image stored in the cloud is the same as the one stored in the ESL requires at least 64 bytes of bandwidth, and by default, each ESL does that every ten minutes.
Install Drivers And Configure Arduino IDE *Optional
If you’ve never flashed ESP8266 before you’ll need to configure Arduino IDE and install drivers to upload the firmware to the boards, you can find drivers here:
CH340 driver: https://sparks.gogo.co.nz/ch340.html
CP210x driver: https://www.silabs.com/developers/usb-to-uart-bridge-vcp-drivers
In case you don’t have Arduino IDE, you can download it here:
https://www.arduino.cc/en/software/
Configuring IDE isn’t a part of this tutorial, you can read about it here:
https://randomnerdtutorials.com/how-to-install-esp8266-board-arduino-ide/
Step 4: Download and Unpack Project Archive
Download the project archive either from SourceForge or GitHub and unpack its content to the folder of your choosing.
Here are the download links for you:
https://sourceforge.net/projects/esl-firebase-edition/
https://github.com/Northstrix/Electronic-Shelf-Label-Firebase-Edition
Step 5: Download and Install the Required Libraries
Firebase-ESP-Client: https://github.com/mobizt/Firebase-ESP-Client
Adafruit-GFX-Library: https://github.com/adafruit/Adafruit-GFX-Library
Adafruit_BusIO: https://github.com/adafruit/Adafruit_BusIO
Adafruit_ILI9341: https://github.com/adafruit/Adafruit_ILI9341
Adafruit-ST7735-Library: https://github.com/adafruit/Adafruit-ST7735-Library
The process of unpacking libraries is typical. You can unpack the content of the archive into the folder: …\Arduino\libraries. Or open the Arduino IDE, click to the Sketch -> Include Library -> Add .ZIP Library… and select every archive with libraries.
Other required libraries are already present in one way or another.
Step 6: Set Up Google Firebase
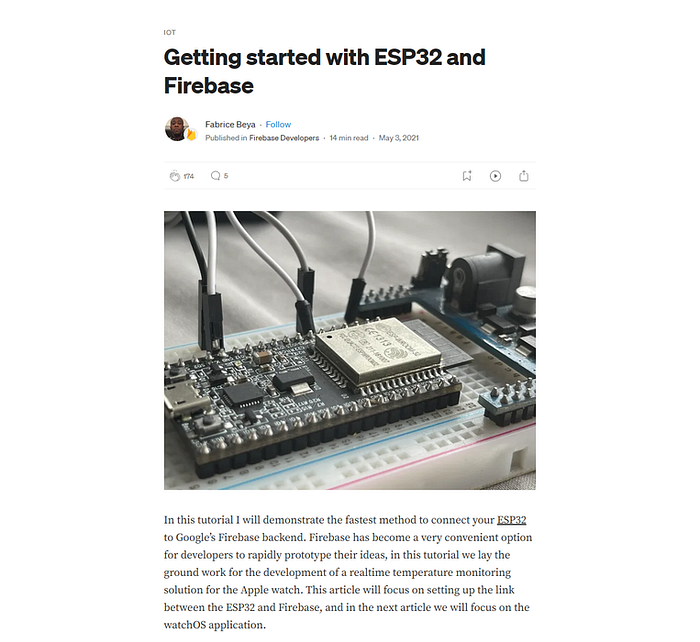
I would be happy to explain to you how to set up Google Firebase. However, I believe that the article at https://medium.com/firebase-developers/getting-started-with-esp32-and-firebase-1e7f19f63401 does a better job on that. I suggest reading the article up until the “Development Environment Setup” headline.
When setting up the database, save the “Realtime Database URL” and “Web API Key.”
These values will be needed later.
Step 7: Get Private Key for Firebase

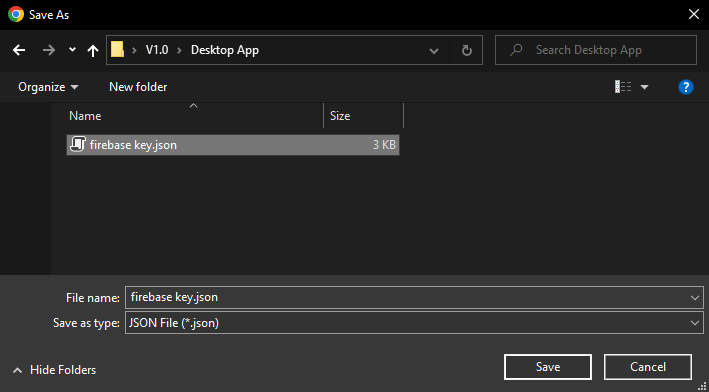
To upload data to Firebase, you need to get the private key and place it in the same folder as the desktop (client) application.
To do so:
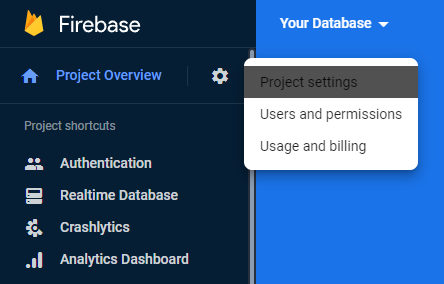
- Open your database;
- Click on the “Settings” icon;
- Click on the “Project settings” line;
- When the next tab loads, go to the “Service accounts” tab;
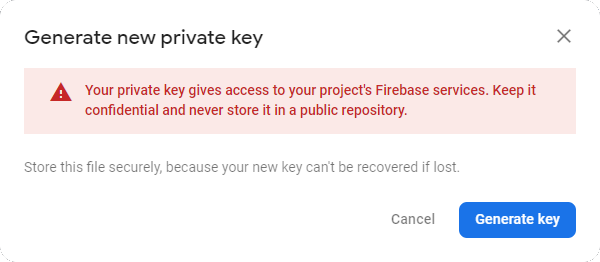
- Click the “Generate new private key” button;
- Click the “Generate key” button in the pop-up window;
- Save the private key to the “…\V2.0\Desktop App” folder under the “firebase key.json” name.
Step 8: Add Database URL to the Desktop App
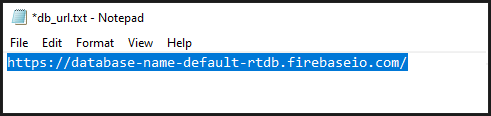
Navigate to the “…\V2.0\Desktop App” folder, open the “db_url.txt” file, replace my database URL with yours, press “Ctrl + S” and close the file.
Step 9: Install ESP8266 Filesystem Uploader

The primary purpose of the ESP8266 Filesystem Uploader is to let you upload files into ESP’s filesystem. In this tutorial, the purpose of this tool is to upload an empty SPIFFS image into ESP.
Download the archive called ESP8266FS-0.5.0.zip from https://github.com/esp8266/arduino-esp8266fs-plugin/releases
And then extract the content of that archive into the “…\Arduino\Tools\” folder.
After that, restart the Arduino IDE.
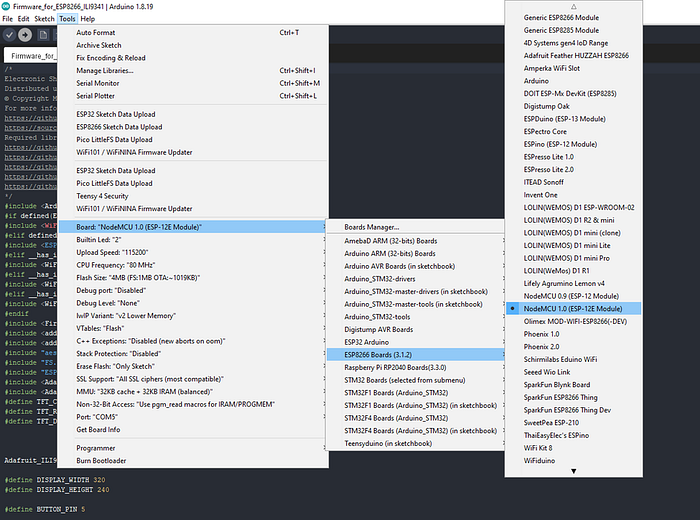
Step 10: Format ESP8266’s Built-In Flash Memory
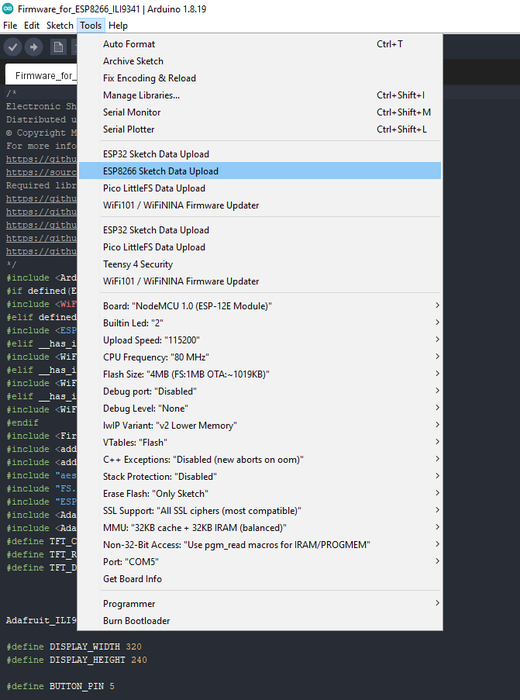
Set the flash size to “4MB (FS:1MB OTA:~1019KB)”
Then click Tools -> ESP8266 Sketch Data Upload, click Yes in the pop-up window. The program is going to format the built-in flash memory.
Step 11: Modify Firmware
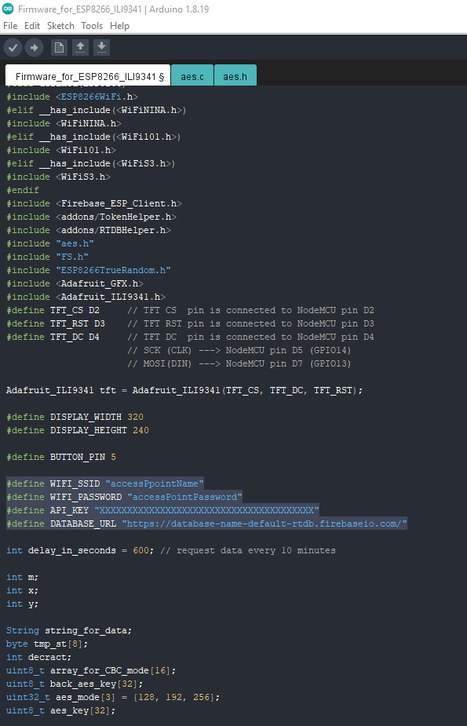
Open the .ino file with the firmware corresponding to your display, and put your values to the following variables:
WIFI_SSID
WIFI_PASSWORD
API_KEY
DATABASE_URL
Also, adjust the following value if needed:
int delay_in_seconds = 600; — Request data from the cloud each n seconds.
Step 12: Flash ESP8266
Upload the modified firmware to the ESP8266.
Step 13: Assemble ESL
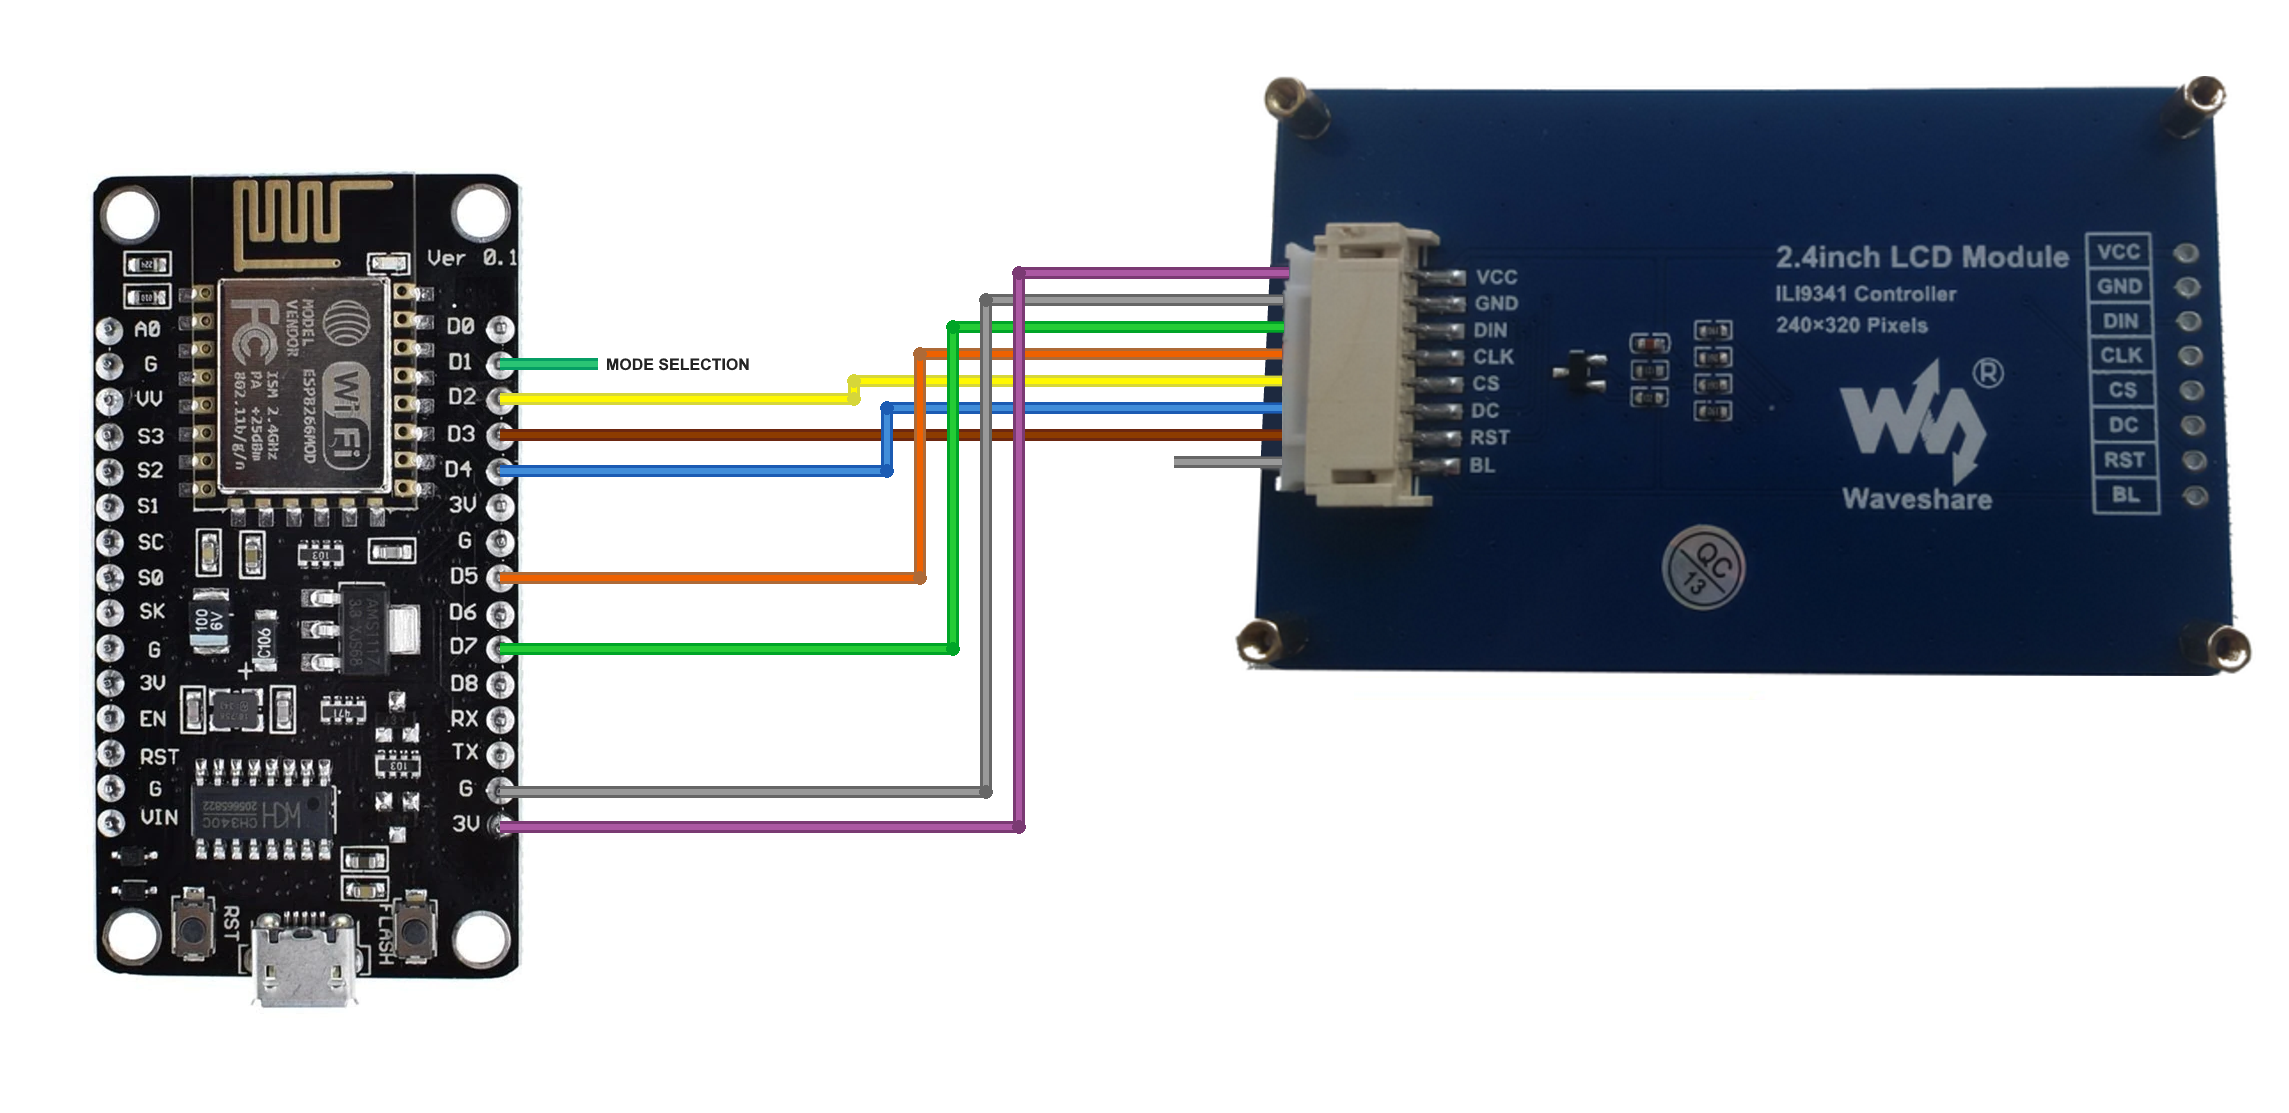
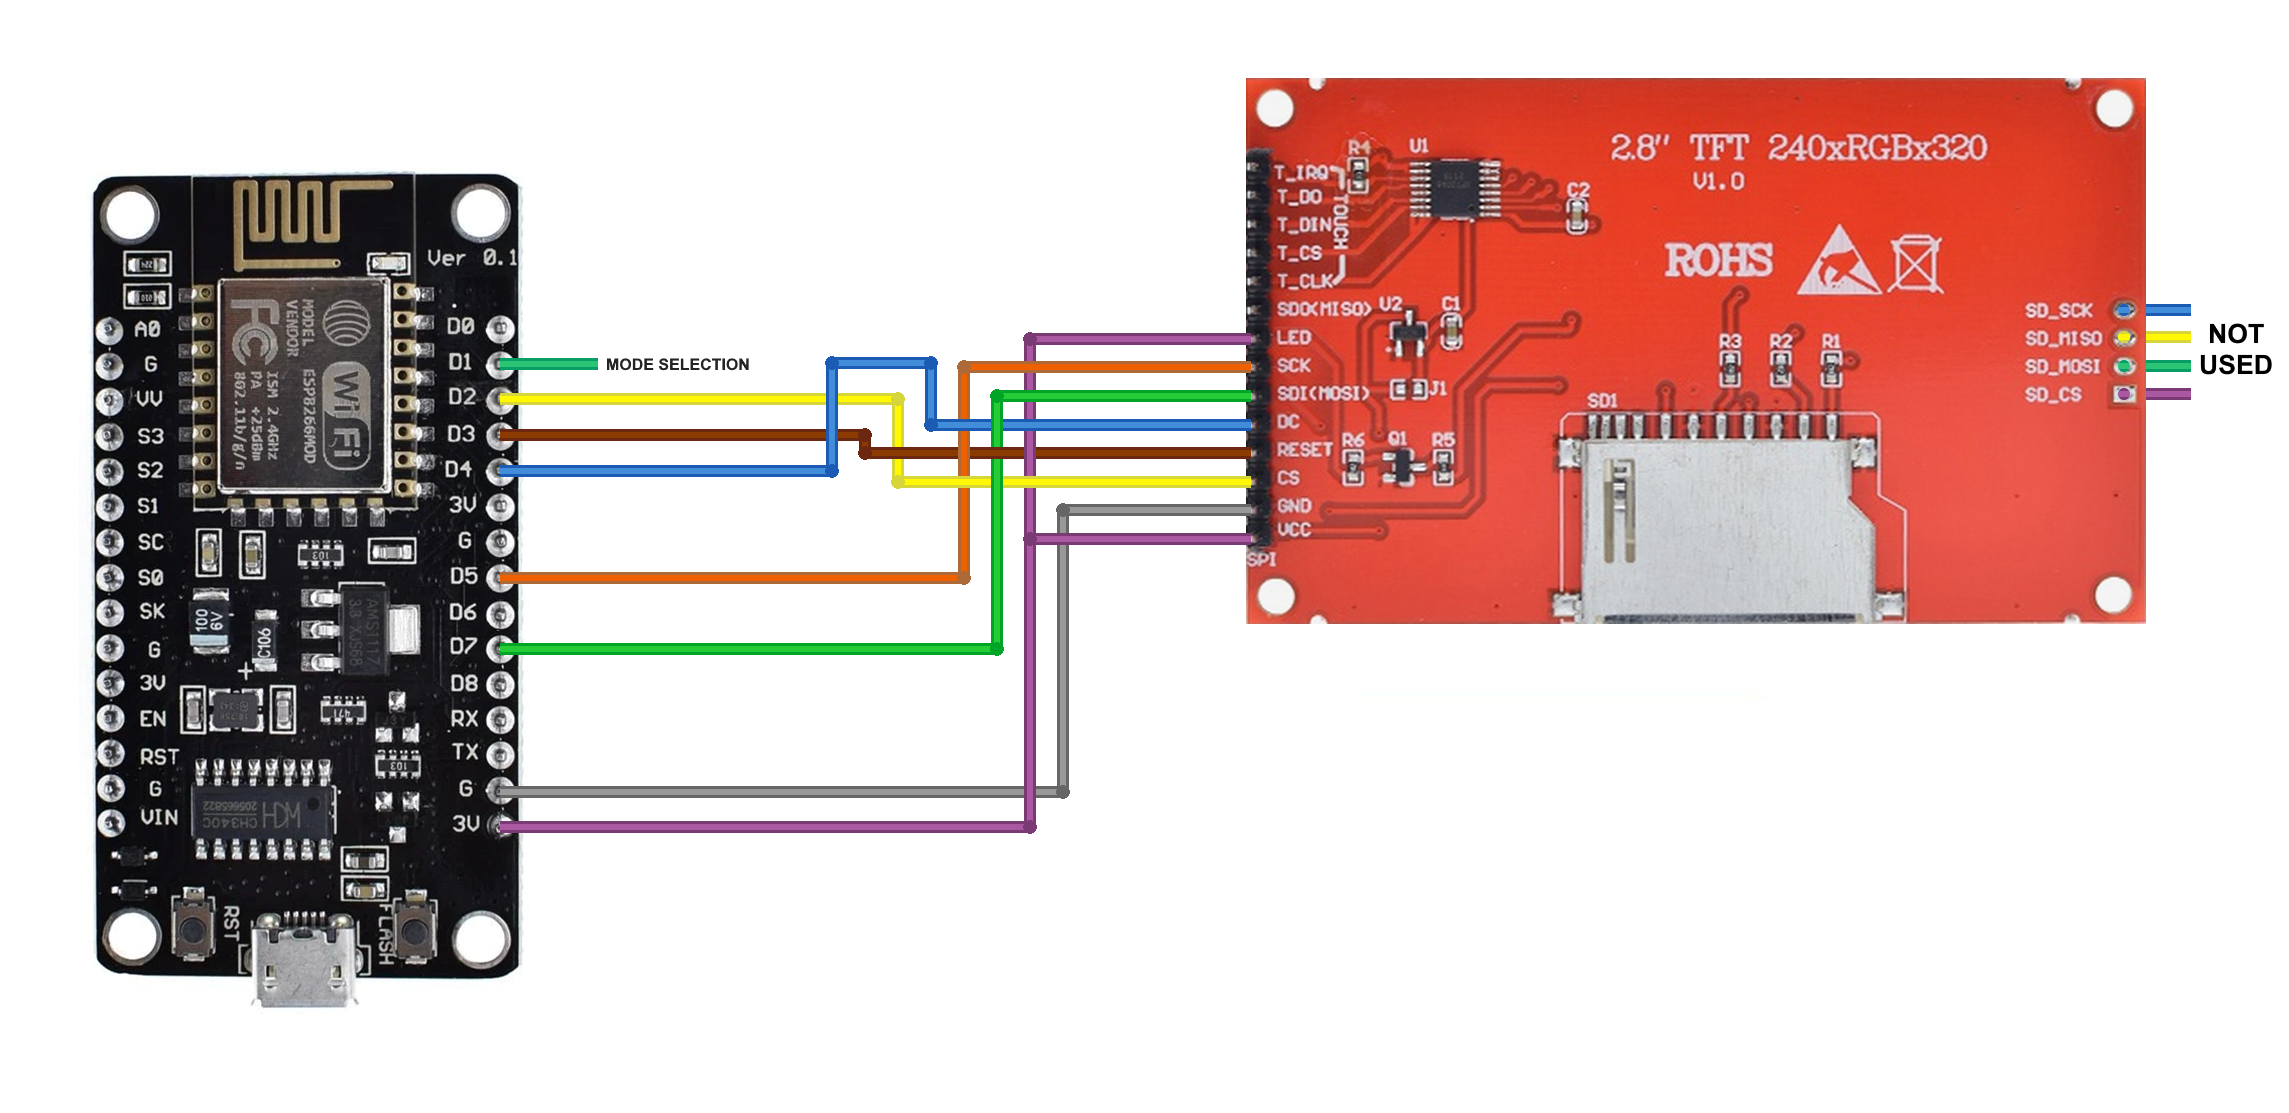
Connect the chosen display to the ESP8266 and save a jumper wire for the mode selection.
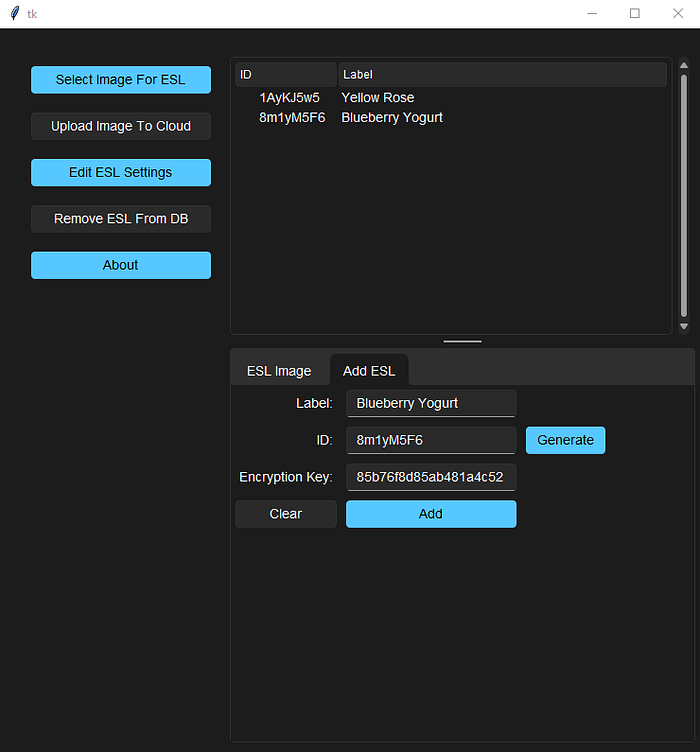
Step 14: Generate an ID for ESL
The ESLs are distinguished from each other by their unique IDs.
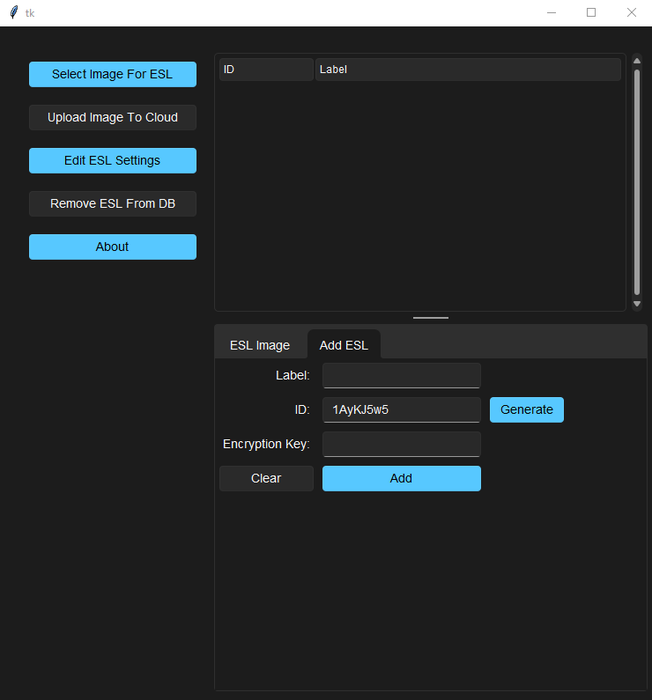
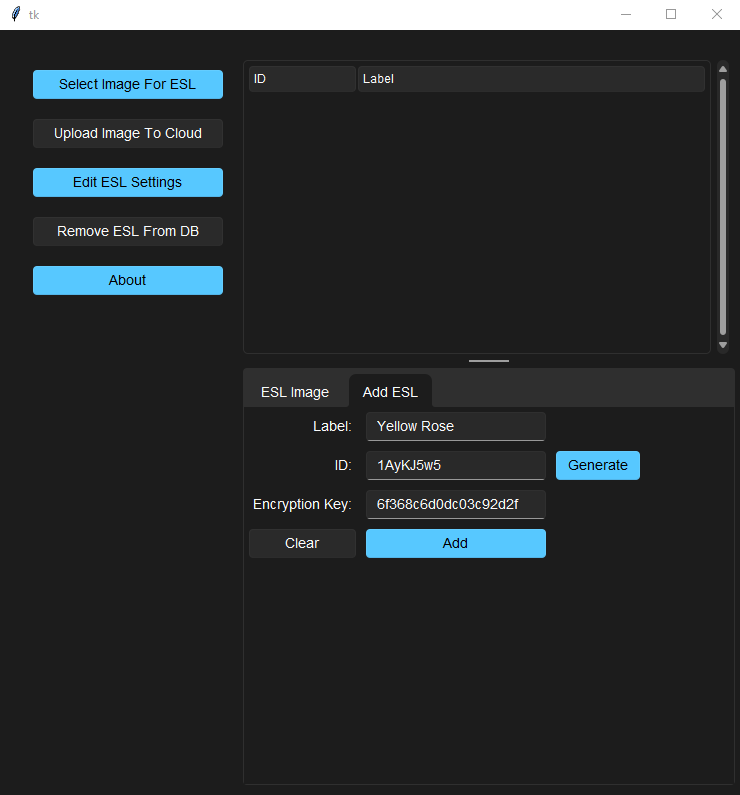
To generate an ID for an ESL, run the “Lauch.py” file from the “…\V2.0\Desktop App” folder, go to the “Add ESL” tab, and click on the “Generate” button. The newly generated ESL ID should appear in the designated entry box. The software checks each generated ID, and if it’s already present in the database, it’ll keep generating new IDs until it comes up with the one that’s not in the database.
Technically, ESL ID can vary from one character to several hundred characters. But for the sake of convenience, I set the default length of ID to 8 characters. If you choose to generate IDs for the ESLs by means other than this software, make sure that you don’t set ESL ID to “-1” because the string “-1” is reserved for the system use and indicates that the file doesn’t exist.
Step 15: Power Up the ESL in Configuration Mode
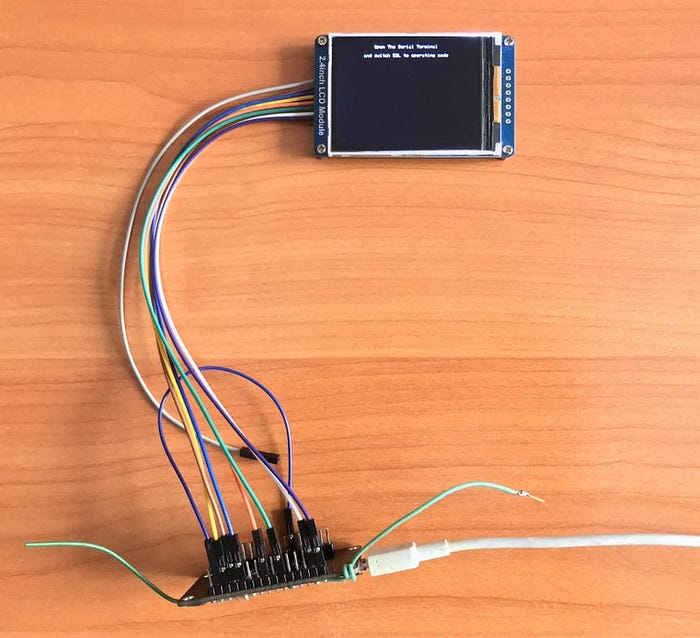
Put a jumper wire between the “D1” and “G” pins and connect the ESP8266 to the USB Port.
Step 16: Configure the ESL and Add It to the Database
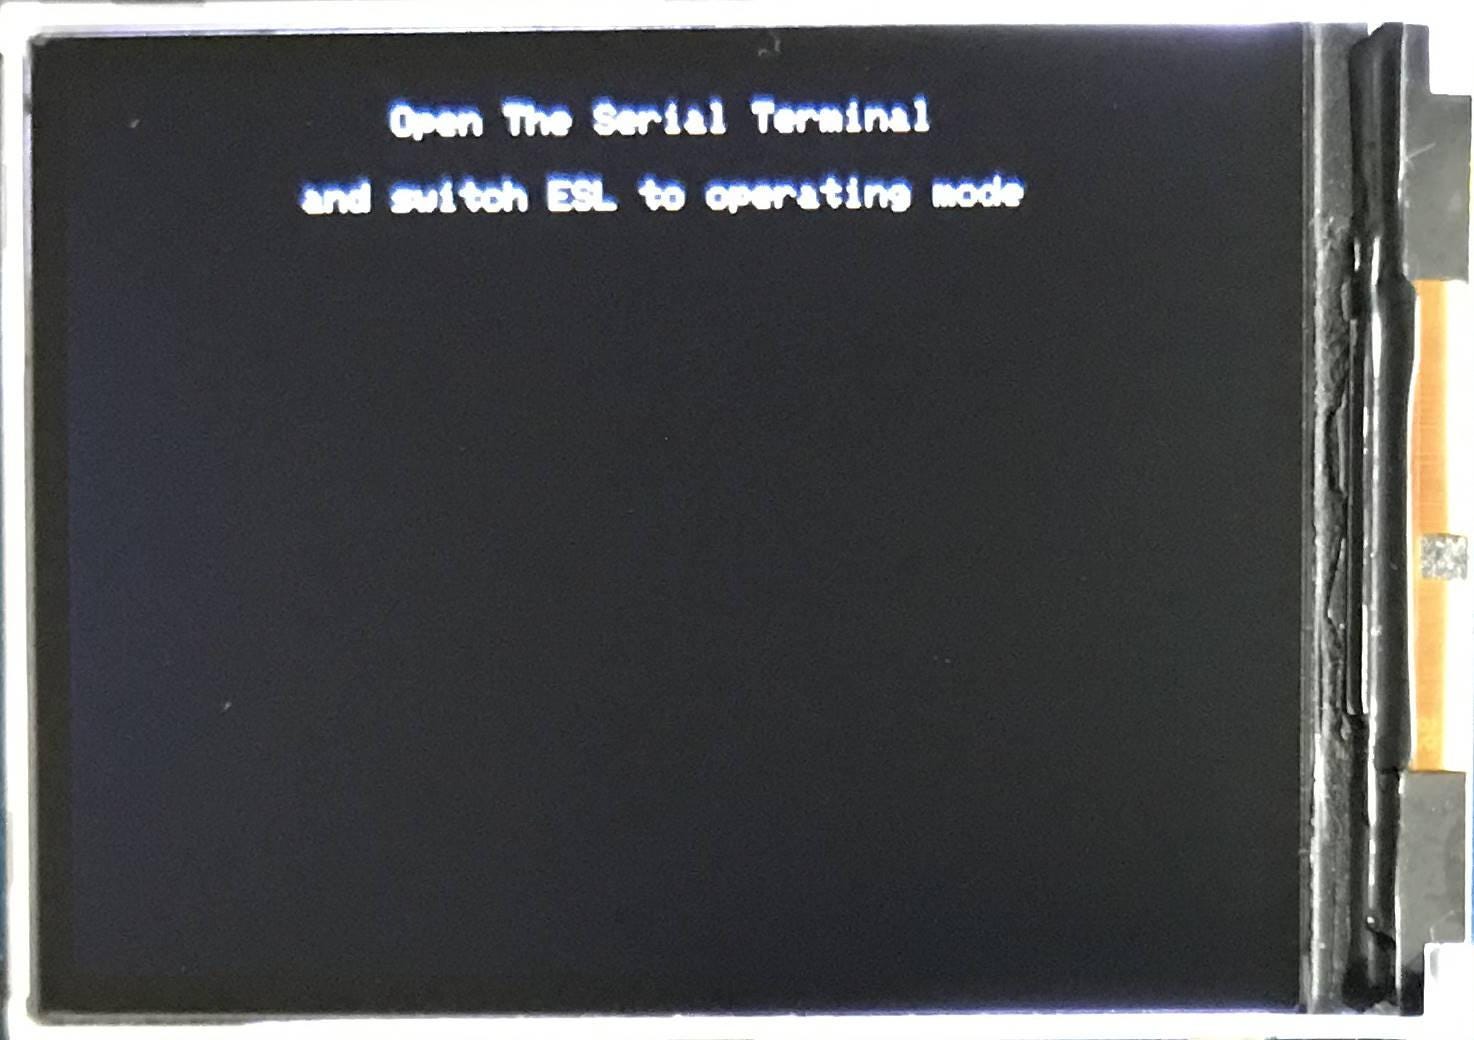

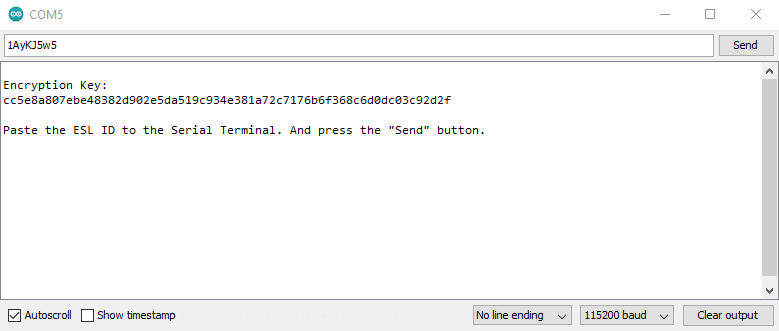
After powering up the ESL in configuration mode, you should see the “Open The Serial Terminal and switch ESL to operating mode” inscription on the display. At that point, open the Serial Terminal and switch the ESL to the operating mode by removing a jumper wire between the “D1” and “G” pins and instead connecting it between the “D1” and “3V” pins.
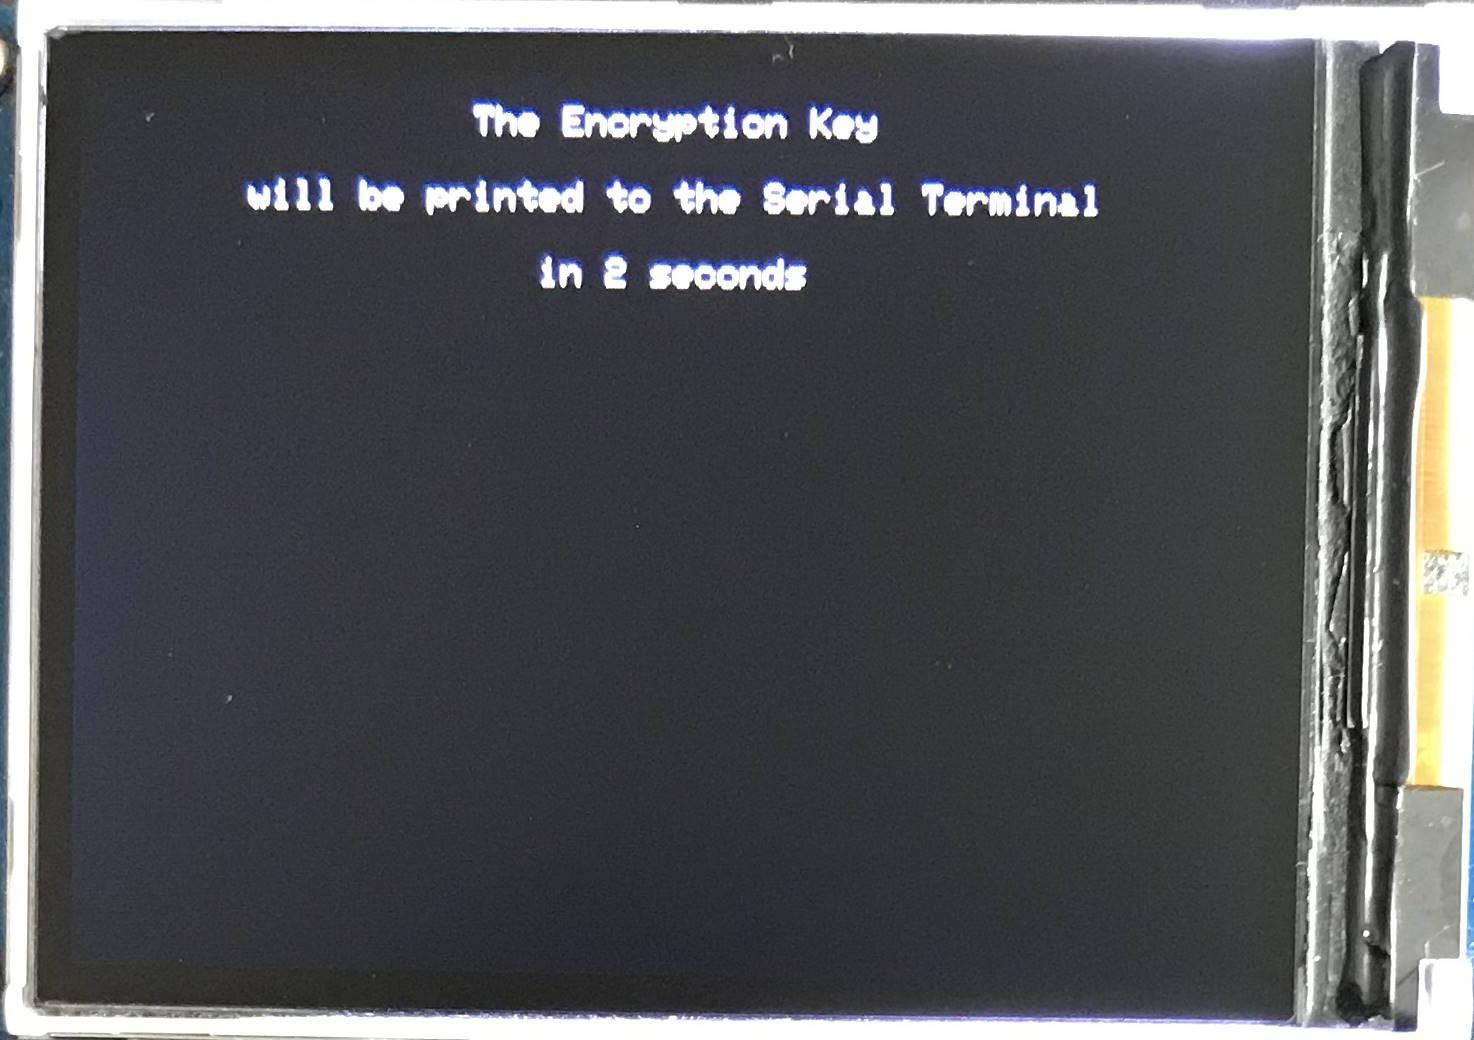
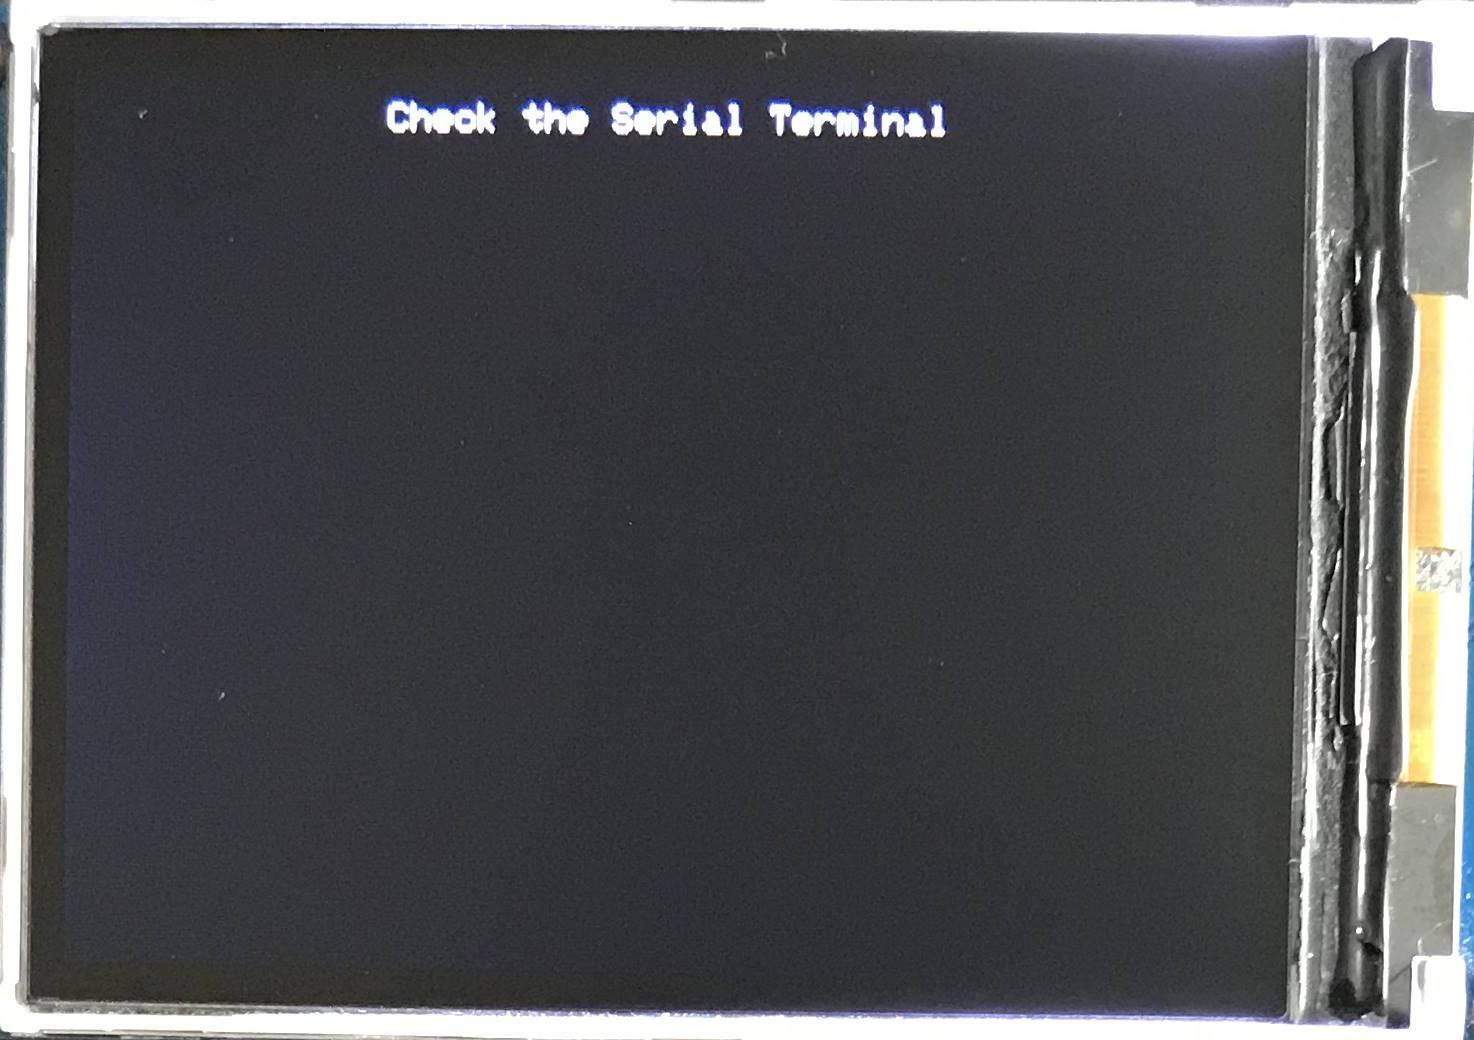
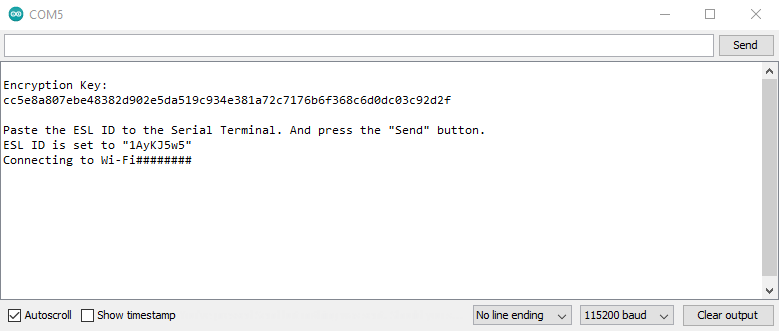
Wait for a couple of seconds and check the serial terminal. You should see a newly generated encryption key. Paste the ESL ID to the entry in the Serial Terminal and press the “Send” button. That’s it for the ESL configuration.
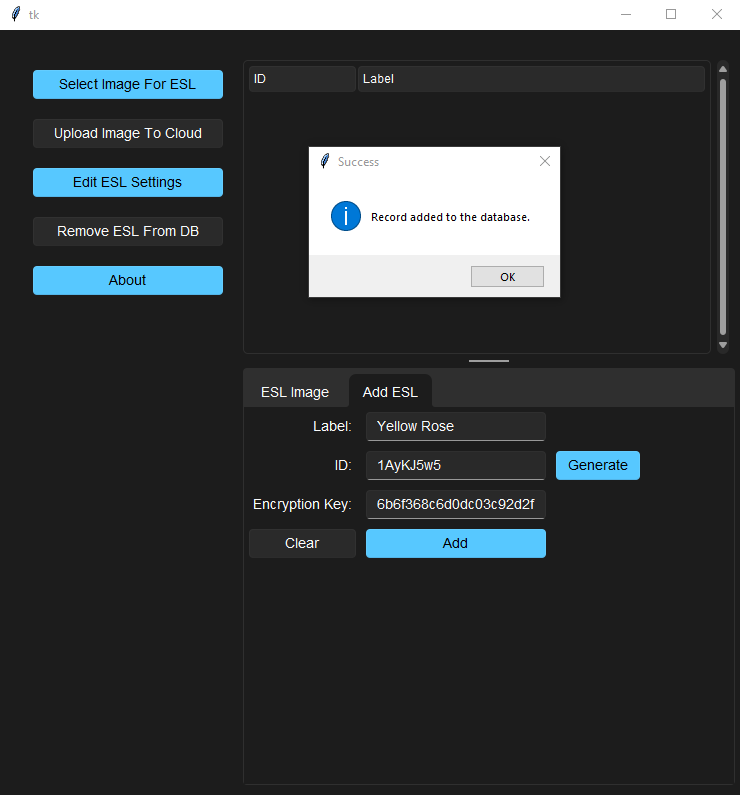
Now, add the ESL to the database. To do this, copy the encryption key from the Serial Terminal, paste it into the appropriate entry in the software (you might have to remove an empty character that appears after the key), name the ESL whoever you like, and finally, click the “Add” button.
Step 17: Make Images for the ESLs


It’s entirely up to you how to make the images for the ESLs.
I made one using the stock photo from Pexels, and another using the image generated by Craiyon.
Whatever images you make, make sure that their resolution is 320x240 pixels.
*All products and product-related information demonstrated in this tutorial are entirely fictitious. Any similarity to actual products and product-related information is purely coincidental.
Step 18: Upload Image That Will Be Displayed on the ESL to the Google Firebase

When the ESL is configured and added to the database, you can upload an image for that ESL to the Google Firebase.
To do so:
- Click on the ESL to which you want to add the image in the table;
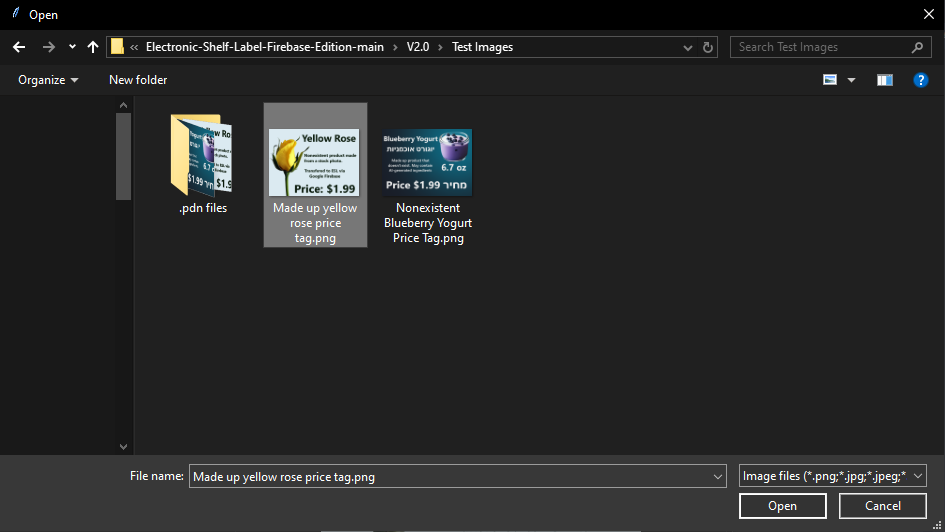
- Click the “Select Image For ESL” button;
- Browse to the folder where the image is located, select the image you want to display on the ESL, and click the “Open” button;
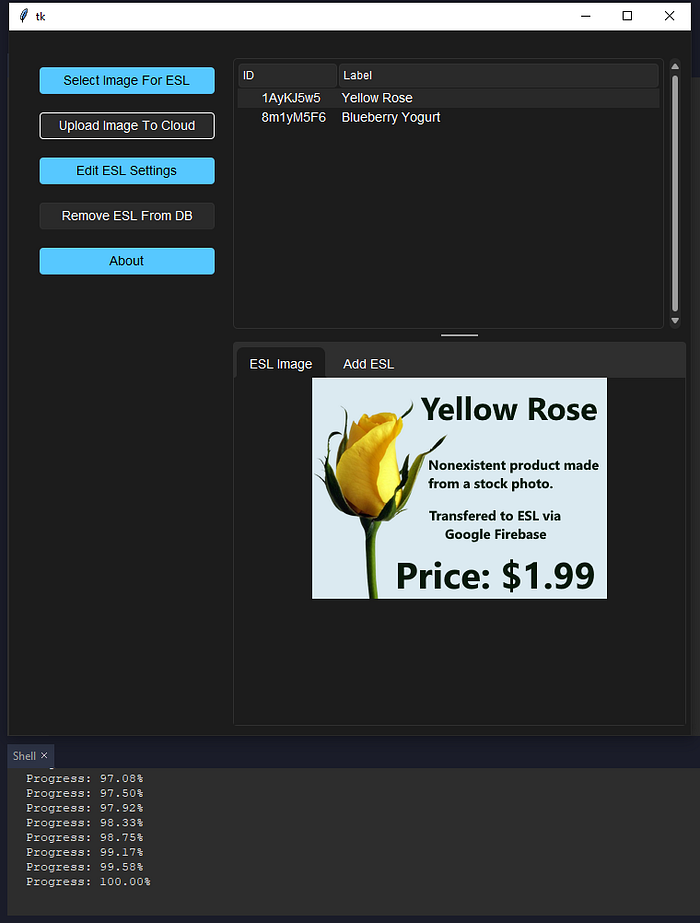
- Click the “Upload Image To Cloud” button. The progress of the upload will be shown in the shell.
It takes roughly 80 seconds for the image to be encrypted and uploaded to the Google Firebase.
Step 19: Enjoy the Result
When the encrypted image for the ESL is in the Google Firebase, ensure that the ESL is connected to Wi-Fi and wait for it to request the image from the cloud or reboot it. The download and decryption process may take up to 10 minutes. Once completed, the image will be saved in ESP8266’s memory and displayed.