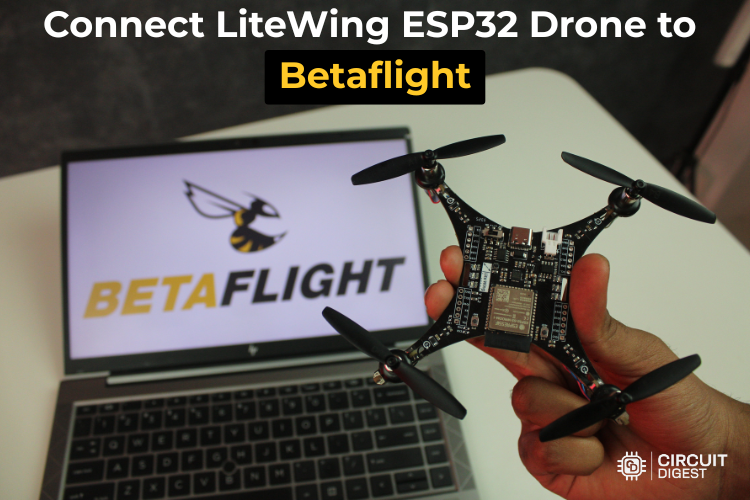
Learn how to configure the open-source LiteWing ESP32 drone with Betaflight to unlock advanced tuning, receiver setup, and flight control features.
The LiteWing drone is a versatile, open-source aircraft built around the powerful ESP32-S3 microcontroller, designed for makers and drone enthusiasts who want full control over their flying machine. While LiteWing ships with its default firmware, you can take your drone to the next level with the ESP32 drone Betaflight, a widely used and feature-rich flight control software in the FPV and racing drone world.
This step-by-step guide shows how to flash the appropriate Betaflight firmware, configure essential hardware and software settings, tune PID control, integrate an ExpressLRS receiver, and troubleshoot common issues — making it ideal for both beginners and experienced builders looking to experiment with open-source hardware and flight software.
🔧 What You’ll Learn
- How to flash Betaflight firmware on your LiteWing ESP32 drone.
- How to install and set up the Betaflight Configurator.
- Pin configuration and IMU alignment for accurate control.
- Integrating an ExpressLRS receiver for low-latency control.
- Custom PID tuning for stable flight.
- Setting up flight modes and Blackbox logging
🔌 Step-by-Step Configuration
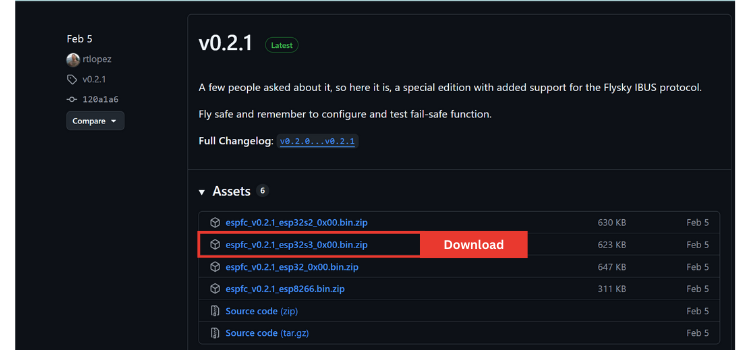
1. Flash Betaflight Firmware
Start by downloading the ESP-FC Betaflight firmware from its GitHub repository and using an ESP flashing tool in your web browser to install it on the LiteWing’s ESP32-S3 flight controller.
2. Install Betaflight Configurator
Install the Betaflight Configurator on your computer (Windows, Mac, or Linux). Then enable “Show All Serial Devices” in settings so the software can detect your drone.
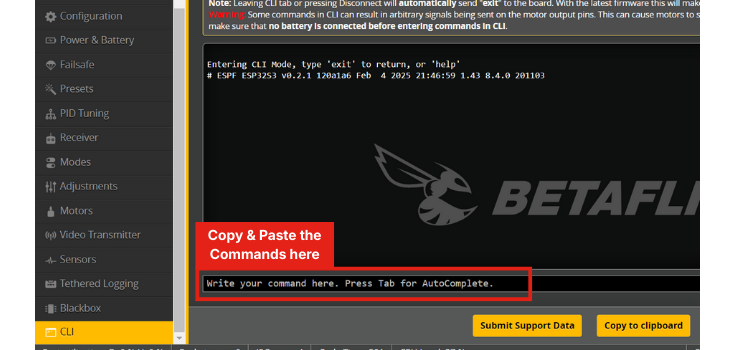
3. Set Up Hardware Pins
You’ll need to update the default pin configuration in Betaflight’s CLI to match the LiteWing’s hardware layout.
4. Correct IMU Orientation
Adjust the IMU orientation in the Betaflight Configuration tab to match the physical drone's movement in 3D.
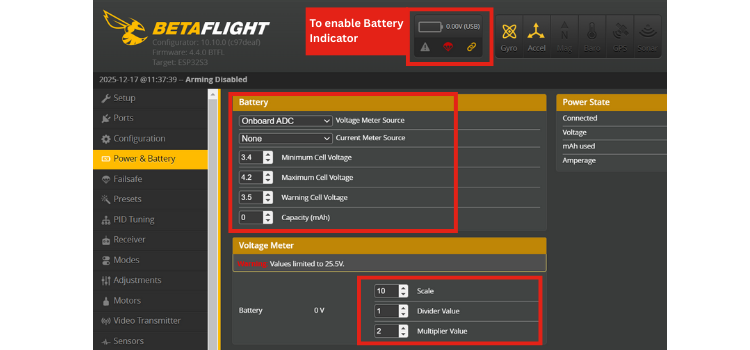
5. Battery Voltage Monitoring
Configure the onboard ADC so Betaflight can properly read battery voltage and warn you of low power.
6. Motor Protocol Setup
Since LiteWing uses brushed DC motors, set the motor protocol to “Brushed” and adjust to the correct PWM frequency for smooth control.
📡 Receiver and Controls
⚙️ Flight Modes and PID Tuning
Assign ARM, ANGLE, and BLACKBOX modes to your transmitter switches so you can safely start motors, select flight behavior, and enable data logging. Custom PID values specifically tuned for the lightweight LiteWing help achieve stable flight with brushed motors.
📈 Blackbox Logging & Tuning
Enable Blackbox in Betaflight to record flight data, which you can analyse later to fine-tune and troubleshoot.
🛠 Troubleshooting Tips
Common issues like motors not spinning or receiver signals failing often come down to configuration steps — check ARM switches, wiring, and Betaflight settings if you run into trouble.
By following these steps, you’ll transform your LiteWing ESP32 drone into a fully configurable, Betaflight-powered aircraft ready for custom tuning, better control, and advanced functionality. If you're exploring more innovative builds, check out these inspiring ESP32 projects for hands-on learning and experimentation.