In this tutorial blog, we will go through the step wise process of designing a 3D ramp toy in SelfCAD
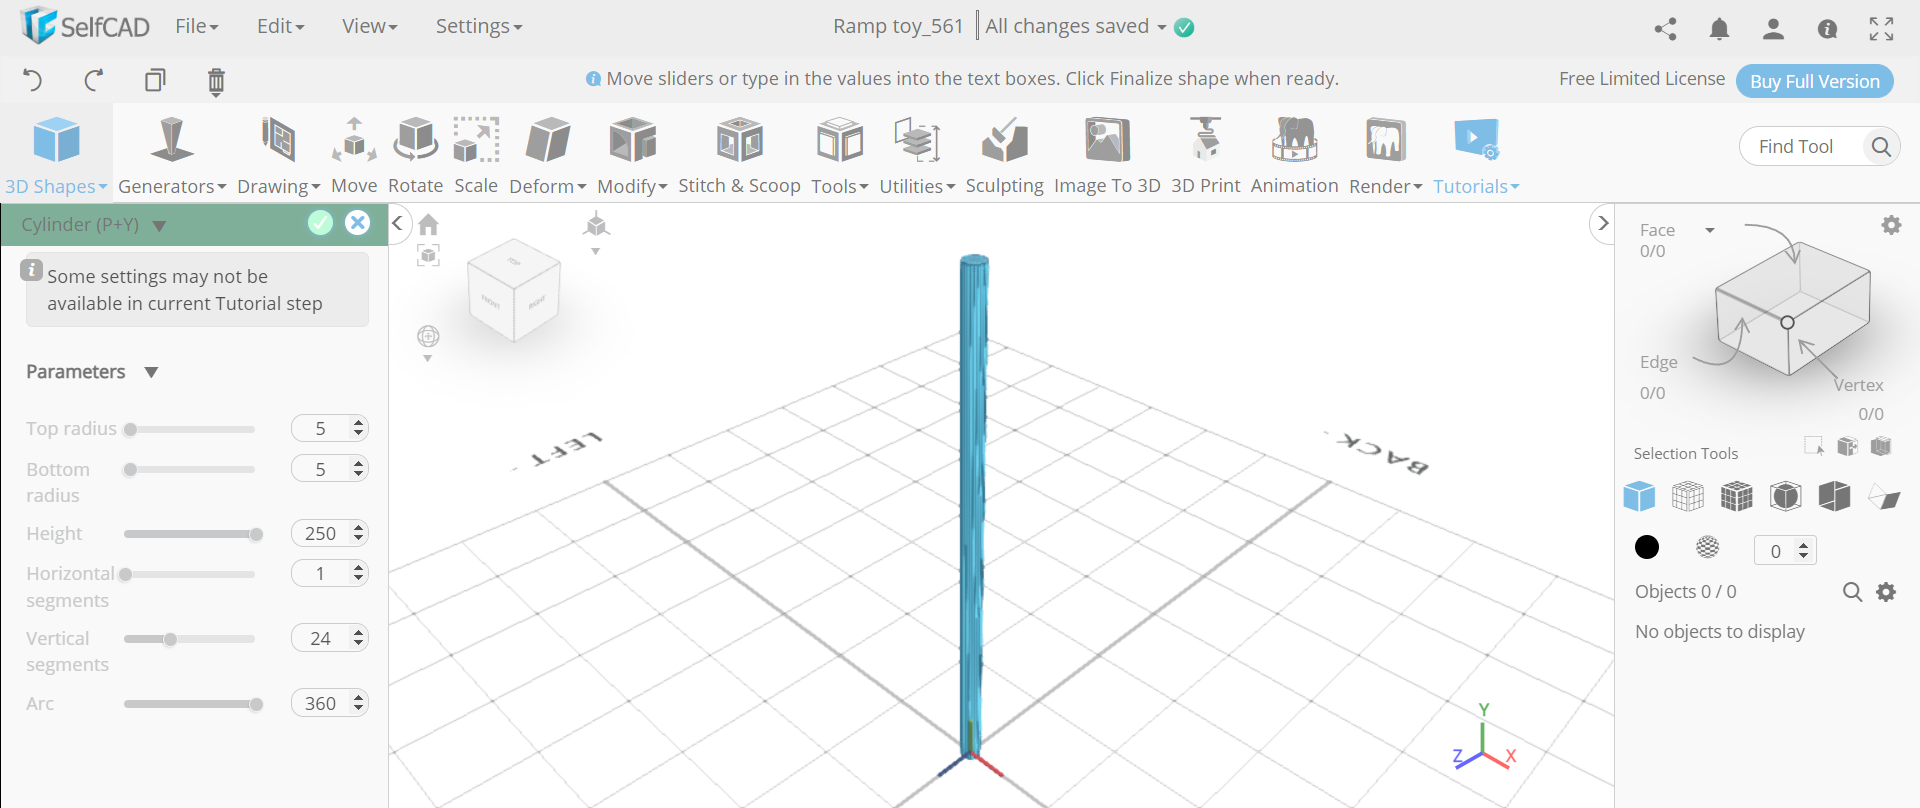
Step1: Insert a cylinder and a cube to the working interface
First of all, from the 3D shapes category, insert a cylinder to the working interface. Set the top radius to 5, bottom radius to 5 and height to 250. Then insert a cube and set its width to 20, height to 5 and depth to 150.
Step2
Next, we will insert a cylinder and set the top radius to 2, bottom radius to 2, height to 25 and position z to 70. Then, go to the tools category and select the copy offsets option. Set z to -140 and click on the copy button to create copies.
Step3: Make the structure a union and start creating copies of it
Now, we will select mesh_12, mesh_12(1) and mesh_8, go to the stitch and scoop and make them a union. Then select the copy offsets option again and set y to 5.
Step4: After creating the copies, combine the whole structure to make them a union
Next, click on the add operation and set operation to rotate, y to 15 and amount of copies to 44. Then make all the objects a union except the first cylinder.
Step5: Insert a sphere and delete its top face
Now, we will insert a sphere to the working interface. Set radius to 70, arc to 180, position y to 236 and rotation x to 90. Then opt for polygon selection and select the top face of the object to delete it.
Step6: Add thickness to it and scale it
Next, go to the modify category and select the add thickness tool. Set the thickness to -2. Then select the scale tool and set y to 55.1.
Step7: Insert another sphere and a cylinder
Now, we will insert another sphere and set its radius to 15 and position y to 251. Then insert a cylinder and set its top radius to 16, bottom radius to 16, position x to 40 and position y to 200.
Step8: Create its copy and subtract the masses
Next, select the copy offset option and set x to -80 and create copies. Then select mesh_24, mesh_24(1) and mesh_16. After that, go to stitch and scoop and select the difference option. Choose mesh_24, mesh_24(1) to subtract.
Step9: Make the objects a union and colour them
Now, select all the objects except mesh_20 and make them a union. Then select the colour picker option and change the colour of the selected object to dark blue.
CONCLUSION: HENCE, WE HAVE CREATED A 3D RAMP TOY USING SelfCAD
We have made a ramp toy in a 3D modelling software utilising the stitch and scoop and many other tools. We have 3D designed it with various tools and options of SelfCAD. You can likewise use a comparable methodology to make other 3D objects of your choice. In this manner, we trust you find the tutorial blog illuminating and supportive.