In this tutorial article, we will be designing a 3D floor plan
3D Designing is ending up being prominent in different fields. With 3D designing, one creates 3D models that can be utilised in promoting and in different regions and they can likewise be 3D printed. In this tutorial article, we will make a 3D floor plan in SelfCAD. Expecting you have not been aware of it yet, SelfCAD is one of the most simple-to-utilise yet strong 3D modeling software for clients, everything being equal. We chose to involve SelfCAD as it has every one of the key components one expects for their 3D displaying and 3D printing errands.
With SelfCAD, you can undoubtedly make 3D models without contributing a tremendous heap of energy learning, and you can make both fundamental and complex plans without taking a great deal of time. The tools of SelfCAD that we will use are the 3D Sketch, Scale tool, Move tool, and so on. We will start by 3D designing a reference image and evolving it. By sorting out some way to 3D design this floor plan, you will get to know how to utilise the different tools of SelfCAD.
You can also go through our other articles such as how to design a 3D soap box.
So, Let’s begin!
Step1: Add a reference image and reduce its opacity
First of all, go to views and select the reference image. Then go to add an image and add a floor plan’s image on the working interface. Reduce opacity to 46.
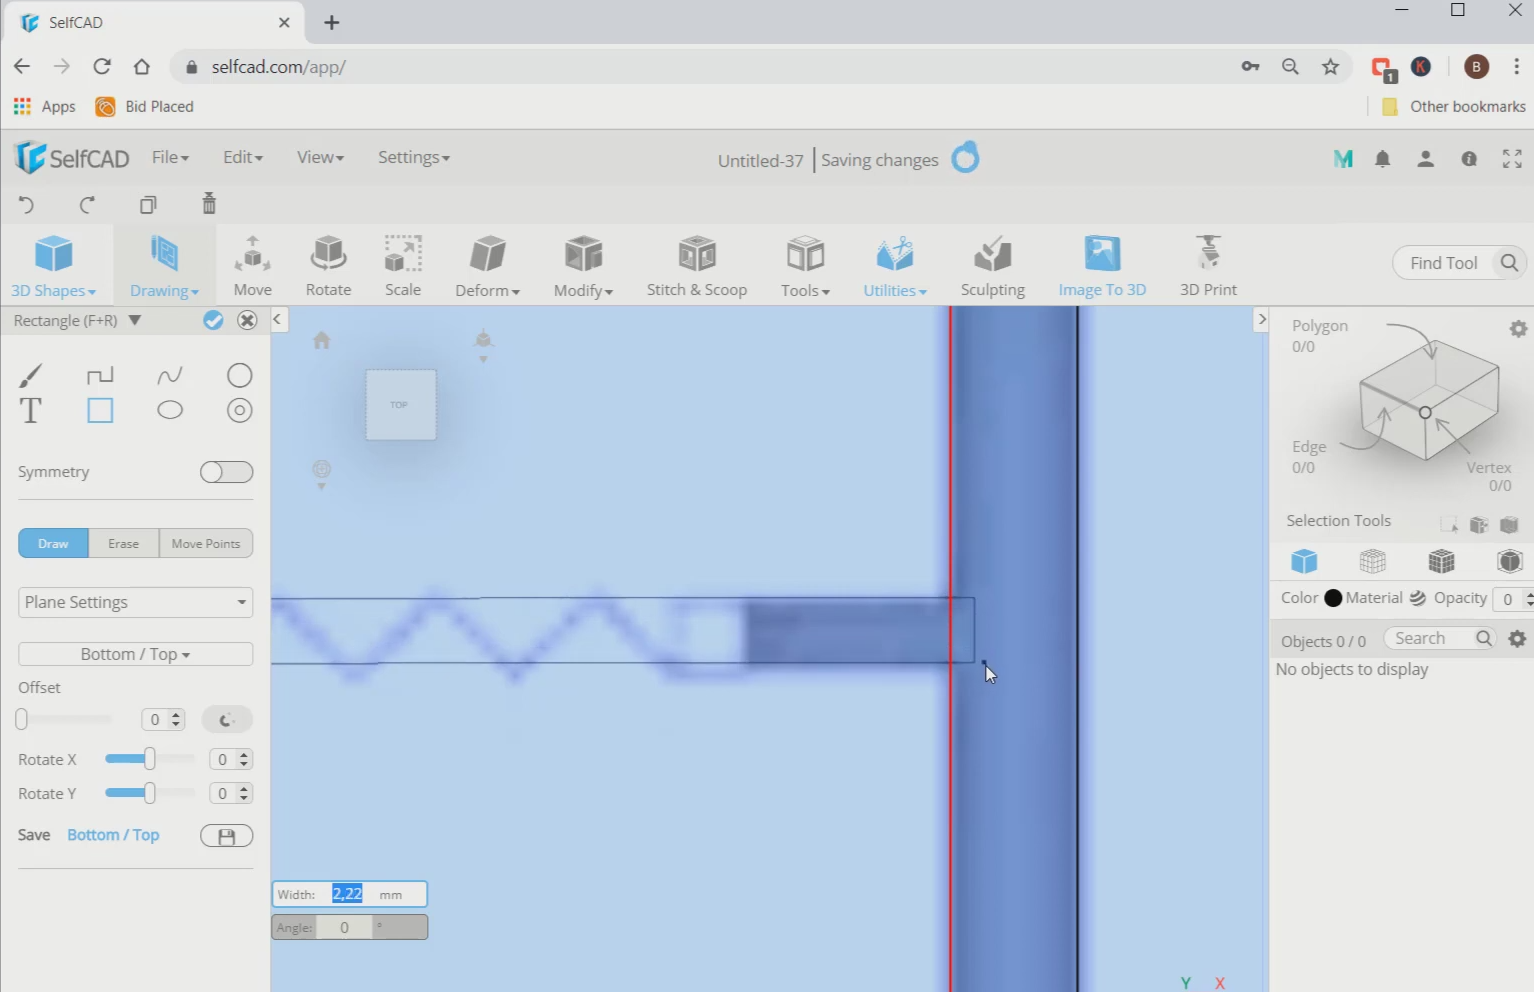
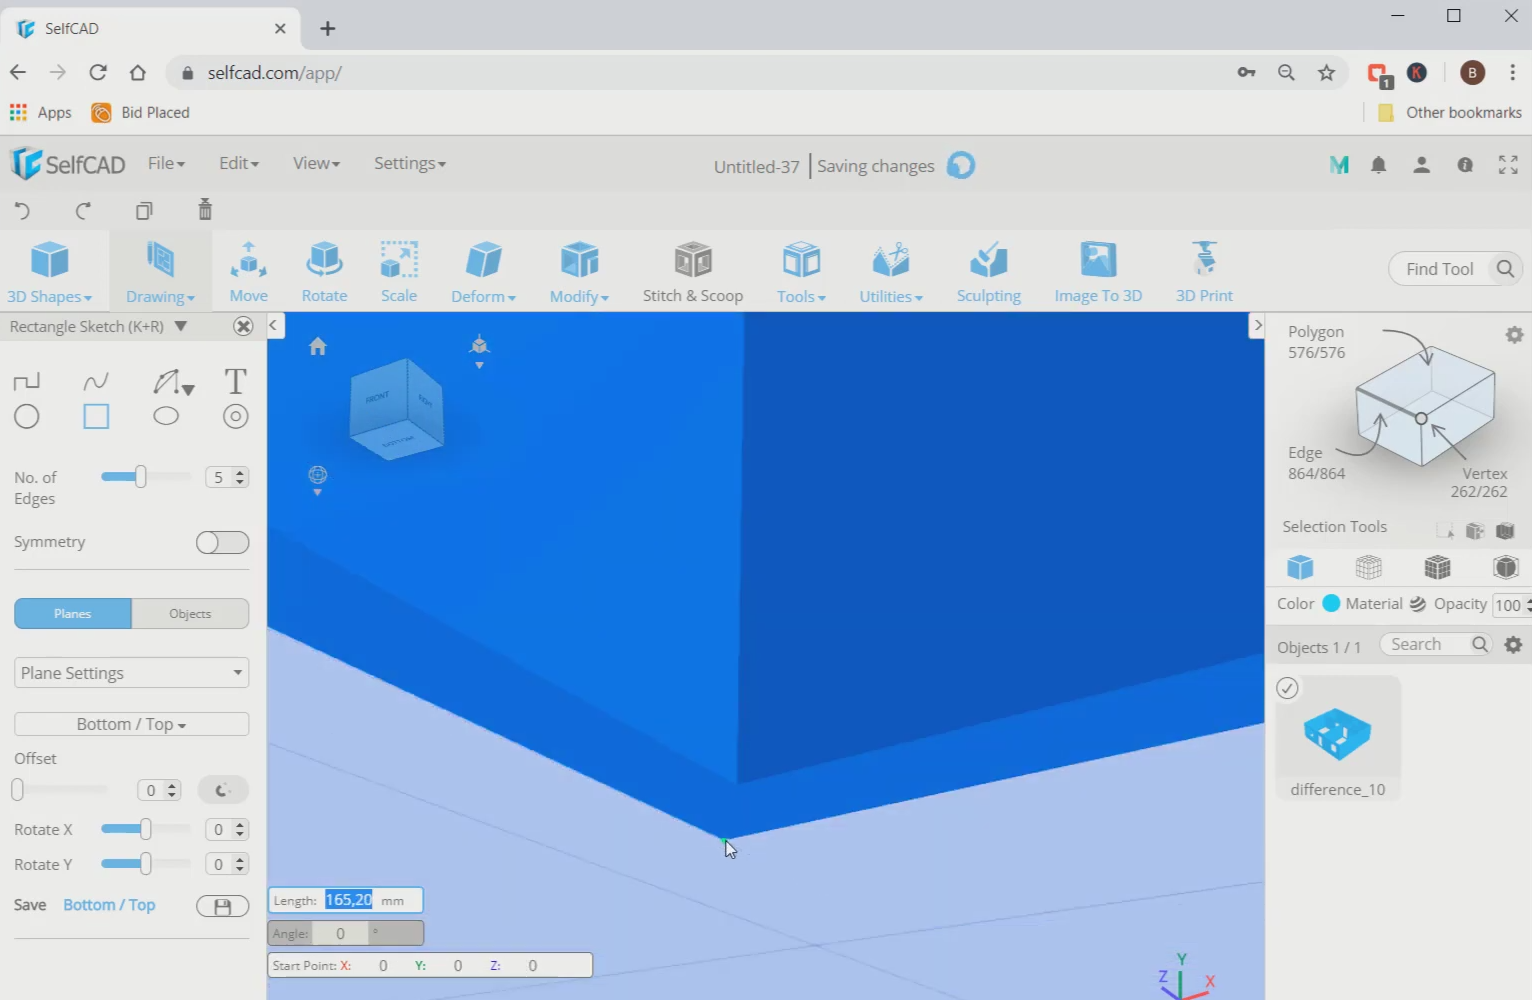
Step2: Trace the outlines of the walls using free hand rectangle sketch
Next, go to drawings and select the free hand sketch. Use rectangle sketch and place rectangles on every outer as well as inner wall outline. Refer to the images for more clearance. Then click on the okay option and it will get converted automatically into a 3D model.
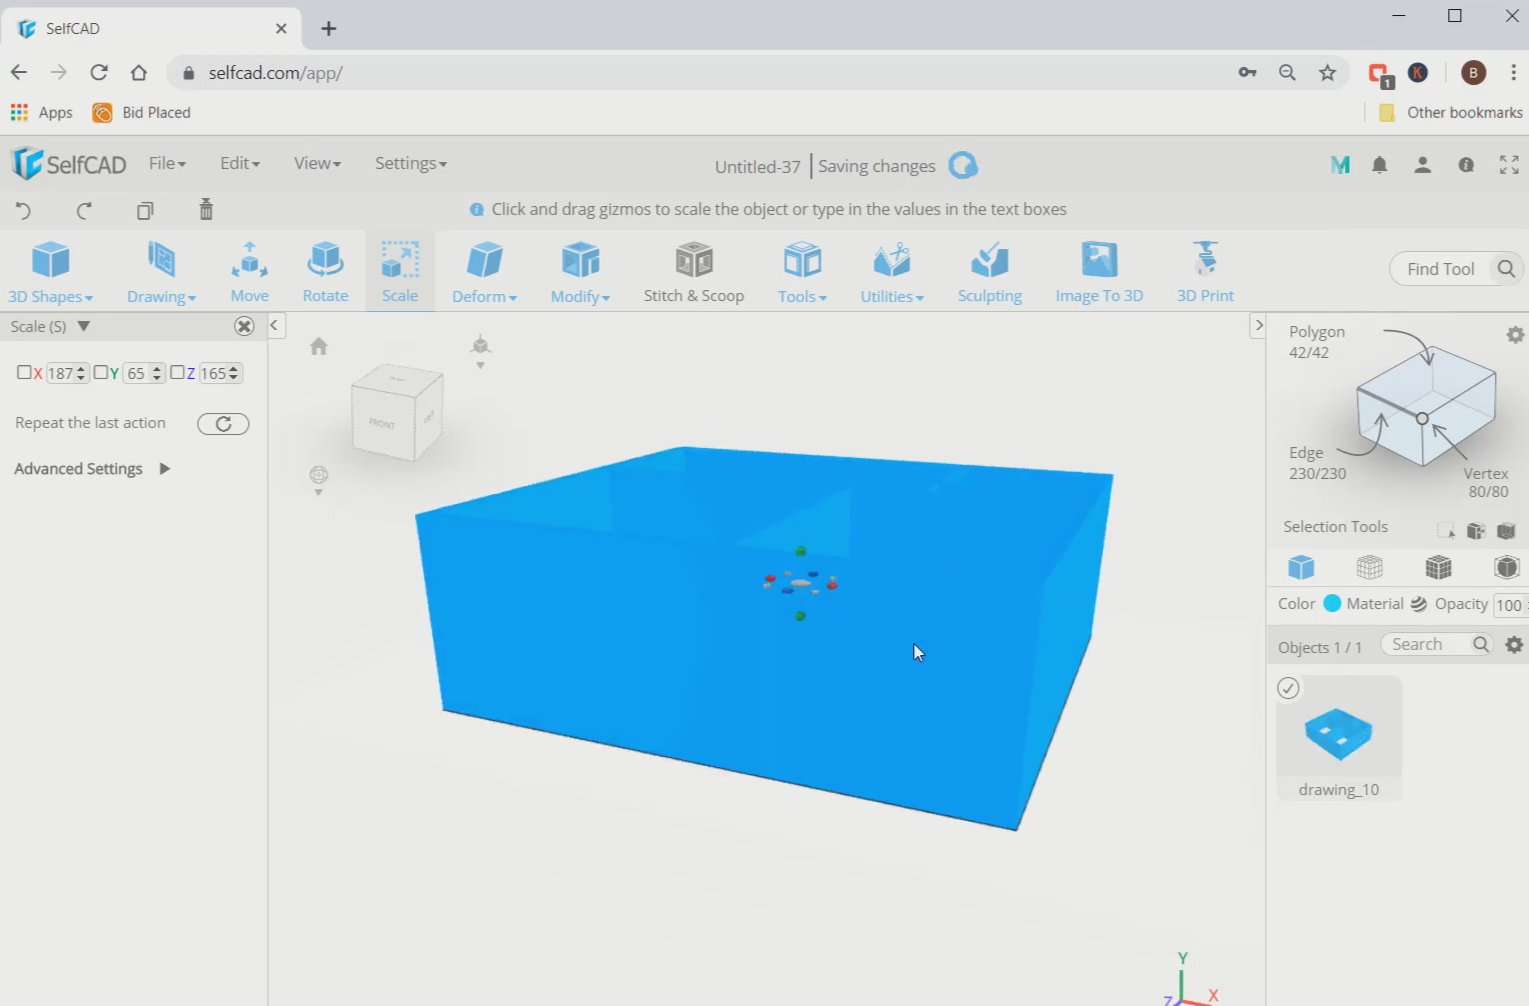
Step3: Scale the walls to a proportion
Now, use the scale tool and scale the walls along the green axis towards the top. Then for making doors and windows, set the viewing angle to top view.
Step4: Trace the windows in the similar manner we did earlier
Next, go to the free hand sketch and select the rectangle sketch again. Make larger rectangles than the windows outline. Then click on okay to make it a 3D model.
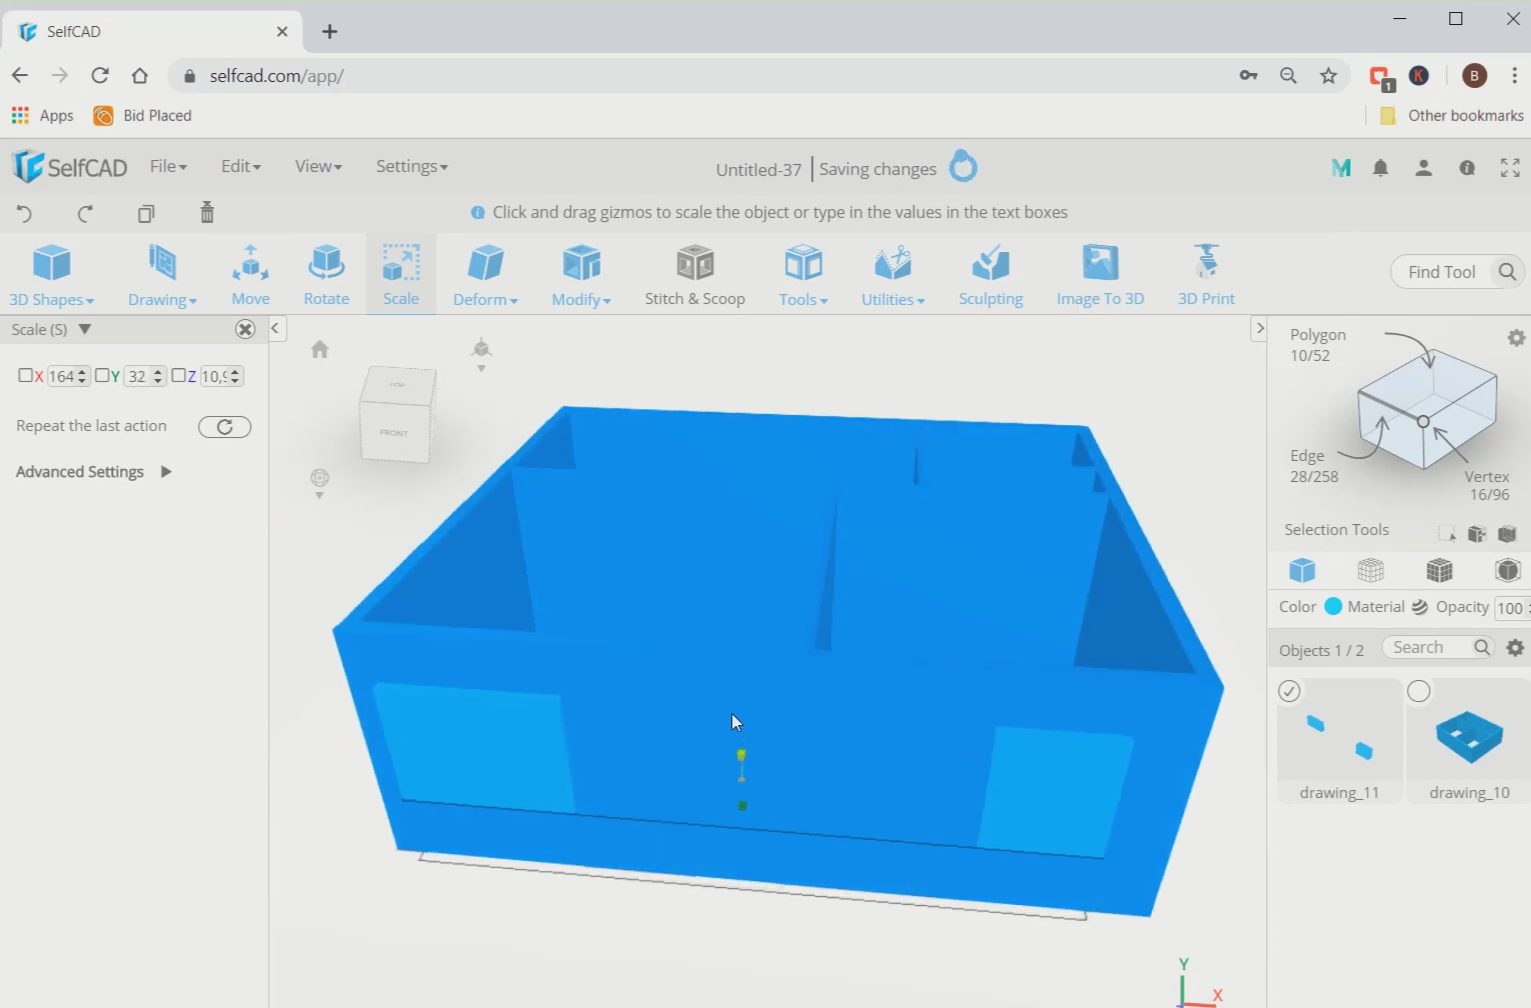
Step5: Move the windows to position and scale it to a proper size
Now, use the move tool to move it to the top. Then scale it to a larger size that comes in proportion with the walls.
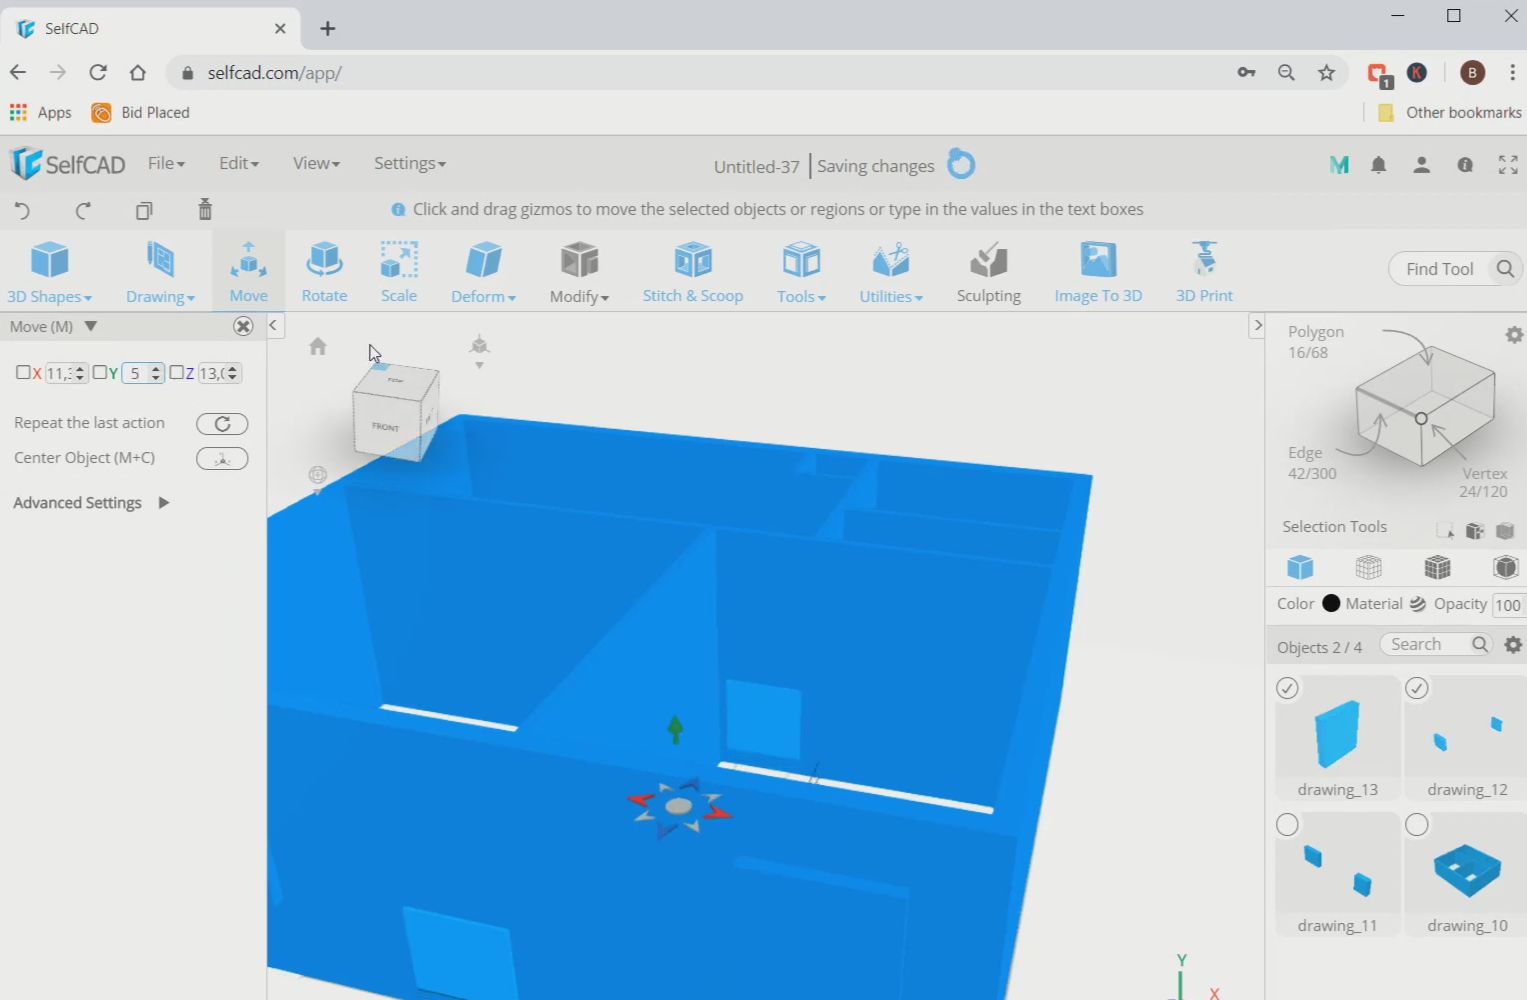
Step6: Repeat the steps that we followed to make the windows and complete the door
Next, repeat the same steps to make the doors as well. Then repeat this process for any openings on the wall.
Step7: Subtract the doors and windows portion from the walls
Now, select all the objects, go to stitch and scoop and select the difference option. Then subtract all the 3D squares from the walls.
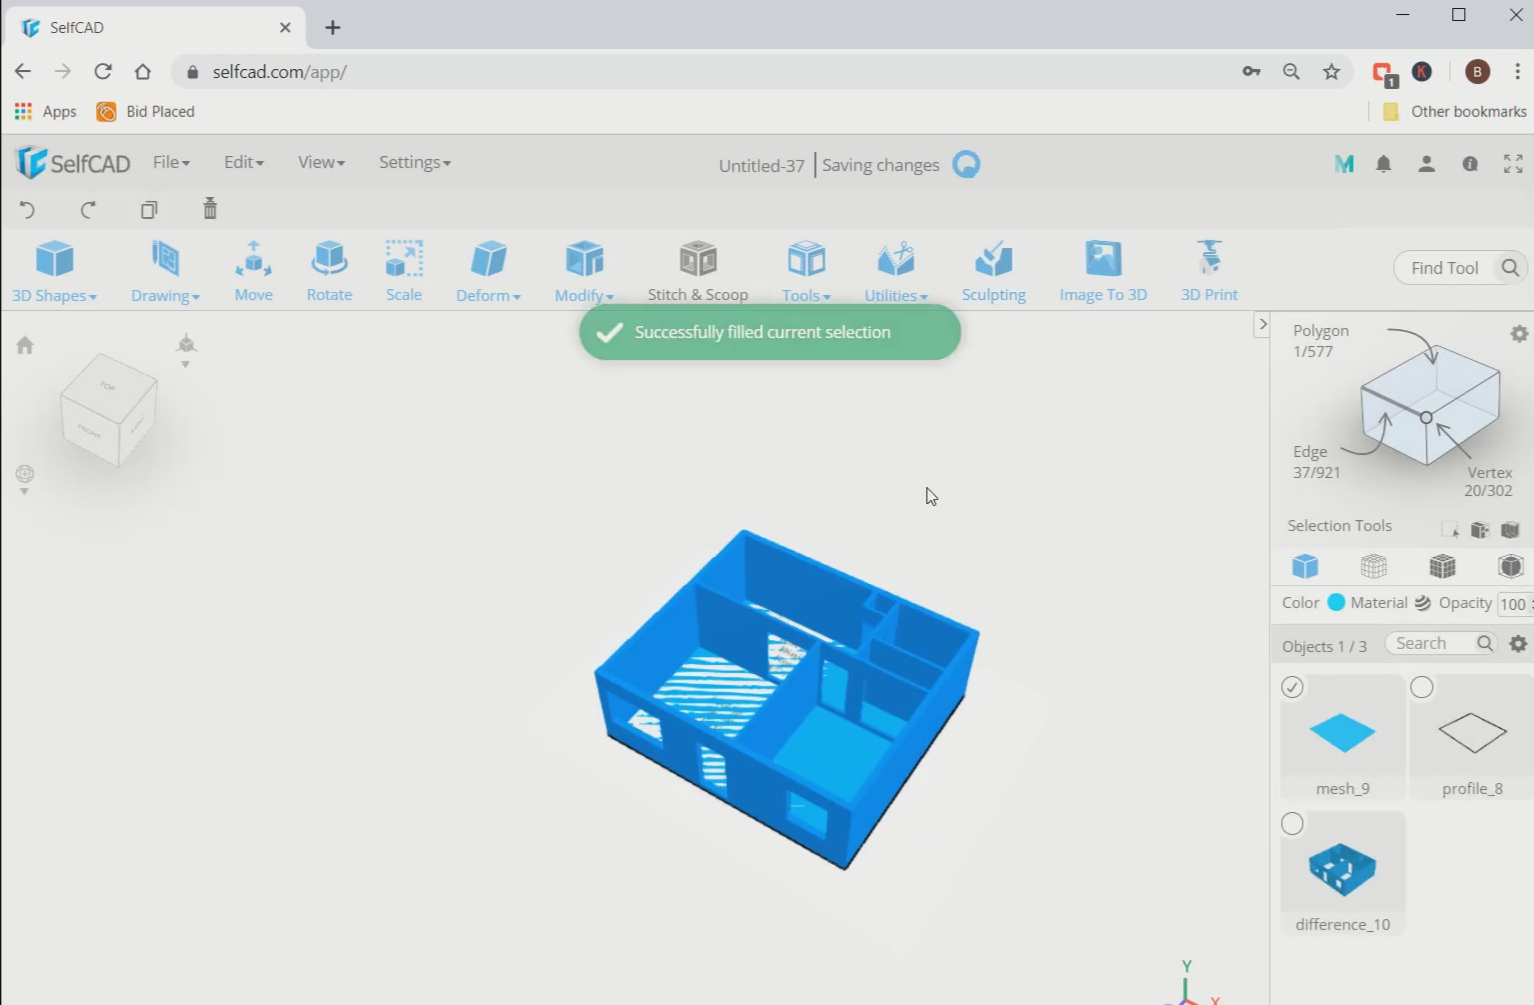
Step8: Make the floor area and convert it to a surface
Next, go to 3D sketch and select the rectangle sketch and cover the floor area with this rectangle. Then go to tools and select the fill polygons option.
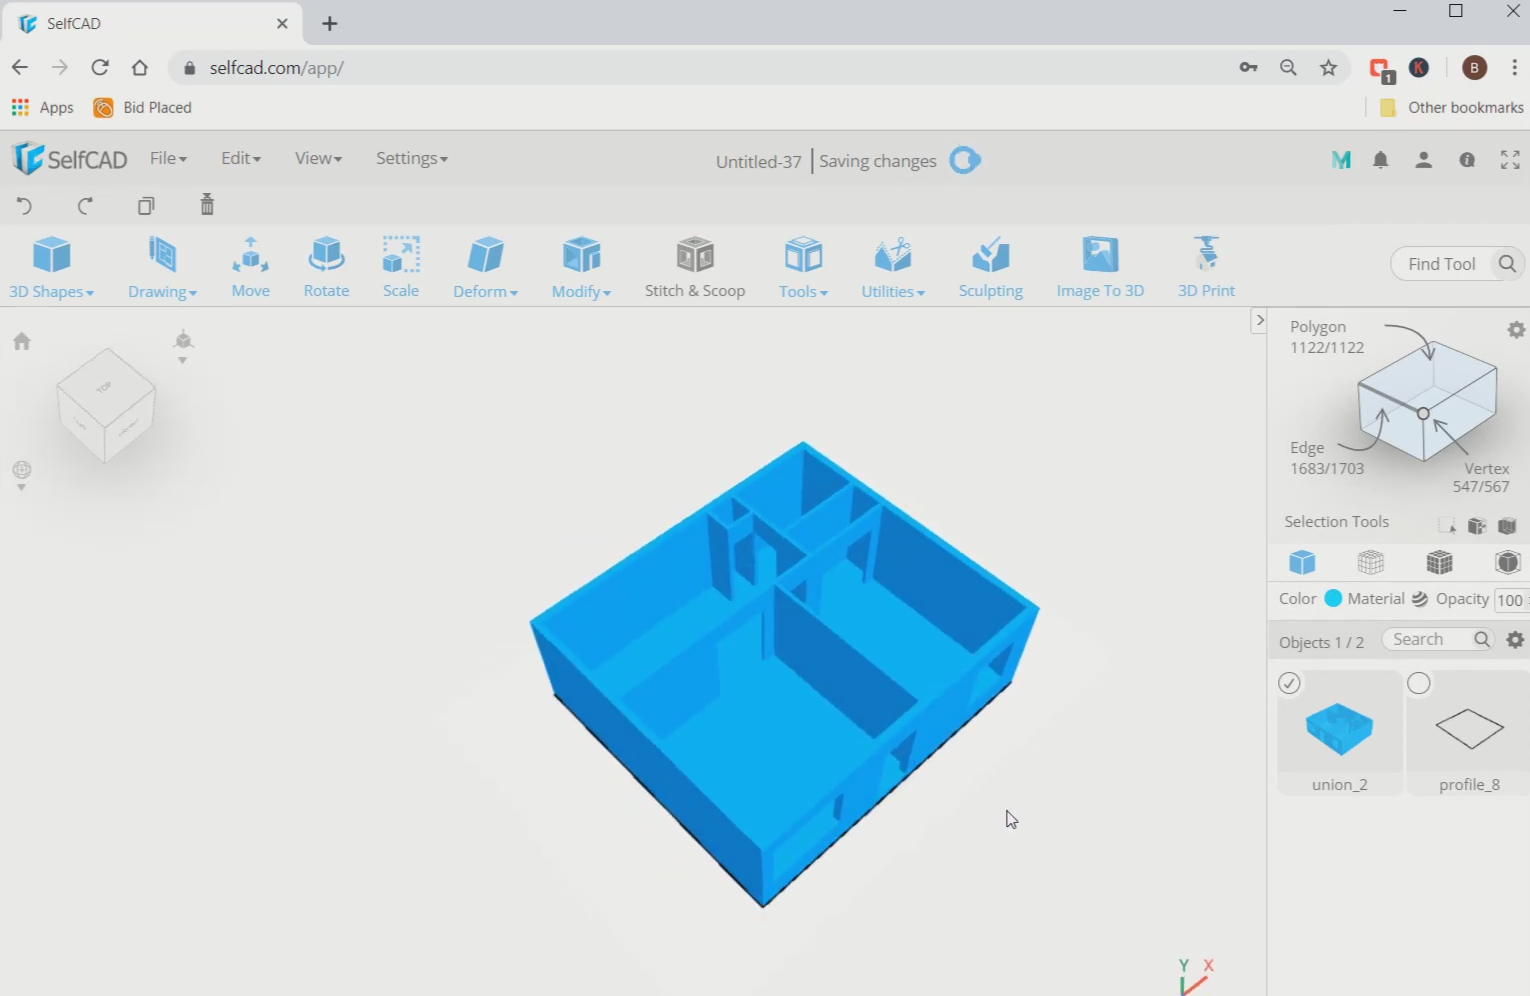
Step9: Add thickness to the surface and merge the whole 3D model
Now, select the surface, go to modify and select the add thickness tool. Set the thickness to 5. Then select both the 3D objects, go to stitch and scoop and make them a union.
Conclusion: Therefore, we designed a 3D floor plan using SelfCAD
We have at last made one of the norm, essential and great 3D floor plans. We have used reference image and tools that helped us with designing various bits of the 3D floor plan. With the help of the scale and difference, we have changed the shape as need might have arisen. You can make different designs of such astounding relics utilizing SelfCAD.