Fond of taking selfies? Make a Bluetooth selfie remote for your phone, and learn to usemicro:bit along the way!
When we talk about open-source electronics projects, there are two things that come to mind: Raspberry Pi and Arduino. However, f you are looking for a small cheap microcontroller with multiple features, the BBC micro:bit could be the device for you.
In this tutorial, I will show how to make a selfie camera remote system using a BBC micro:bit’s BLE chip to control a smartphone’s camera. So basically we are using a micro:bit as a wireless Bluetooth remote for a smartphone’s camera. This method works on both IOS and Android smartphones.
If you’re unfamiliar with micro:bit, I encourage you to check out How to Get Started With BBC micro:bit before jumping into this project.
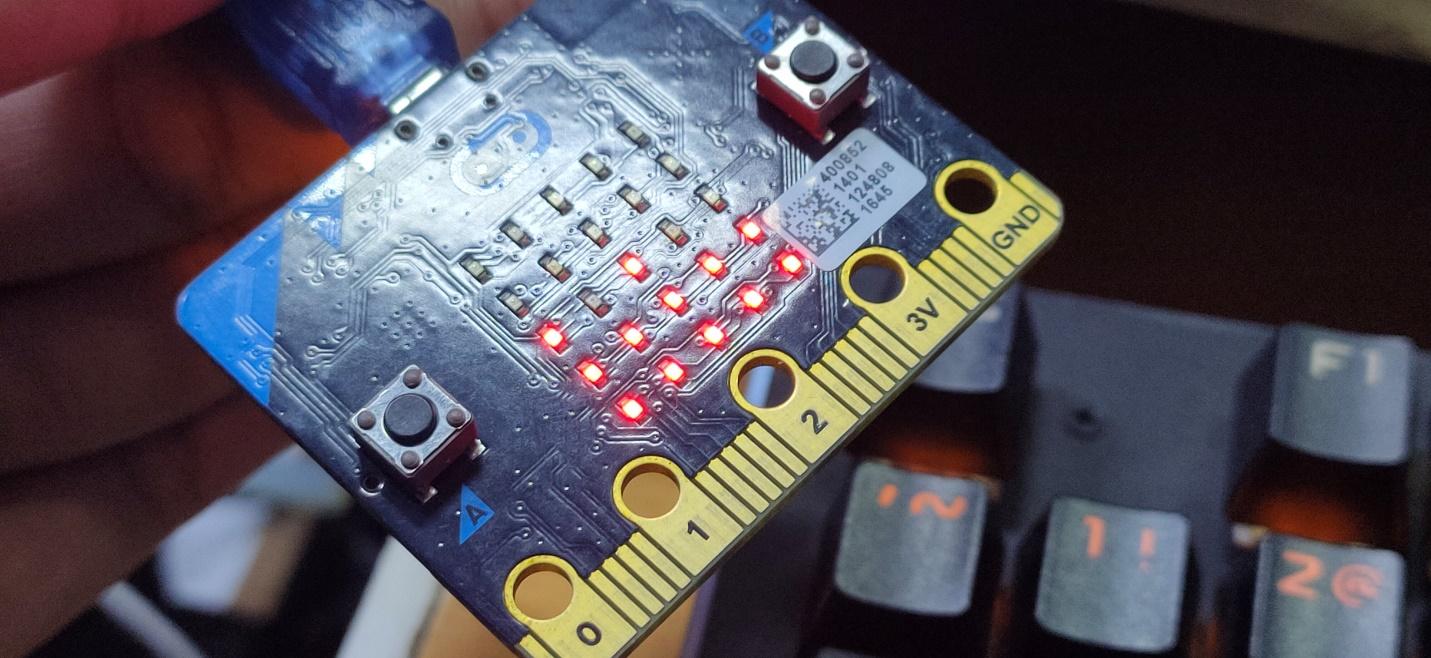
My robot testing out the micro:bit selfie remote!
micro:bit Specs and Features
There are so many solvable problems with this small computer. The micro:bit helps you to better understand coding while having fun along the way. Whenever you wanted to build a robot or develop an application in order to solve one of life’s woes, the micro:bit is a great starting point for anyone who doesn’t know about programming but wants to learn.
Micro:bit gained popularity with students as a hardware option to take up coding and software development.
The micro:bit contains a 16Mhz ARM-based CPU, so there’s plenty of power to perform complex and advanced projects. Other features include:
- Micro USB controller
- Digital Compass
- Bluetooth Low Energy
- Weight: 8g
- Accelerometer
- Size: approximately 5cm x 4cm
- 5x5 LED matrix with 25 red LEDs
- 32-bit 16mhz ARM Cortex M0 CPU processor
Without further ado, let’s get started!
Hardware Requirements
- BBC Micro:bit
- Android or IOS Smartphone
Software Requirements
Upload Source Code on MakeCode
Using MakeCode, you can upload the source code and start writing your code in Scratch. You can also use other programming languages, including C++ and MicroPython. However, in this tutorial, we are uploading the code with Scratch programming as shown below.
Click on New Project, and start by adding the necessary Bluetooth and Device Extensions in the console.
Use the search bar to easily find the extension you need.
Our required extensions are added!
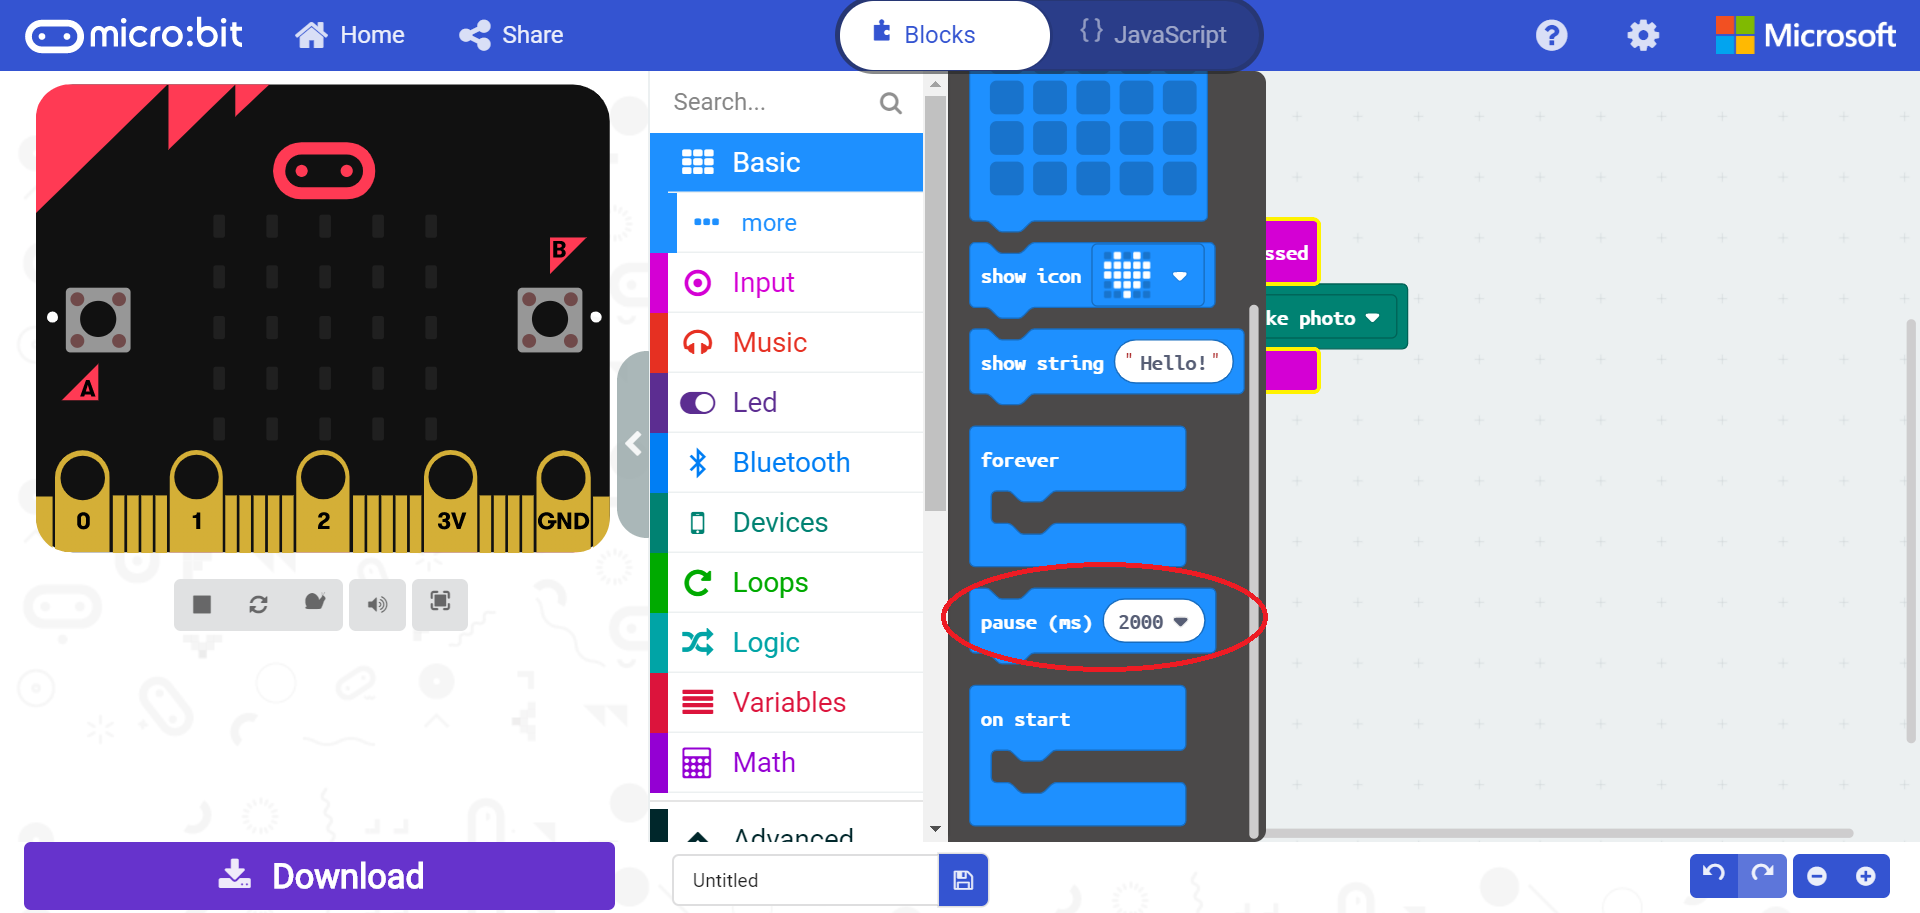
Our final code will look like the code in the image below. Once the code is complete, compile and download it by clicking the Download button.
Our final selfie camera code.
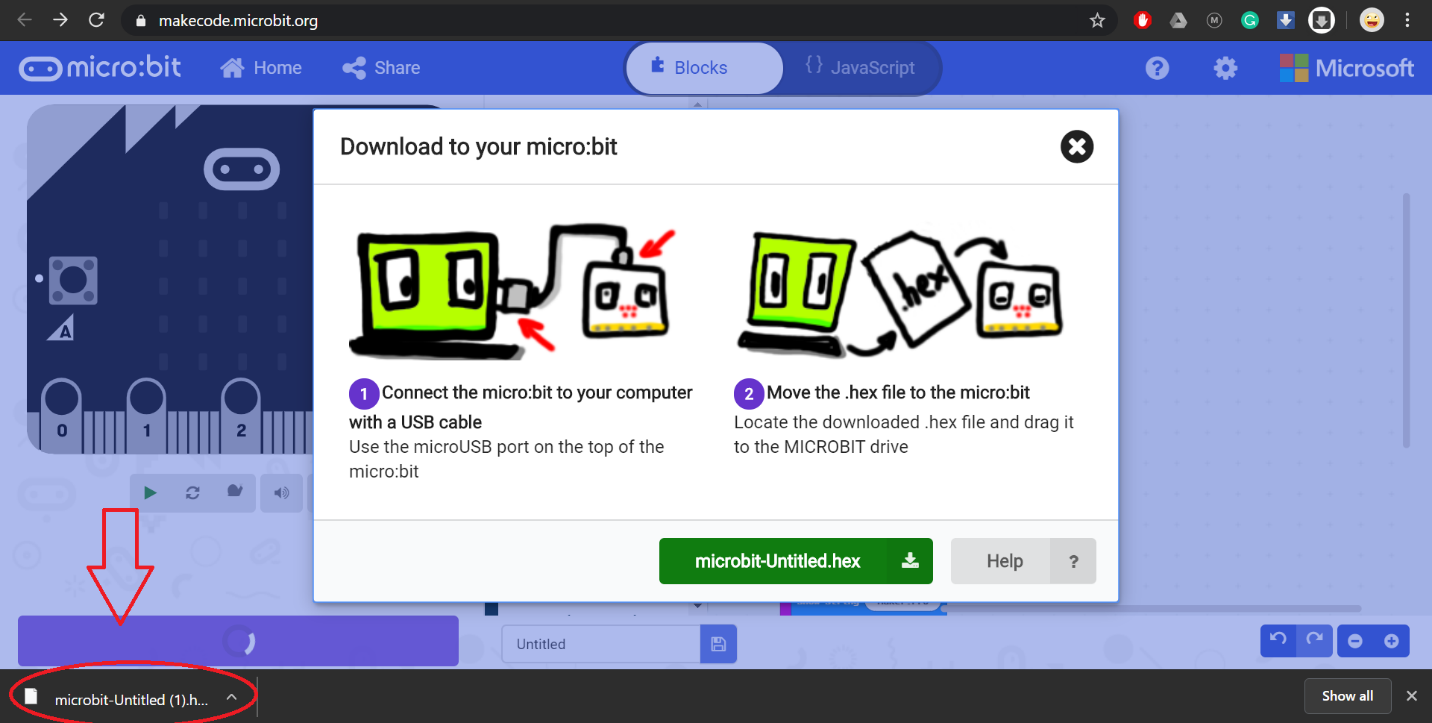
Once the code is done downloading, copy and paste the code into your micro:bit by following the steps shown in the images below.
Open the downloaded code.
If you don’t want to write the code yourself, you can download the hex file at the end of this article.
Installing the App on Your Smartphone
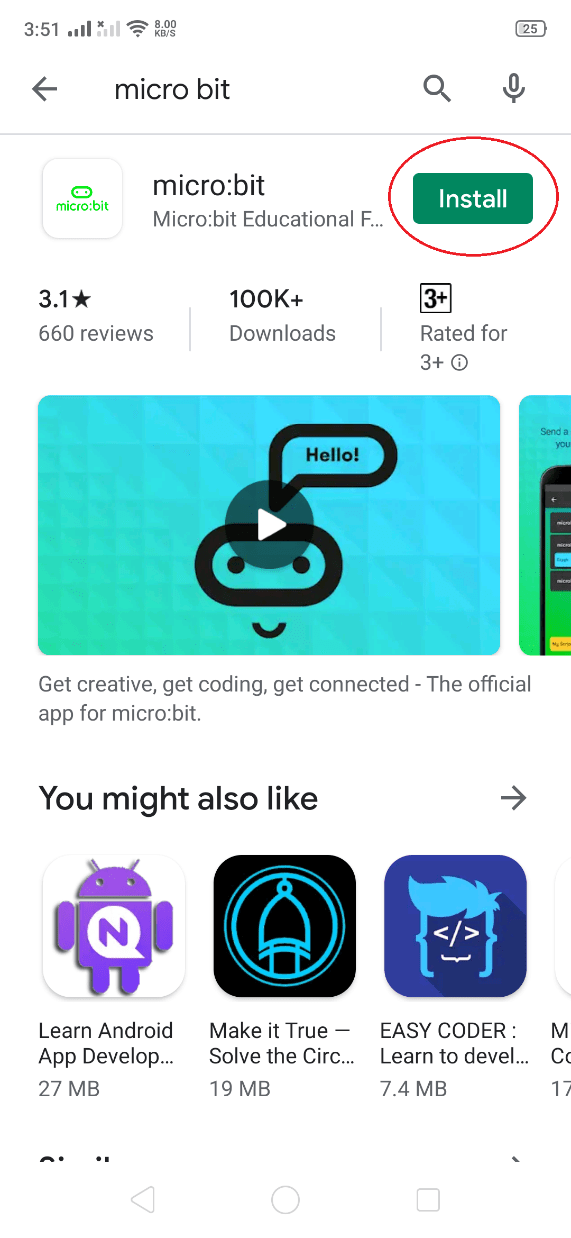
Use the following steps to install the micro:bit app onto your phone by searching “micro:bit” in the Play Store or App Store on your phone.
Find and install the micro:bit app onto your smartphone.
Grant storage permission.
Allow micro:bit access to photos, media, and files.
Once the micro:bit app is installed, launch it. Tap on “OK” and then “Pair.”.
Next, tap on “Pair a New micro:bit.”
Tap “Allow” to automatically turn on Bluetooth. Then, connect the micro:bit to your phone using a micro USB cable or with its battery.
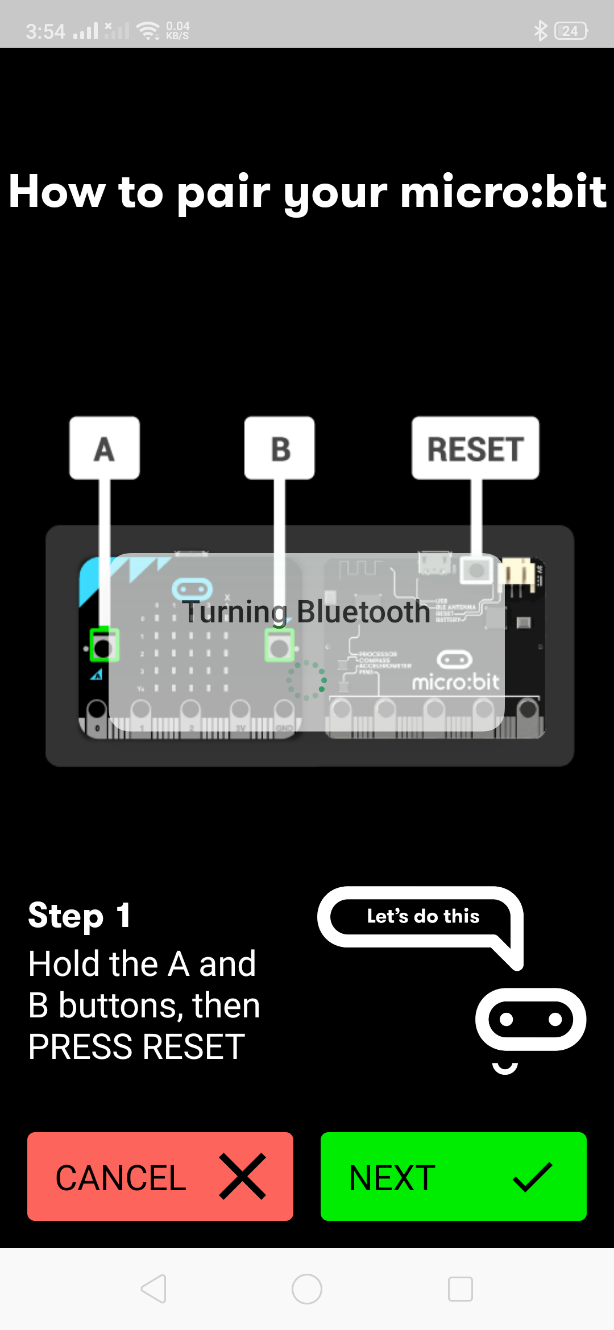
Next, hold the A and B buttons on the micro:bit and press the RESET button for a second. From there, the micro:bit will start PAIRING MODE on the LED display.
In order to pair your board and phone, enter the pattern shown on your micro:bit into your phone which should look something like this:
Enter the pattern on your phone and tap OK.
After pairing successfully, micro:bit will take you to the home screen. Tap on Previously Paired micro:bit. Once it’s connected, the switch logo turns green as shown in the screenshot below.
With micro:bit paired with your phone, start pressing the micro:bit’s pushbuttons. The following buttons perform the following tasks over BLE.
- Pushbutton A: Take a selfie after five seconds.
- Pushbutton B: Start video recording after five seconds.
- Pushbutton A+B together: Stop video recording.
That's it! Your selfie remote is ready to go. Happy snapping!