NXP FRDM
Vertical Farming in a corner at home - MCU Automated Hydroponics
DM
August 23, 2024 by Daniel Mattox
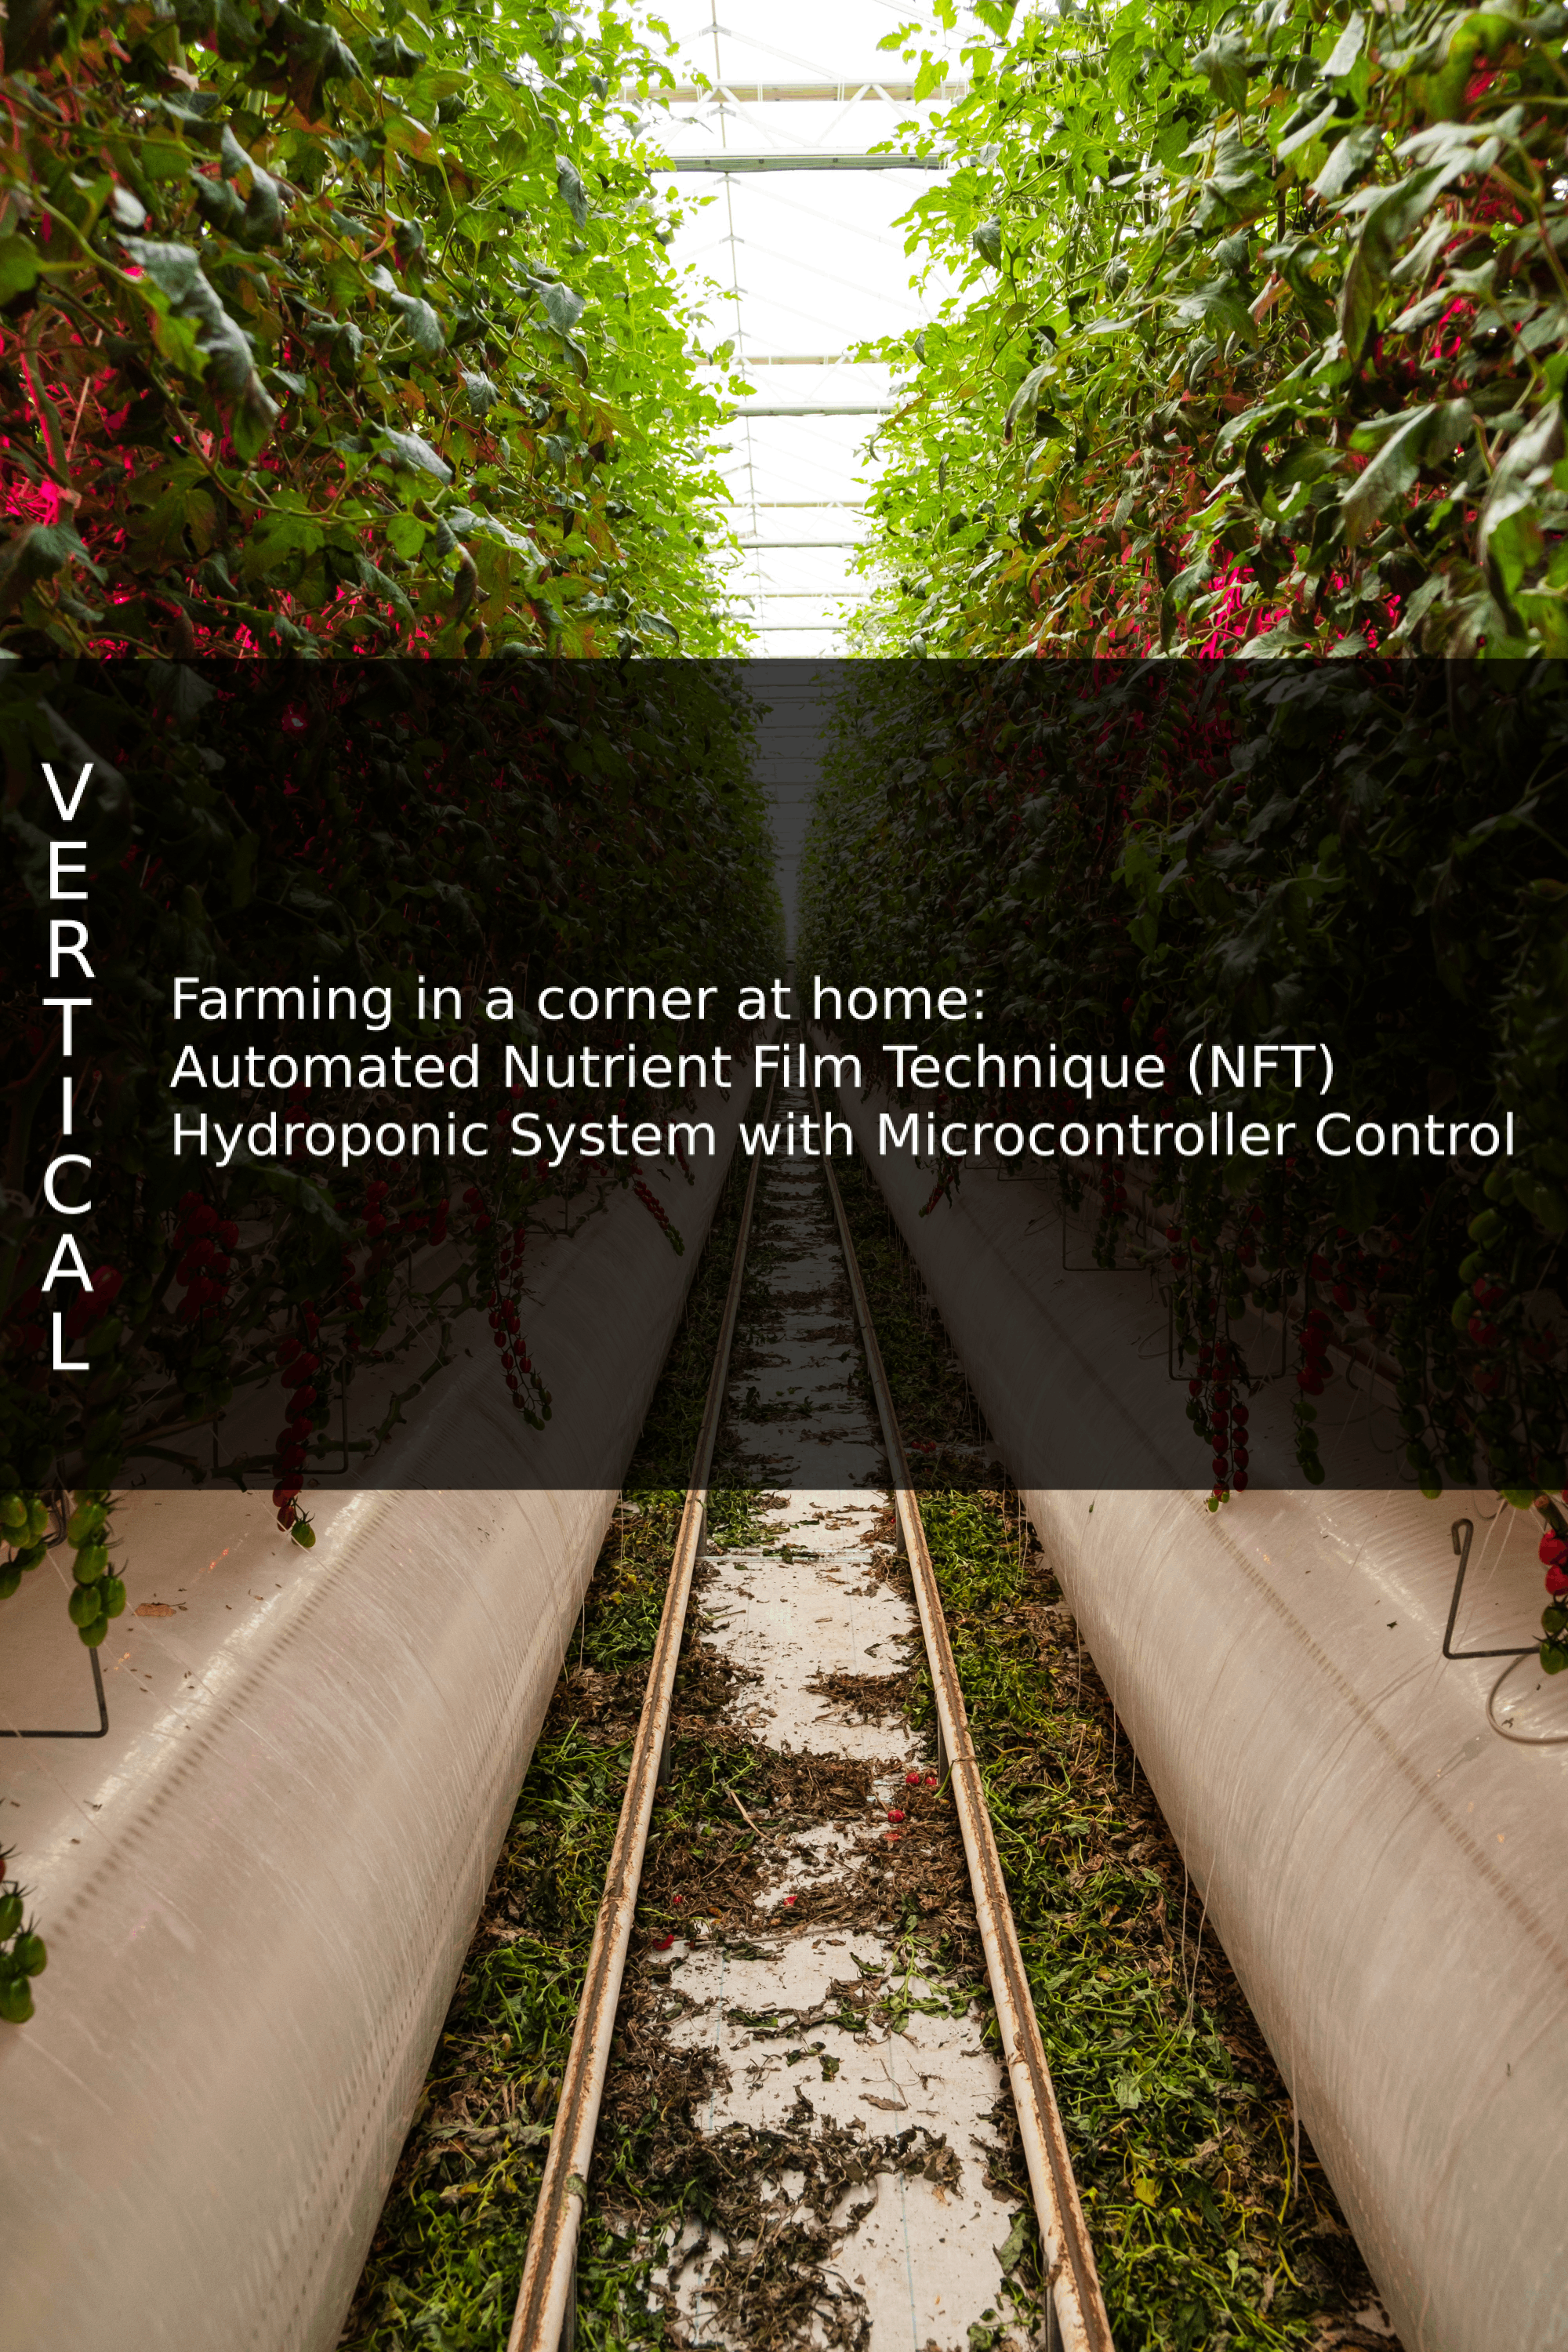
This project aims to provide a fully automated hydroponic system using a microcontroller for precise control and monitoring of water, pH, and nutrients. The integration of multiple sensors and network logging ensures optimal growing conditions and easy management, making it an ideal solution for both small-scale and commercial hydroponic operations
Scroll to continue with content
Steps
System Design and Planning:
- Setup Layout: Assemble the staggered column of three-pot planters on a PVC pipe above a bucket and pump, ensuring even distribution of water and nutrients.
- Pump Selection: Choose an aquarium pump capable of lifting water to the desired height of the PVC center tube (6 feet).
- Planter Design: Modify the planters with drilled holes to control water flow rates, ensuring they fill and empty the next level below them at a consistent rate.
2. Microcontroller Integration:
- Microcontroller Selection: Use the NXP FRDM-MCXN947 for its robust processing capabilities and integrated Ethernet module.
- Relay Control: Connect the aquarium pump to the relay-controlled outlet, which will be activated by the microcontroller based on sensor inputs.
3. Sensor Integration:
- Water Level Sensors: Attach sensors below the rim of each planter to monitor water levels and prevent overflows. Part of the program for the microcontroller will shut off the pump when the desired water level is reached.
- EC and pH Sensors: Install an EC sensor for continuous pH monitoring and a nitrogen sensor for nutrient concentration. Connect these to the microcontroller for real-time data acquisition.
- pH Adjustment System: Integrate two solenoid valves for adding pH up/down solutions into a mixing chamber (water bottle). The microcontroller will control these solenoids based on pH sensor data, utilizing PID tuning for precise adjustments.
- Nutrient Control: Use a solenoid valve to regulate nutrient flow into the system, controlled by the microcontroller based on readings from the nitrogen sensor, with PID tuning for optimal nutrient delivery.
- Light Control: Set up the overhead grow lights on a timer, which will be controlled by the microcontroller.
4. Data Logging and Interface:
- Network Logging: Utilize the onboard Ethernet module to log data remotely, providing access to system performance metrics over the network.
- LCD Interface: Implement an LCD interface and buttons for local control, allowing real-time adjustments and monitoring of system parameters.
5. Programming:
- Microcontroller Programming: Develop firmware to control all sensors, actuators, and data logging. Ensure the system can automatically adjust pH, nutrient levels, and watering cycles using PID tuning for precise control.
- Overflow Prevention: Program the microcontroller to shut off the pump when water level sensors detect an impending overflow.
- pH and Nutrient Regulation: Write part of the program to control the solenoids for precise pH and nutrient adjustments based on sensor feedback, with PID tuning to maintain stability and prevent oscillations.
- Data Logging: Implement a logging mechanism to record all relevant data, such as pH levels, nutrient concentrations, and water flow rates, for later analysis.
6. Testing and Calibration:
- Initial Testing: Perform initial tests to ensure all components are functioning correctly and the system is leak-proof.
- Calibration: Calibrate all sensors (EC, pH, nitrogen) to ensure accurate readings.
- System Testing: Run the system through a complete cycle, monitoring for consistent water flow, accurate sensor readings, and correct functioning of the solenoids and relay, while fine-tuning the PID parameters for optimal control.
7. Final Adjustments:
- Optimization: Make any necessary adjustments to the flow rates, sensor sensitivity, and timing of the pump and lights. Fine-tune the PID settings for the pH and nutrient control systems to ensure stable and responsive adjustments.
- User Interface: Refine the LCD interface for ease of use, ensuring all necessary controls and readouts are accessible.
8. Deployment and Monitoring:
- Final Setup: Deploy the system in its intended environment and monitor it closely for the first few days to ensure stability.
- Data Analysis: Regularly analyze logged data to fine-tune the system for optimal plant growth, making additional PID adjustments as needed.
9. Future Enhancements:
- Sensor Additions: Consider integrating additional sensors, such as humidity, temperature, and CO2, to further enhance the control of the growing environment.
- Mobile App Integration: Develop a mobile app for remote monitoring and control of the system, with the potential to adjust PID settings from a distance.