In this article, we are going to build a portable RetroPie station using Raspberry Pi and a 3.5-inch LCD.
Note: Before you start working with the LCD screen, install the RetroPie image in the SD card.
For the past two decades, vintage game enthusiasts have dreamed of creating a "universal game console" that can play games from dozens of different systems, that is cheap, easy to handle with controls, and able to connect to the TV. To create our ultimate console, we'll run the software simulator and video game ROM on the Raspberry Pi 3, a low-cost single-board computer designed for enthusiasts and educational uses.
To simplify this process, these game experts merge all the system software emulation programs we need into a free package called RetroPie. RetroPie includes (among other things) a Linux operating system, a large suite of game system simulators, and an easy-to-use interface.
Hardware
- Raspberry Pi 3
- Acrylic clean plastic case
- microSD CARD (minimum 8gb)
- USB gamepad (any USB controller)
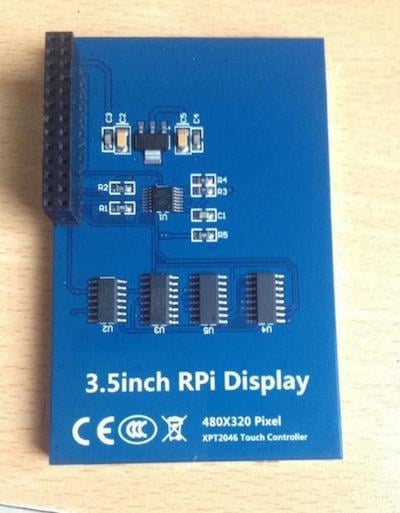
- Waveshare LCD 3.5-inch
Software Requirements
- RetroPie Image on SD Card
- LCD-show-161112.tar.gz file (Download here)
- PuTTy
- WinScp
RetroPie Installation
Follow the images below to easily install the RetroPie image.
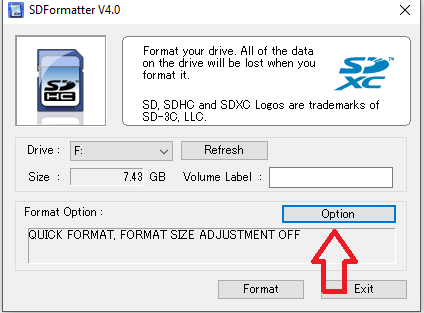
Open the SD formatter and follow these steps:
After the completing the formatting, the message shown above will pop up on the screen.
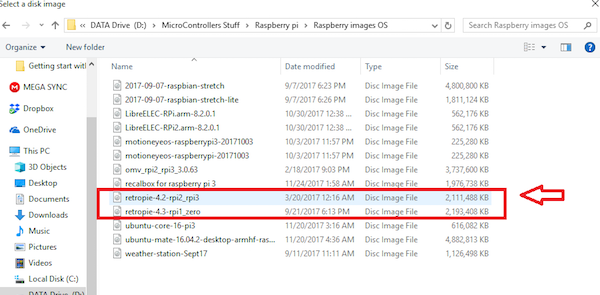
Next, download and burn RetroPie Image onto your micro SD card. You can download RetroPie Image here.
Select the right version for your Raspberry Pi.
After writing the image to RetroPie, a “Write Successful” message will pop up on the screen.
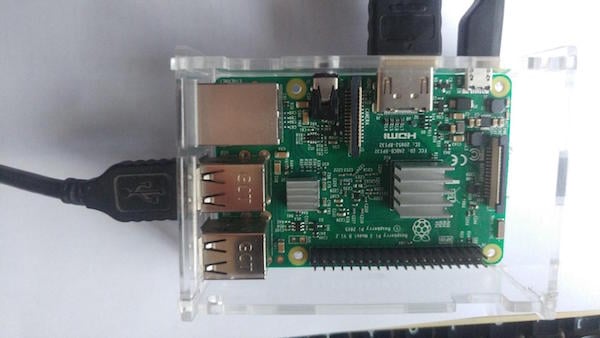
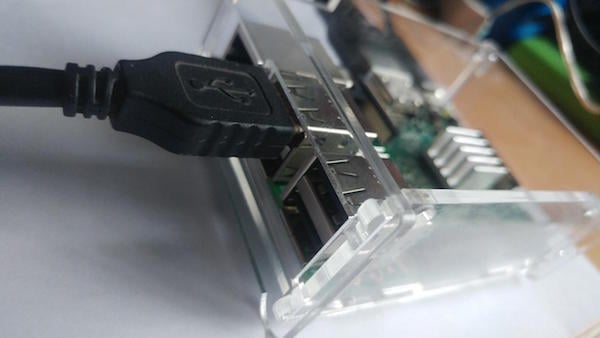
How to Assemble the Hardware
Turn the system on by plugging it in (Pi does not have an on/off switch, so just plug it in), ideally using a 2.5-amp power adapter, and connect the HDMI cable to the Pi and the TV or monitor.
In addition, insert a USB keyboard. If you are using a wired internet connection other than Wi-Fi, plug the Ethernet cable into the Pi.
Put the SD card into your Raspberry Pi and connect your peripherals:
Plug the LCD into the Raspberry Pi GPIO and boot up the Raspberry Pi.
Configuring the Gamepad
Soon after booting, you will see the Emulation Station UI and a white/gray screen that says:
"Welcome. No gamepad detected. Press and hold the button on the device to configure. Press F4 anytime to exit."
What to do next depends on whether you have a wired or wireless game controller.
If you use a wired USB handle, press and hold the button on the controller until the Emulation Station detects it. Then it will ask you a bunch of questions that will let you assign each button to a particular control (e.g., up, down, A, B, X, etc.). Make sure you do this step carefully, otherwise you have to unplug the power and start over.
Your RetroPie is now on!
Configuring the Software
Connecting the Pi to the Internet
You need to connect your Pi to the internet to add game ROM (more on this later) and to access additional RetroPie features like game rating/description crawl.
Note: This step is required only if you want to access these additional functions or transfer the ROM over the network. If you have a Pi Zero and do not want to add Wi-Fi, you can also transfer ROM over USB. If you are using Pi Zero W with Wi-Fi, you are ready to connect to the internet!
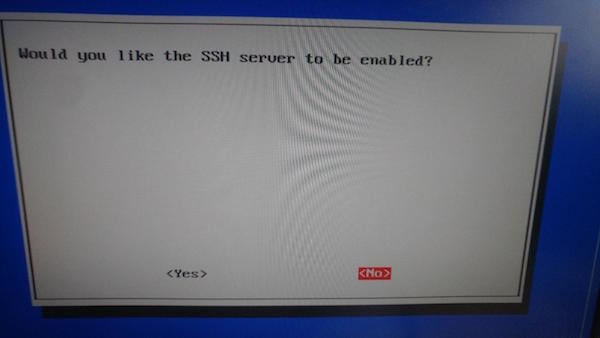
To turn SSH on, go to RetroPie settings, then raspi config, and turn SSH ON.
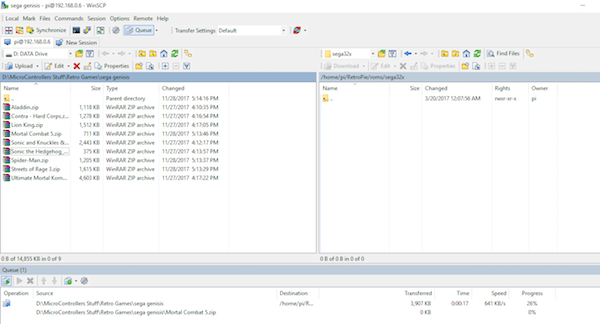
Transferring Roms
Turn on WINSCP and connect to RPI using SFTP. For host: use your ip, and for user: “pi”. The password is “raspberry” by default.
Using WINSCP, find LCD-show-161112.tar.gz (download file here).
Transfer LCD-show-161112.tar.gz from computer to root of sd card next to main RetroPie folders with WINSCP.
Connect with Putty to RPI.
Username is “pi”. Password is “raspberry”.
Run this command:
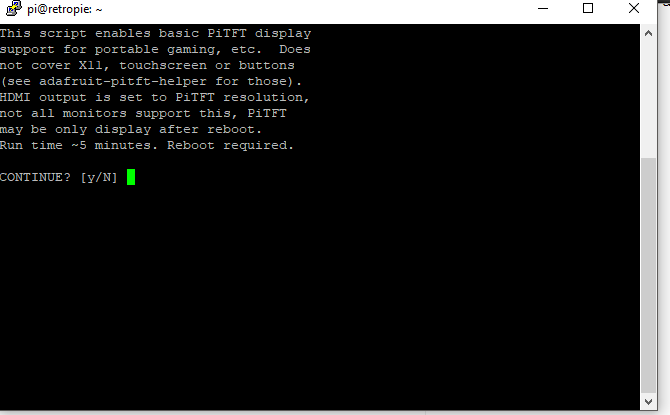
curl -O https://raw.githubusercontent.com/adafruit/Raspberry-Pi-Installer-Scripts/master/pitft-fbcp.sh
sudo bash pitft-fbcp.sh
Enter Y to continue, and choose option 1 or 4 (you will have to manually set up). Now, let it install.
Restart your Pi and reconnect with Putty, then enter this command:
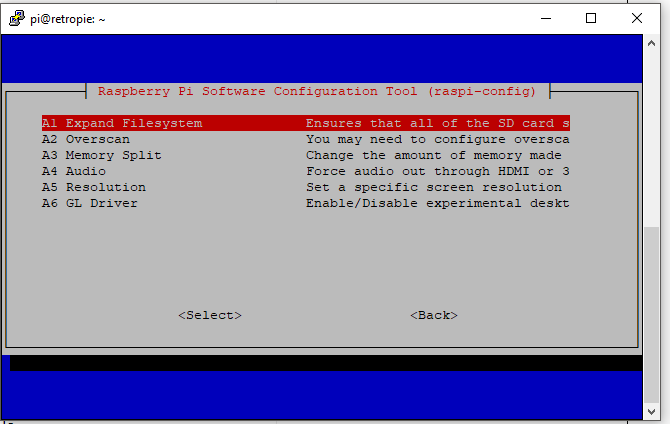
sudo raspi-config
A menu will pop up. Go to expand file-system and enable.
You can also go to boot option below and choose desktop login (every time I try this I get an error, so i don’t think it matters too much, and my Raspberry Pi initially boots with desktop login).
Next, run this command:
tar xvf LCD-show-*.tar.gz
cd LCD-show/
Then, run this command:
chmod +x LCD35-show
./LCD35-show
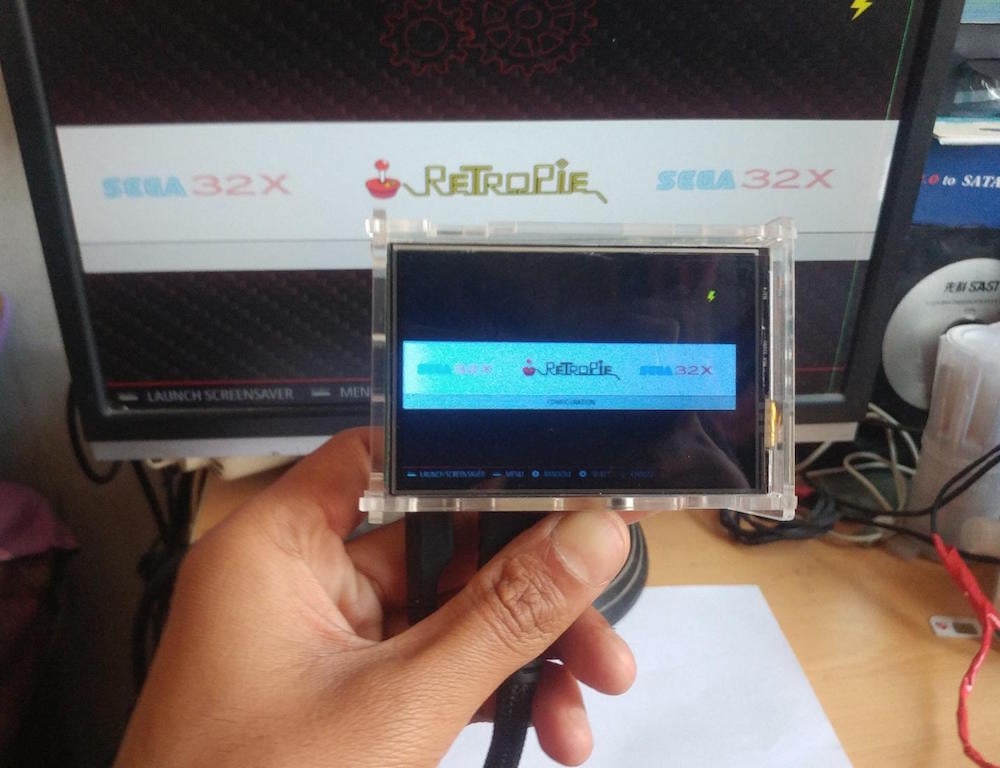
After rebooting, the LCD screen and HDMI should display the same output!
If you are having problems connecting to the display, connect to your RPI using PuttY again.
Run this command:
cd RetroPie-Setup/
sudo ./RetroPie-setup.sh
This will take you to the RetroPie menu. Next, update all installed packages.
Wait until it is done.
After reboot, it should display the RetroPie UI on both your HDMI and your LCD screen.
Moreover, it will also work fine with USB Game controllers, so I just disconnect the HDMI cable and plug in a power bank, and this makes it a stand-alone portable gaming console.