Transform your Raspberry Pi into a Windows 11 machine! A smooth, maker-friendly guide to unlock new possibilities on your tiny SBC.
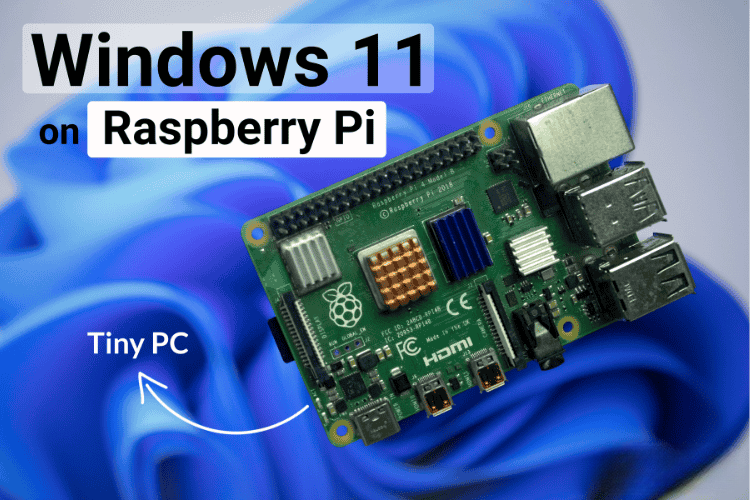
Run Windows 11 on Raspberry Pi: A Maker’s Guide
The Raspberry Pi has always been the go-to board for tinkerers who love squeezing maximum potential out of minimal hardware. But what if you could push it one step further—far beyond the usual Linux distributions—into full Windows 11 territory?
Yes, it’s possible. And yes, it’s surprisingly functional.
In this blog, we’ll walk through how makers can install Windows 11 on a Raspberry Pi, why it’s a game-changer for experimental builds.
Install Windows 11 on Raspberry Pi
Why Install Windows 11 on a Raspberry Pi?
Running Windows 11 on a Pi isn’t about performance supremacy. It’s about unlocking compatibility, accessibility, and experimentation—exactly the spirit of the maker community.
Here’s what it offers:
- Native Windows apps on a board that fits in your palm
- A familiar interface for users transitioning from PC to embedded systems
- A powerful playground for IoT, edge computing, and UI-based prototypes
- A conversation starter that draws eyes to your project page
What You Need
To make the magic happen, gather the following:
- Raspberry Pi 4 or Raspberry Pi 400
- 16GB+ microSD card or USB 3.0 SSD (recommended for speed)
- A Windows PC
- WoR-Flasher or WoR (Windows on Raspberry) tool
- Windows 11 ARM64 image
- Keyboard, mouse, display
The process is surprisingly straightforward thanks to community-built tools that automate most of the heavy lifting.
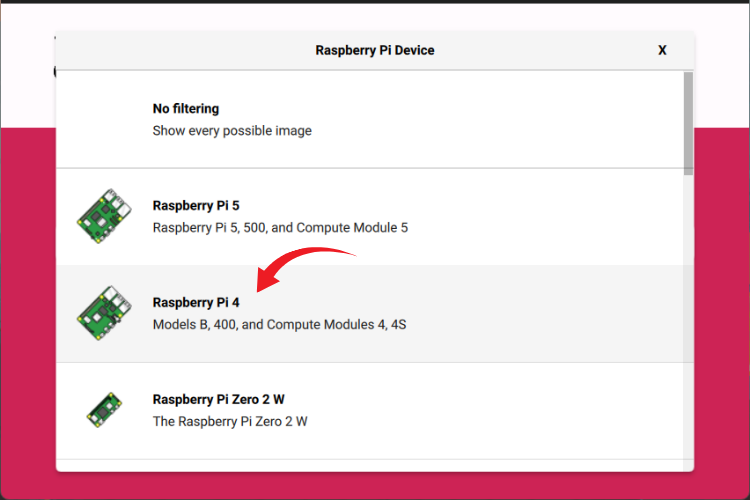
Raspberry Pi Imager and selected the board type
Steps to Install Windows 11 on Raspberry Pi
1. Prepare Your MicroSD Card or SSD
Use WoR-Flasher on Raspberry Pi OS or WoR on Windows. These tools handle partitioning and deploy the ARM64 image without manual scripting.
2. Choose Your Device & OS Image
Select your Raspberry Pi model, then point the tool at the Windows 11 ARM ISO. WoR automatically configures drivers and boot parameters for your board.
3. Flash and Wait
Sit back while the tool writes the image. SSDs are significantly faster than microSD cards—worth the upgrade if you plan to use Windows often.
4. Boot Up Windows 11
Insert your boot media, power up the Pi, and follow the standard Windows setup process. Wi-Fi, USB, and display drivers are included thanks to the community.
5. Optimize Performance
Windows 11 isn’t lightweight, but with a few tweaks you can make it smooth enough for daily experimentation:
- Disable animations
- Set performance mode
- Use USB-SSD instead of microSD
- Close background services
What Can You Do With Windows 11 on Raspberry Pi?
This setup shines in maker-centric applications:
⚙️ UI-heavy prototypes
Need to demo a Windows app without carrying a full laptop? The Pi becomes your portable test rig.
🧪 Edge AI & ML experiments
Combine Windows ML with Pi-friendly AI accelerators.
💻 Mini-PC projects
From handheld cyberdeck builds to living-room dashboards.
🔌 Home automation hubs
Run Windows-native automation tools, dashboards, and remote-management software.
Performance & Limitations
Let’s be clear: the Pi won’t replace your main PC. But it’s solid enough for:
- Light Windows apps
- UWP software
- Web browsing
- Maker dashboards
- Educational demos
It won’t handle heavy gaming, large compiles, or video editing—but that's not why you run Windows on a Pi.
This is a maker’s challenge, a proof of concept, and a doorway to creative problem-solving.
Final Thoughts
Installing Windows 11 on a Raspberry Pi isn’t just a technical exercise—it’s an invitation to rethink what’s possible with a $35 board. Whether you're building a smart workstation, showcasing a prototype, or just exploring the limits of maker hardware, this project is a guaranteed head-turner.