The Raspberry Pi 4 is a small, powerful mini computer, with dual-screen 4K support, USB 3.0, a new CPU and GPU.
In this tutorial, you will learn how to set up the Raspberry Pi 4 Model B and install everything you need to use the full power of the tiny embedded board.
Brief overview
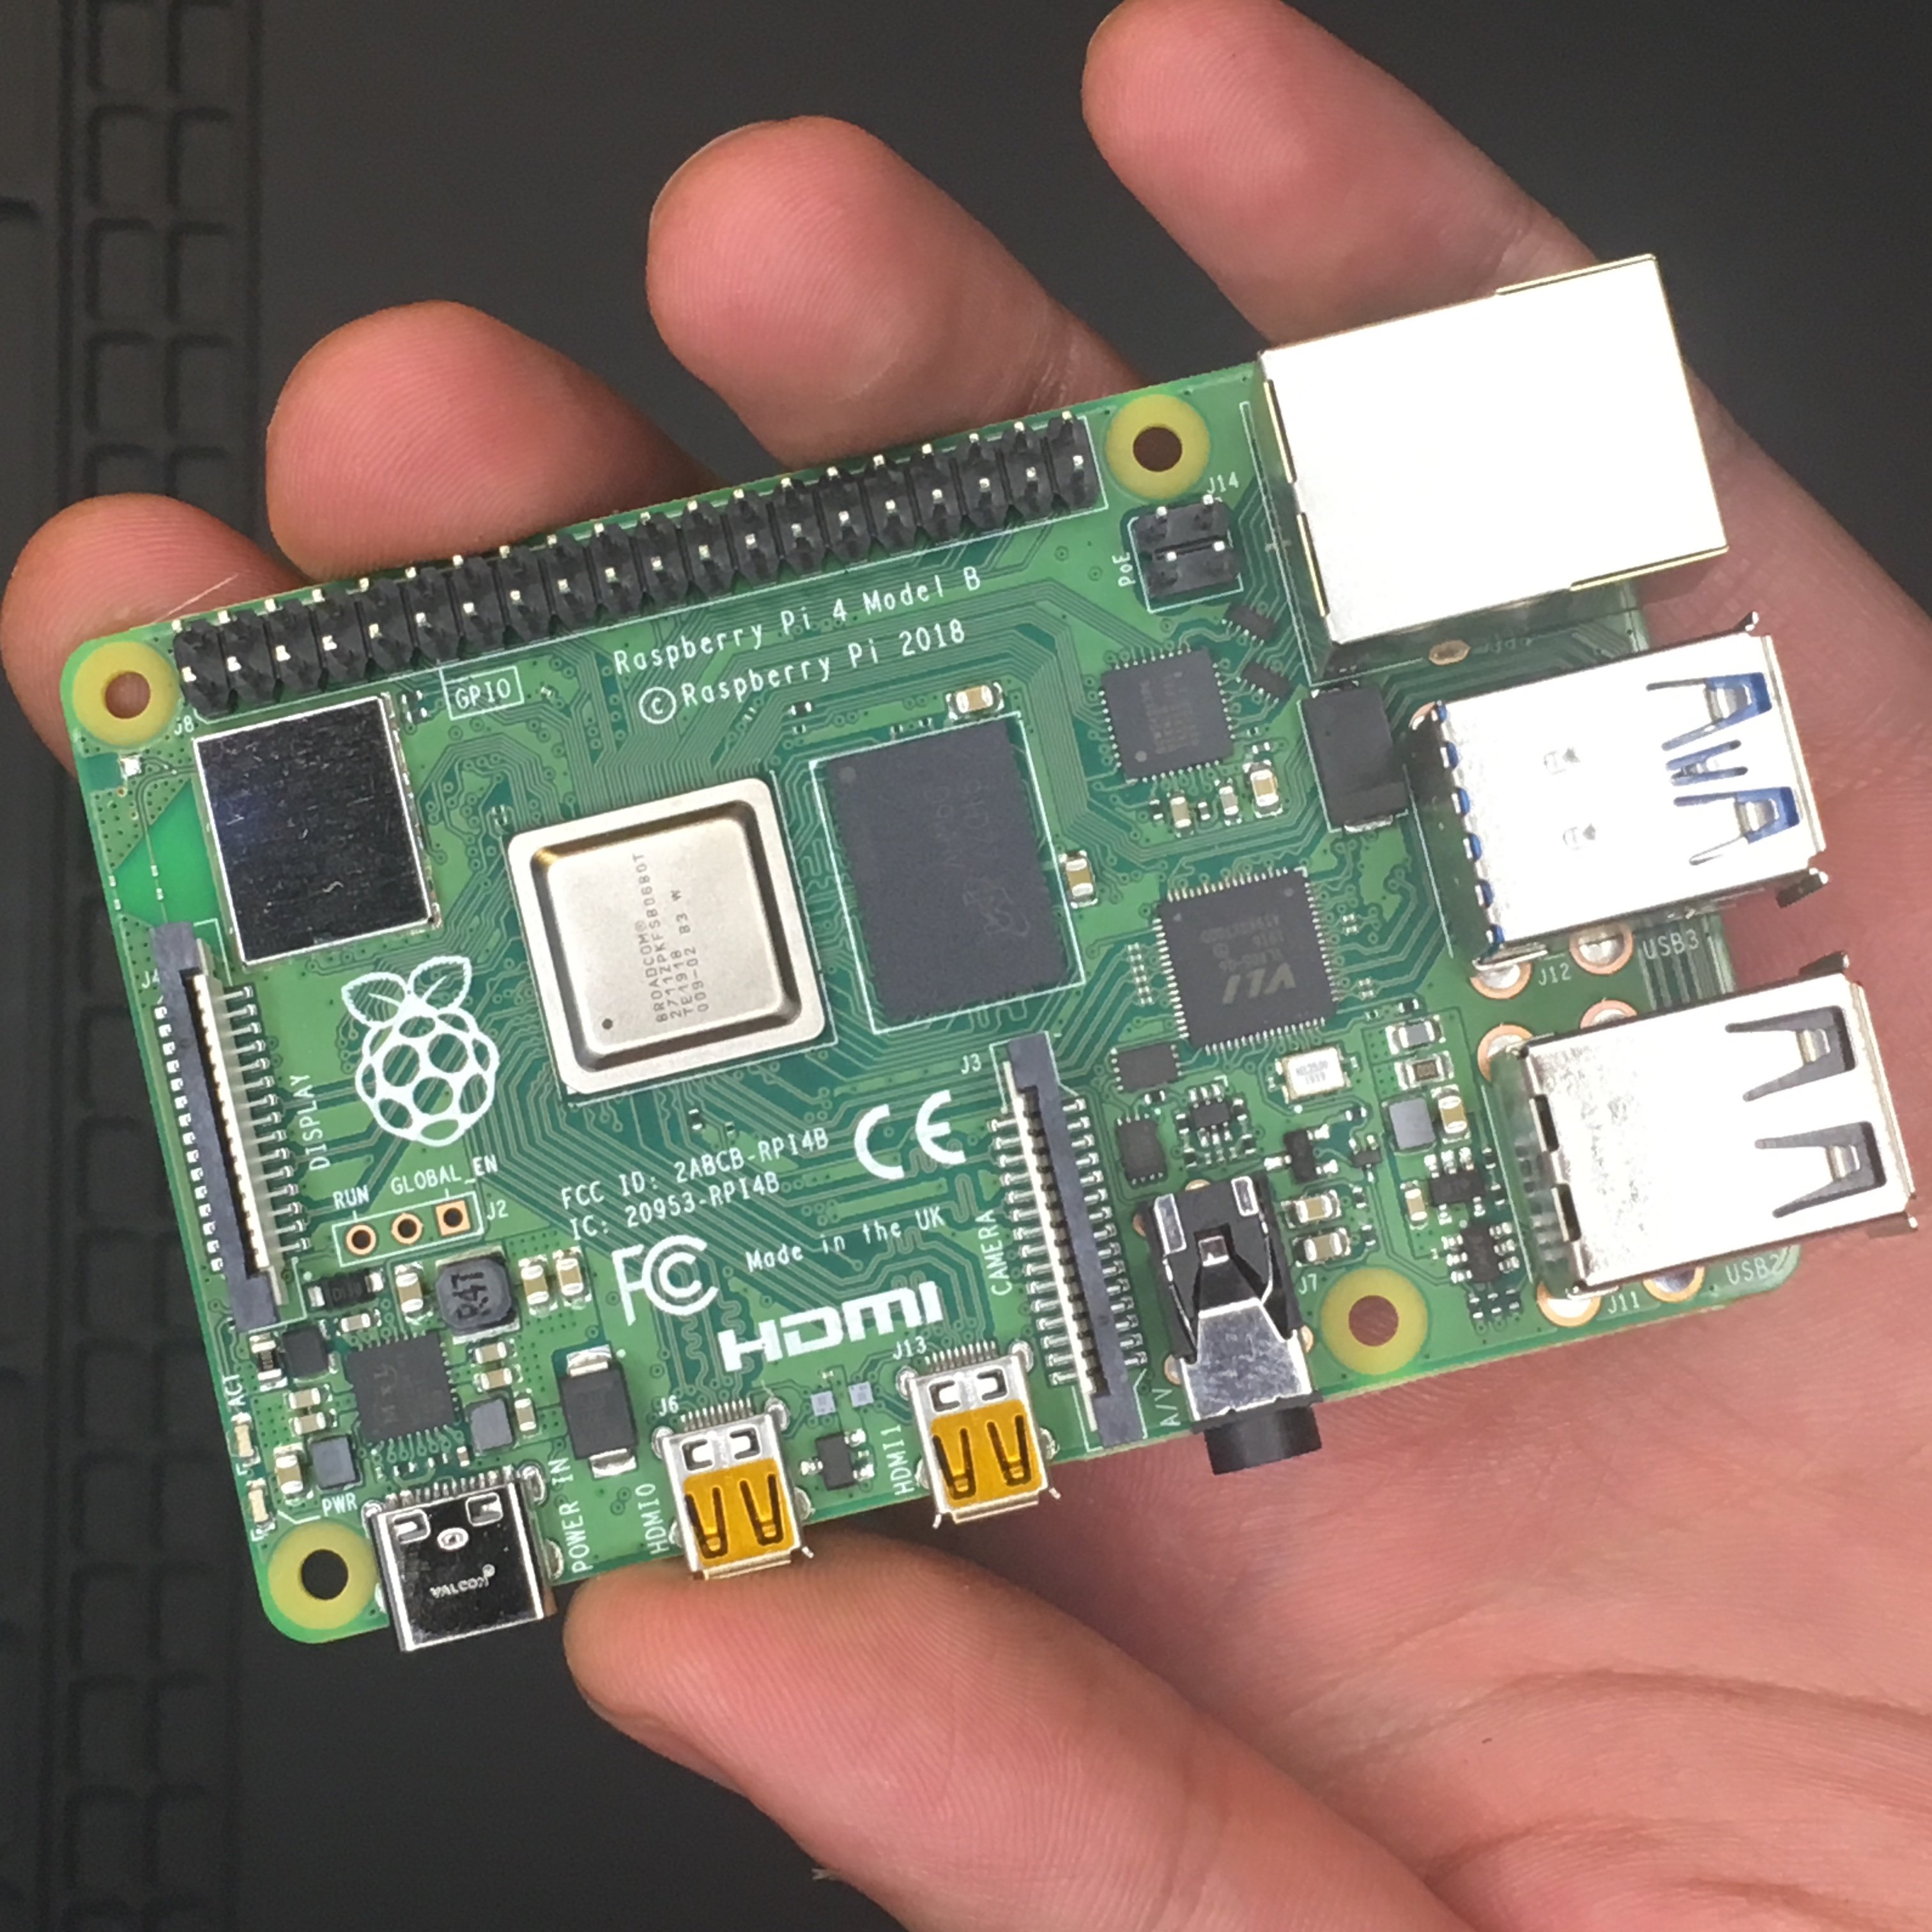
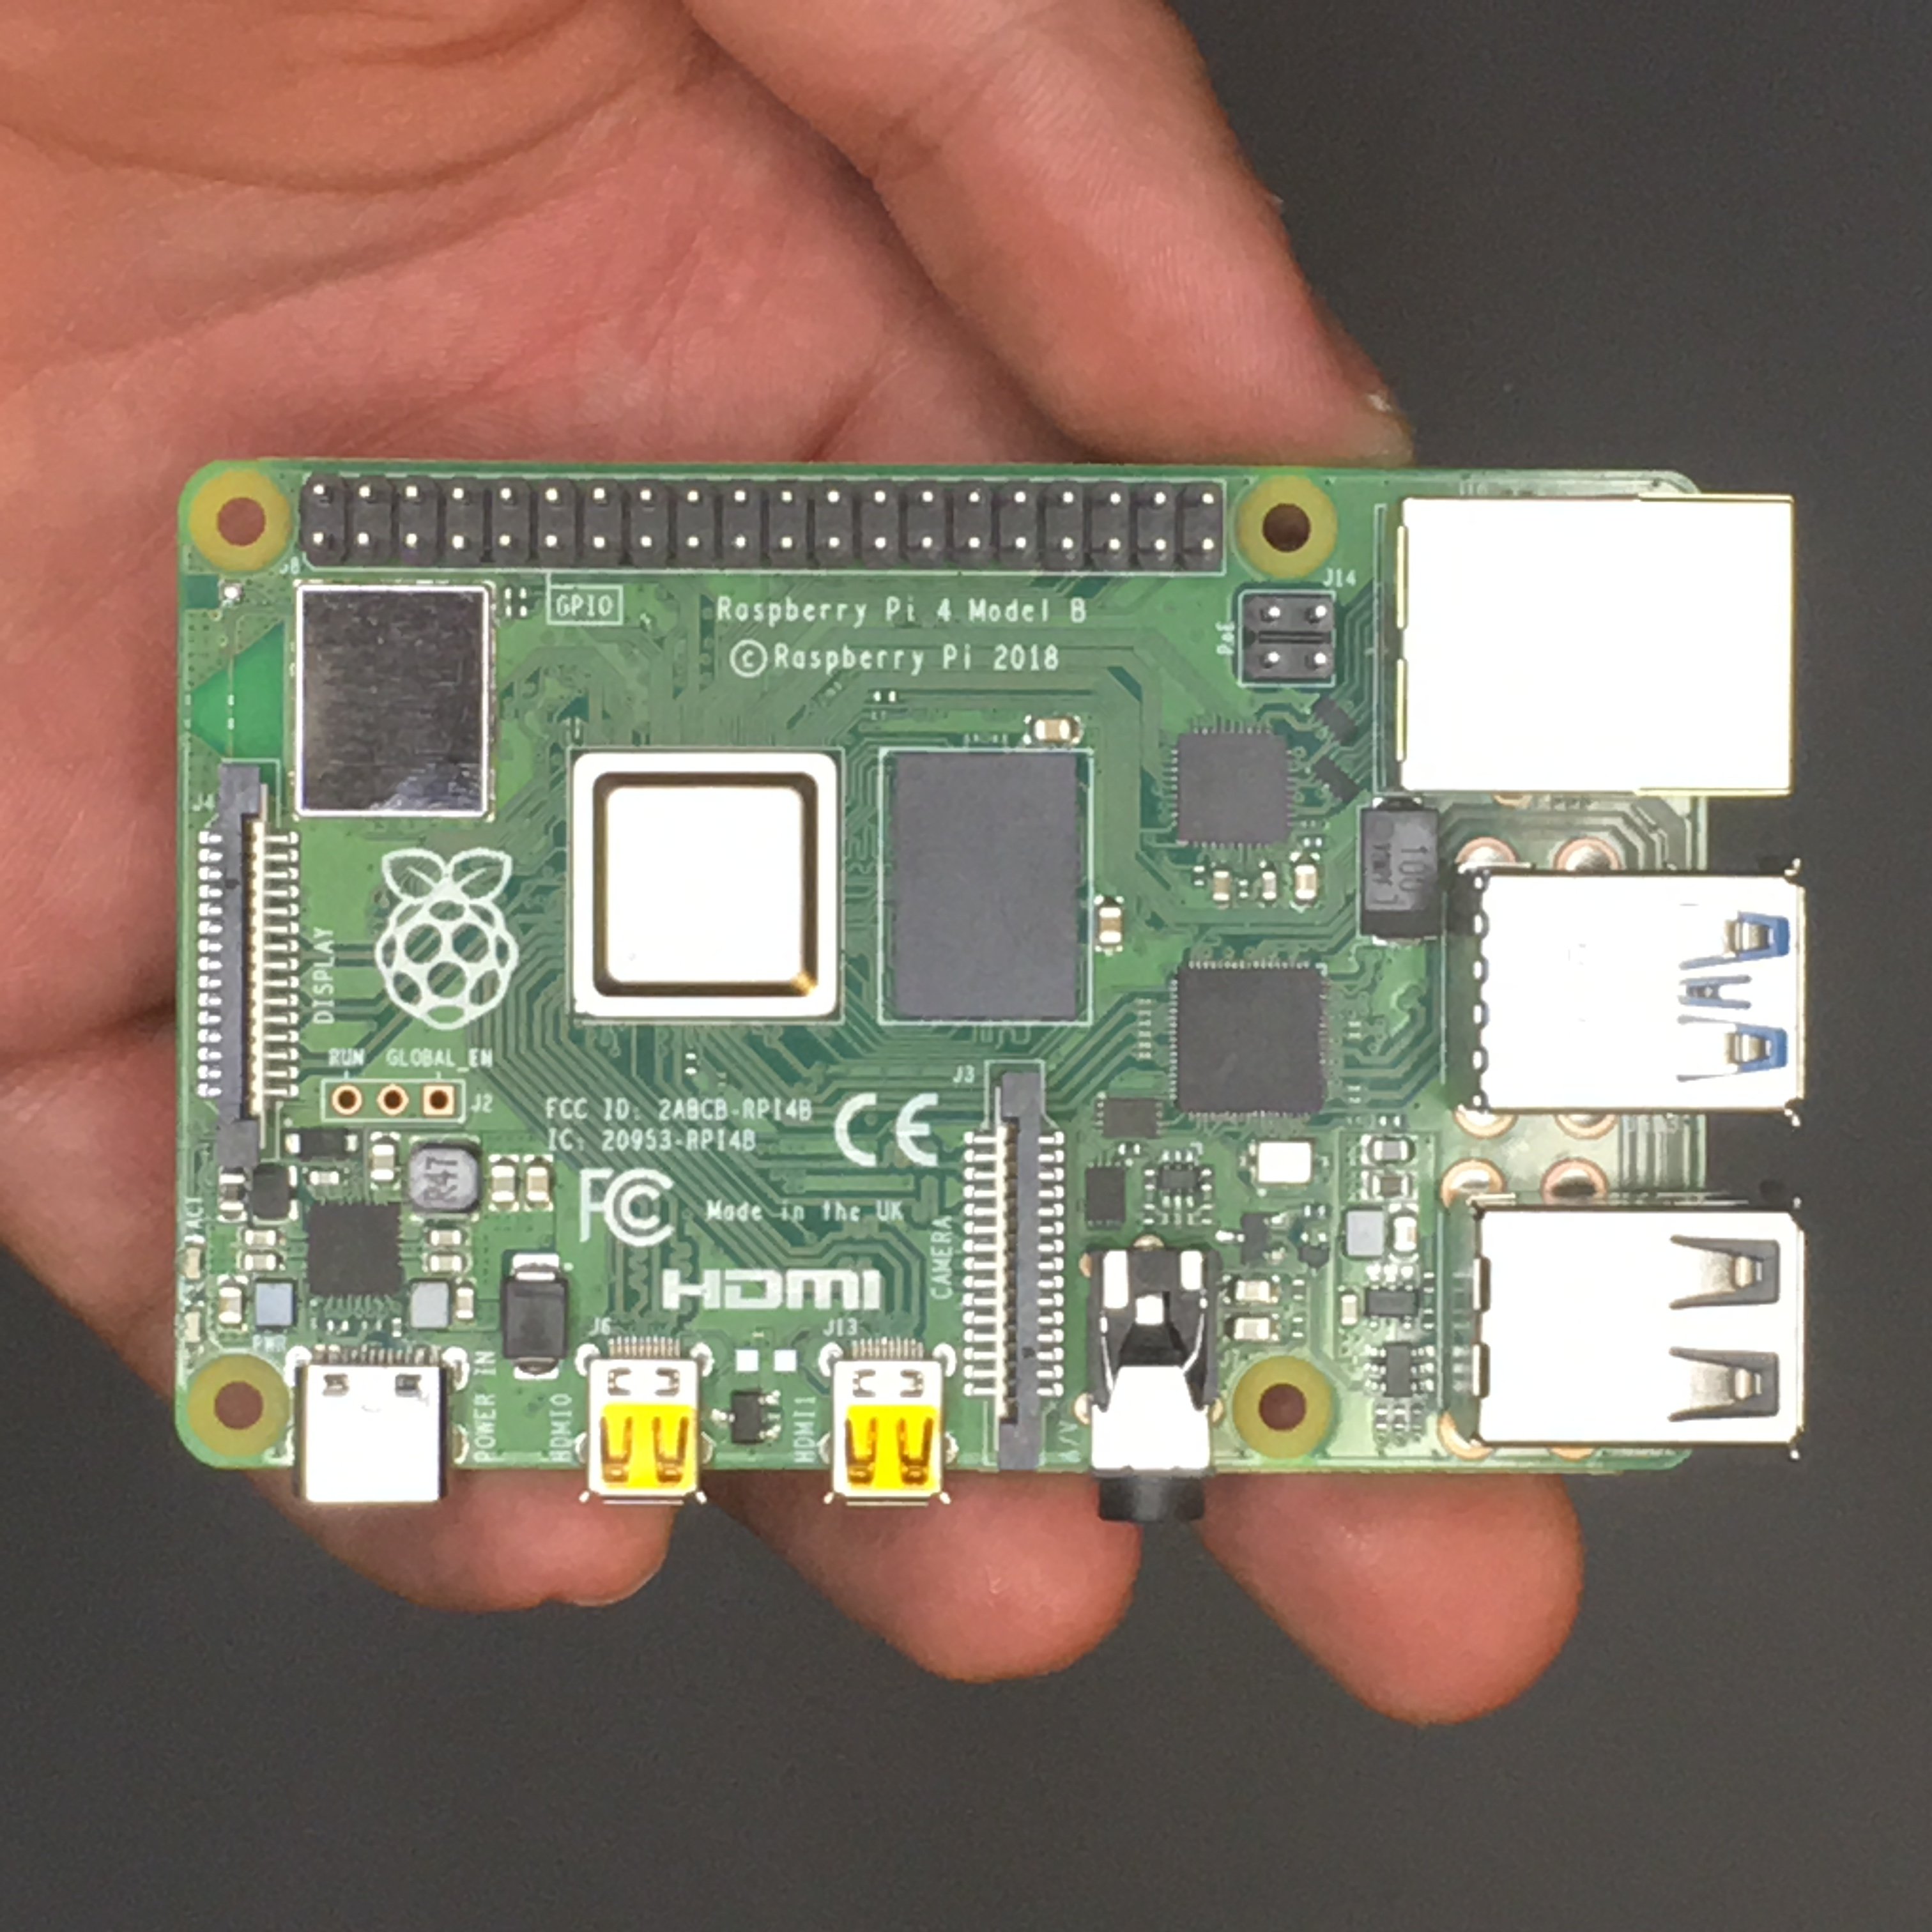
Raspberry Pi 4 Model B is the latest product in the popular Raspberry Pi range of single board computers. It offers ground-breaking increases in processor speed, multimedia performance, memory and connectivity compared to the prior-generation Raspberry Pi 3 Model B+. It is a low-cost way of developing advanced IOT applications.
The Raspberry Pi 4 Model B features a new 1.5 GHz quad-core 64-bit processor based on the ARM Cortex-A72. It uses the 28nm process technology as opposed to the 40nm chips used in previous Raspberry Pi models. This processor is about 3 times superior in performance to its predecessor. It is also upgraded with on board dual-display support at resolutions up to 4K via a pair of micro-HDMI ports, which supports H 265 Decode (4Kp60), H.264, and MPEG-4 decode (1080p60).
Other features of the Raspberry Pi 4 Model B include a Gigabit Ethernet port with PoE (Power over Ethernet), dual-band Wi-Fi 802.11ac, Bluetooth 5, two USB 2.0 ports and two USB 3.0 ports. The device now uses LPDDR4 memory with much higher bandwidth.
One big important upgrade that Pi foundation has made in Raspberry Pi 4 B is Type-C USB Port from which Pi can take up to 3A current to operate, and hence now Pi 4 can provide more power to onboard chips and peripherals interfaced.
The GPIO header remains the same, with 40 pins and fully backward-compatible with previous boards as on the previous three models of Pi.
Pricing
The pricing for the new Raspberry Pi 4 Model B board starts from $35 and depending on the choice of RAM (1-4 GB), the cost shall vary.
- Raspberry Pi 4 with 1 GB RAM: $35
- Raspberry Pi 4 with 2 GB RAM: $45
- Raspberry Pi 4 with 4 GB RAM: $55
The Raspberry Pi Desktop Kit will be priced at $ 120.
Raspberry Pi 4 is available from different vendors depending on your country.
What's inside of Raspberry Pi 4 Desktop Kit
It includes 4 GB RAM version of the Raspberry Pi 4 Model B, official Raspberry branded case, power supply, keyboard and mouse, a pair of Micro-HDMI to HDMI cables, an updated printed guide for beginners and a 32 GB microSD card with pre-installed operating system for the Raspberry Pi 4.
Booting the Raspberry Pi
- Insert the microSD to Raspberry Pi 4, which is already pre-installed with Raspbian OS.
- Attach the micro-HDMI cable.
- Connect the other end of the micro-HDMI cable to an HDMI monitor or TV.
- Plug in your Raspberry Pi power supply.
When Raspbian loads for the first time, you will see this Welcome screen:
- Click Next, when prompted, then select your time zone and preferred language and create a login password.
- Connect to your WiFi network.
- Get the latest updates for the Pi by the typing the following commands on terminal.
sudo apt-get update -y
sudo apt-get upgrade -y
- Once complete, you can reboot your PI by typing the following command.
Now that you have your Raspberry Pi set up just the right way, we can get to the good stuff. From here, you're ready to take advantage of the Raspberry's powerful processing capabilities. Depending on your project's needs and your own creativity, your options are nearly endless.
Conclusion
The Raspberry Pi 4 Model B is the most powerful of any Pi that’s come before and the Desktop Kit makes its setup as easy as possible. It is already a capable desktop replacement and can handle any IOT projects. Also, it is a perfectly desktop solution for web browsing, writing articles, and even some light image editing.
Playing games, editing video, 3D modeling, or some other CPU or GPU intensive workload? The Raspberry Pi 4 Model B probably isn’t the right choice.
I hope you found this guide useful and thanks for reading. If you have any questions or feedback? Leave a comment below. In following blog posts, I will talk about setting up a Raspberry Pi headless. Stay tuned!