Learn how to build an AstroPi station that gathers temperature, humidity, and barometric pressure sensor data!
In this article, I will show you how to build an AstroPi station using Raspberry Pi.
This is an ongoing project, so I will share what I’ve learned with you. To put it simply, an IoT device, among doing several other things, is a system that is basically capable of collecting data and sending it to the internet, after which the uploaded data will be processed or observed later, depending on the application.
So in this project, you will be able to measure the following:
- Temperature
- Humidity
- Barometric pressure
You will also be able to store the data from these sensors in a Google spreadsheet, allowing you to easily view the data of your Sense HAT system from anywhere.
What is Sense Hat?
Raspberry Pi's Sense HAT (also known as Astro Pi HAT) is a device or an add-on board that can be attached onto the GPIO pins of a Raspberry Pi. It features onboard accelerometers, magnetometers, gyroscopes, thermometers, barometers, and humidity sensors, all of which pass data back to Pi via I2C communication.
In addition to these sensors, it has an 8×8 LED array that can be used to display information and a five-way rocker joystick which can be used for inputting data in Raspberry Pi.
To summarize, these are all the sensors onboard:
- Gyroscope
- Accelerometer
- Magnetometer
- Temperature
- Barometric pressure
- Humidity
Let's get started using it in our project!
Collect and Assemble Hardware
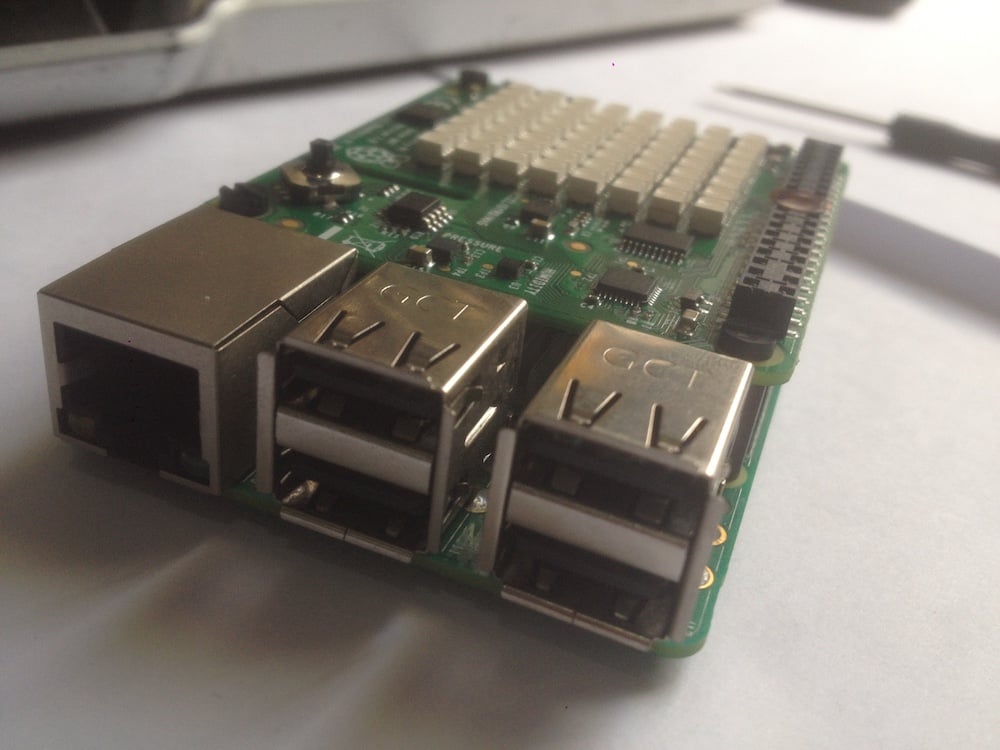
First, let's take stock of what needs to go into our project:- Raspberry Pi
- Sense HAT
- HDMI display
- Keyboard and mouse for input
- Power source, such as an AC adapter or power bank
Now we can start assembling! See the video below for a guide to this process.
After installing the operating system for Raspberry Pi, install the Sense HAT libraries by opening a terminal window of Linux and entering the following commands below.
(*Note: Please make sure your Raspberry Pi is connected to the internet.)
sudo apt-get update
sudo apt-get install sense-hat
sudo pip-3.2 install pillow
Test Sense HAT
After installing the libraries, test it by entering the following Python script inside the text editor and saving it as .py file.
from sense_hat import SenseHat
sense = SenseHat()
sense.show_message("Hello world!")
Next, run the script in terminal by entering python filename.pyi
When you run this program, it will display “Hello world”. This means your Sense Hat is working fine with your Raspberry Pi.
Let’s Gather Sensor Data!
We will use the Python script I wrote to collect the data from all the sensors. This reader will collect all the information and display it in an 8×8 RGB LED matrix or send it to the internet.
Set Up Google Spreadsheets
You can use the above script to export data to Google Spreadsheets. Now to be able to access Google spreadsheets from this script, you have to set up OAuth app with Google and create a JSON file. Learn about it here:
You need to store the generated JSON file in the Astro.py folder.
Next thing you need to do is open the OAuth JSON file and look for "client_email." It should look like this:
"Client_email": "[email protected]",
Next, go to File --> Share ... menu item to share a spreadsheet with read and write privileges to the above email address. Please make sure to share your spreadsheet—otherwise, you will not be able to update the script!
Next, open the MiniWeatherStation.py file and edit it:
sudo nano MiniWeatherStation.py
Replace the GDOCS_OOAUTH_JSON value with the name of the JSON file that you downloaded. Set GDOCS_SPREADSHEET_NAME as the name of your worksheet and save. Now, enter in the terminal:
sudo python MiniWeatherStation.py
If all your information is correct, it will start running and add a line to your spreadsheet every 30 seconds:
Congratulations! You can now send your data to Google Spreadsheets. If you want to store all your data in Google Drive, you can run it as a service.
How to Clean Up Your Spreadsheet
Tip: If the data starts at line 1000, follow the instructions below:
- Create a spreadsheet.
- Once you've created it, delete all but one line (because we do not need 1000 blank lines):
- Make the remaining line the title of the line
Thanks for checking out my project! Try forking this article so you can make your own version.