You will learn how to enable access to Raspberry Pi for via ssh without connecting a keyboard, mouse and monitor to it.
This tutorial covers setting up the Raspberry Pi 4 Model B for headless SSH access
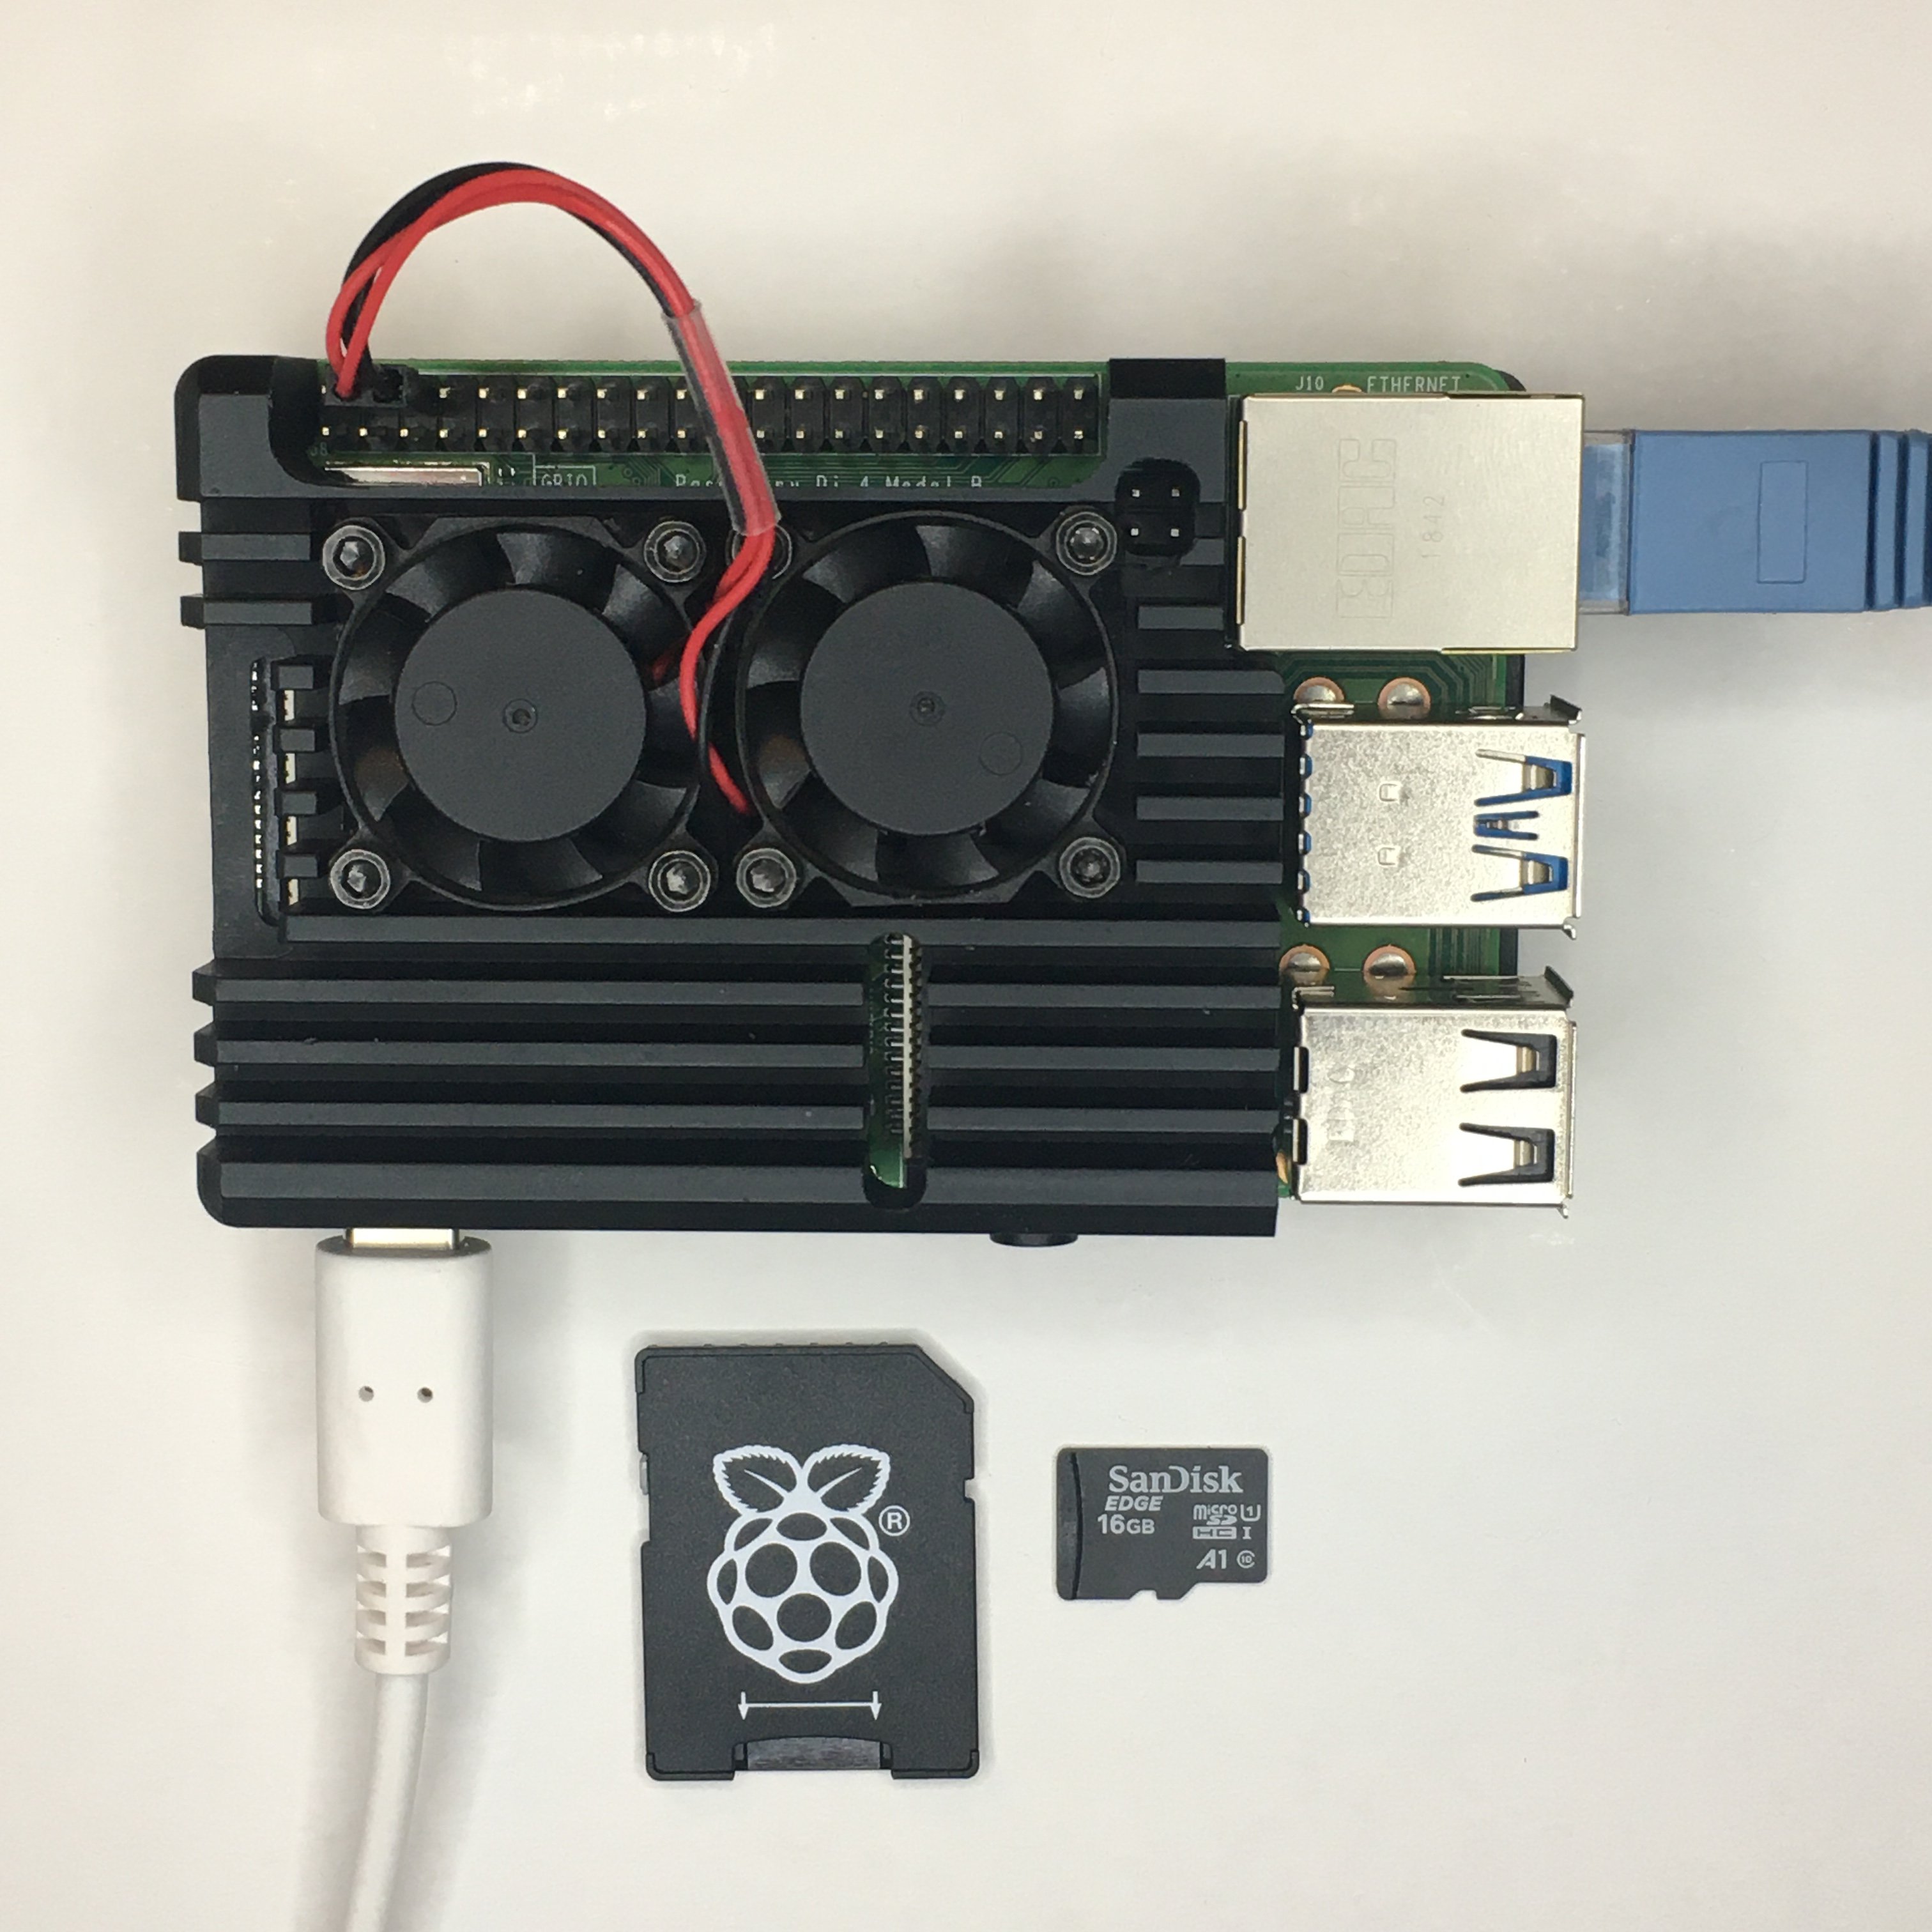
Items for Getting Started
- Before boot up your Raspberry Pi 4 Model B you need below items.
- Laptop or standalone PC
- A micro-SD card (minimum16GB)
- Ethernet cable
- Compatible power supply - you can also use a 5V 2.5A USB supply.
- MicroSD Card Reader
- Case(optional)
Logging into the Raspberry PI via SSH
Step 1. Download a Raspbian image
Download a Raspbian image file from the raspberrypi.org.
Step 2. Write image to the microSD Card using Etcher
To burn an image to the SD card you can use Etcher. Etcher is cross-platform desktop application, and works on Windows, Mac OS X, and Linux as well, and it prevents you from overwriting the system disk of your computer.
- Download the appropriate version of Etcher based on your OS.
- Insert an microSD using Card Reader into your computer.
- Run the Etcher you've downloaded.
- Flash the MicroSD card with the image using Etcher by selecting the downloaded zip file as the source.
- The image written to your card will be verified afterwards.
Step 3. Enable SSH
- SSH is disabled by default for security reasons. To enable it you need to place an empty file named ssh in the root of the boot disk.
For MacOS and Linux :
- Open terminal by navigating to Applications > Utilities > Terminal and run the following command:
For Windows:
Create a file named ssh, without any extension, on the boot partition of the SD card.
Step 4. Setting up wireless networking
Your Windows or Mac machine must be on the same WiFi network that you configured the Raspberry Pi in order to determine Raspberry PI’s IP Address.
Create a file in the root of boot disk called wpa_supplicant.conf and then paste the following code into it:
Step 4. Setting up wireless networking
- Your Windows or Mac machine must be on the same WiFi network that you configured the Raspberry Pi in order to determine Raspberry PI’s IP Address.
- Create a file in the root of boot disk called wpa_supplicant.conf and then paste the following code into it:
- Edit it by entering your actual SSID and password of your home Wifi network.
country=us
update_config=1
ctrl_interface=/var/run/wpa_supplicant

network={
 ssid="<Name of your WiFi>"
 psk="<Password for your WiFi>"
}
For MacOS and Linux :
- Open terminal and run the following command:
touch /Volumes/boot/wpa_supplicant.conf
- Edit the file that you just created using text editor and paste the text above into it.
For Windows:
- Create a file wpa_supplicant.conf and save it.
- Remove the SD card and then insert it into your Raspberry Pi
- Power it up.
Step 5. Find your Raspberry PI’s IP Address
- Raspberry PI’s IP address can be found through the configuration web interface of your router in the section DHCP lease allocation table.
- On your computer you can use utility like Advanced IP scanner (Windows) or IP Scaner (MacOS).
- On your Android or iOS phone you can use Fing utility which can detect Raspberry Pi IP address.
I used IP Scaner (MacOS) utility to determine my Raspberry Pi ip address.
Step 6. SSH into your Pi
- Connect your ethernet cable to your computer and to the Raspberry Pi.
- The default credentials for SSH connection are:
username: pi
password: raspberry
For MacOS and Linux :
- Open terminal and type below command.
For Windows:
- Download PuTTY from here - a free SSH and telnet client for Windows
- Launch PuTTY
- Check SSH radio button with port number 22.
- Type the IP address of your Raspberry PI into Host Name field name
- Click Open button
- When you connect through SSH for the first time, you will be prompted to accept the RSA key fingerprint
The authenticity of host 'Your_ip_adress (Your_ip_adress)' can't be established.
ECDSA key fingerprint is SHA256:XXXXXXXXXXXXXXXXXXXXXXXXXXXXXXXXX.
Are you sure you want to continue connecting (yes/no)?
- Type yes to continue.
- Once you are logged into your Raspberry Pi you will be greeted with a message similar to the one below.
Linux raspberrypi 4.19.75-v7l+ #1270 SMP Tue Sep 24 18:51:41 BST 2019 armv7l
The programs included with the Debian GNU/Linux system are free software;
the exact distribution terms for each program are described in the
individual files in /usr/share/doc/*/copyright.
Debian GNU/Linux comes with ABSOLUTELY NO WARRANTY, to the extent
permitted by applicable law.
Last login: Thu Sep 26 01:46:17 2019
SSH is enabled and the default password for the 'pi' user has not been changed.
This is a security risk - please login as the 'pi' user and type 'passwd' to set a new password.
Step 7. Get the latest updates
Finally, you get the latest updates for the Pi as simply as typing:
sudo apt-get update -y
sudo apt-get upgrade -y
Once complete, you can reboot your Raspberry Pi by typing the following command.
You now have a fully-configured Raspberry Pi running Raspbian.
You can run raspi-config any time you like, if you find that there are some settings that you need to change.
I hope you found this guide useful and thanks for reading. If you have any questions or feedback? Leave a comment below. Stay tuned!