Control a DC motor using a Raspberry Pi and an L298 motor driver.
What Is an L298?
L298 is known as a dual bidirectional motor driver which is based on dual H-Bridge Motor driver IC. This circuit allows you to control two DC motors independently in either direction.
It is a commonly used component for prototypes and hobbyist projects, as it is easy to use and interface the L298 with a Raspberry Pi or an Arduino. Other than its minimal design, it also provides an onboard 5V regulator that you can use to power your 5V circuits very conveniently.
There are many L298 based motor driver modules out there in the market and you can use any of the locally available L298 based motor drivers because they all are essentially the same. I used an L298 breakout board, which makes setup a little easier. You can find several different L298 breakout boards online.
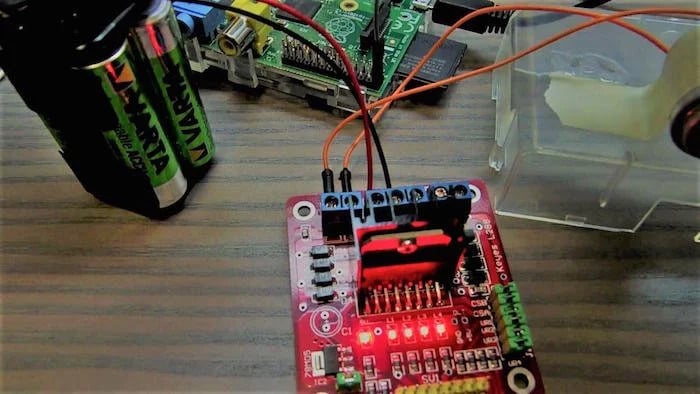
Connecting an L298 With a Raspberry Pi
Controlling a DC Motor is easy with a Raspberry Pi. We use an L298 motor driver to control the DC motor, which allows the motor to move forward or backward.
For communication, we will use a simple serial communication over USB cable.
So, let’s get started.
- Connect IN1 on the L298 to the Raspberry Pi’s pin number 26.
- Connect IN2 on the L298 to Raspberry Pi’s pin number 20.
- Connect the ENA and 12-volt pin to a 9-volt battery.
- Make sure the grounds of the battery, Raspberry Pi, and L298 are common.
Running the Program and Code
- Turn on your Raspberry Pi and open Python 3 in a new window.
- Write the following code in the new window and save it somewhere like on the Desktop.
import sys
import time
import RPi.GPIO as GPIO

mode=GPIO.getmode()

GPIO.cleanup()

Forward=26
Backward=20
sleeptime=1

GPIO.setmode(GPIO.BOARD)
GPIO.setup(Forward, GPIO.OUT)
GPIO.setup(Backward, GPIO.OUT)

def forward(x):
GPIO.output(Forward, GPIO.HIGH)
print("Moving Forward")
time.sleep(x)
GPIO.output(Forward, GPIO.LOW)

def reverse(x):
GPIO.output(Backward, GPIO.HIGH)
print("Moving Backward")
time.sleep(x)
GPIO.output(Backward, GPIO.LOW)

while (1):

forward(5)

reverse(5)
GPIO.cleanup()
- Make sure that you have connected your L298N with your Raspberry Pi as shown in circuit diagram above.
- Then, run the code that you have just written.
Code Explanation
In the example above, the code starts from importing required libraries for the L298 which include the system, GPIO, and time. It’s good to notice that the GPIO is to provide high and low logic to the L298 and the time library is used to add delays between different actions.
The forward and reverse functions are declared in this code with an argument option. The argument is the delay time to keep the motor moving in the required direction. That's it, you should be able to control a motor with a Raspberry Pi and an L298 motor driver. You can find more code variations online to add additional functionality to your motors!
More L298 Tutorials
More Raspberry Pi Motor Control Tutorials