Learn how to interface the MPU9250 IMU — a 9-axis motion processing unit — with your Raspberry Pi.
This tutorial shows you how to interface an MPU9250 IMU sensor to a Raspberry Pi and read the values from the accelerometer, gyroscope, and magnetometer.
Reading these values lets you attach the sensor to any object you wish to track for your project and trigger custom sequences based on the movement of the object. The theory and principles below can be applied to any digital accelerometer or IMU sensor.
What is an IMU?
IMUs, or Inertial Measurement Units, are sensors used to understand the orientation of a body in three-dimensional space.
Once attached to an object, IMU sensors can provide information on the body’s angular rate, orientation, and even force applied to it by measuring the linear and angular motion using the combination of accelerometer, gyroscope, and magnetometer. They are used inside all modern smartphones, AR and VR headsets and any other product that requires tracking in three-dimensional space.
Gyroscope
A gyroscope (sometimes simply called a gyro) measures the rate of rotation and tracks it over time to calculate the current angle. As it tracks the rate of rotation, the gyro drifts. Gyros work well for measuring quick, sharp movements.
Accelerometers
Accelerometers are real-time compared to gyros as they don’t have to be tracked all the time, they can give the angle values at any moment. They are useful in measuring both gravity based static movements as well as more dynamic movements based on inertia and acceleration. The downside is that they can get noisy, so they need to be used for measuring angles over a period of time.
Magnetometer
A magnetometer uses the earth’s magnetic field to understand the direction. In IMUs (Inertial Measurement Units) they are mostly used in combination with an accelerometer and a gyroscope in order to compensate for the long term drift in sensor data from the gyro and to correct the gyro bias.
Required Hardware
- Raspberry pi
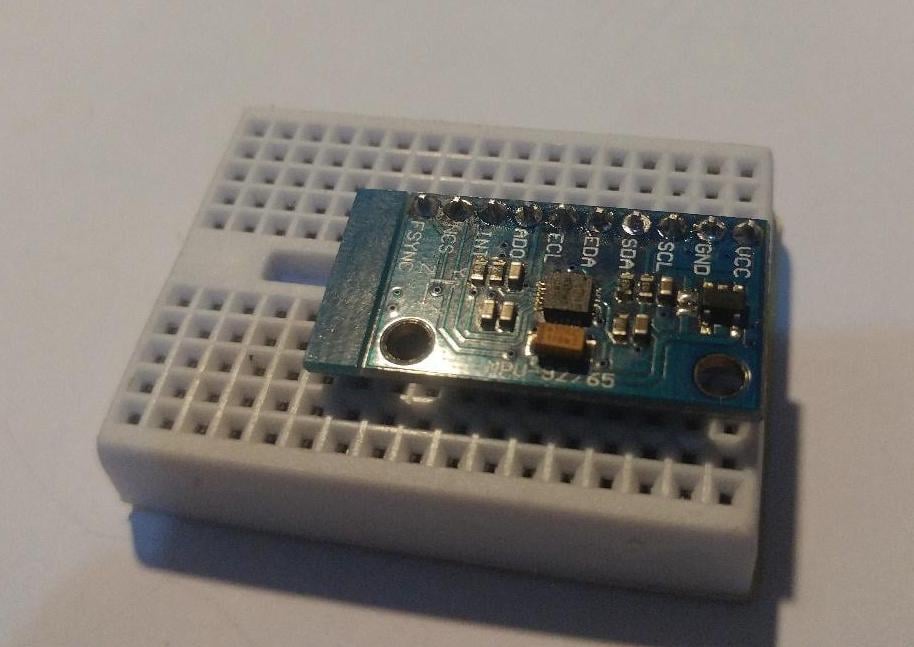
- MPU9250
- Jumper Wires
- BreadBoard
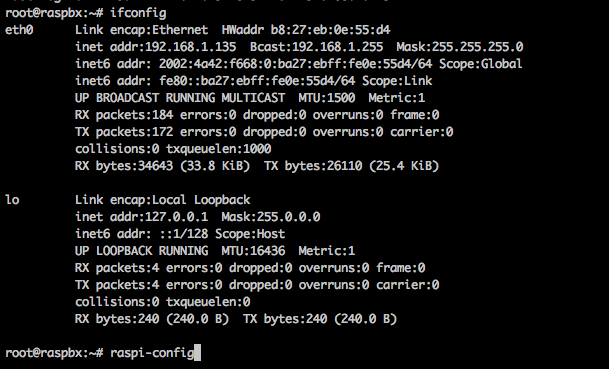
Enable Your I2C Communication
Type Raspi-config in the terminal and follow the procedure shown in the images below.
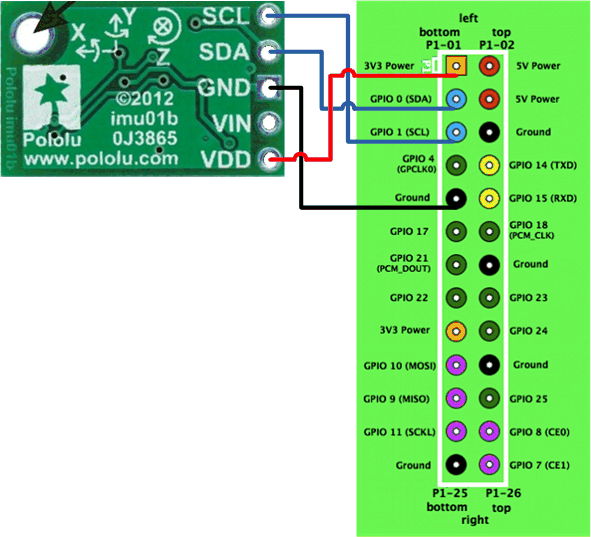
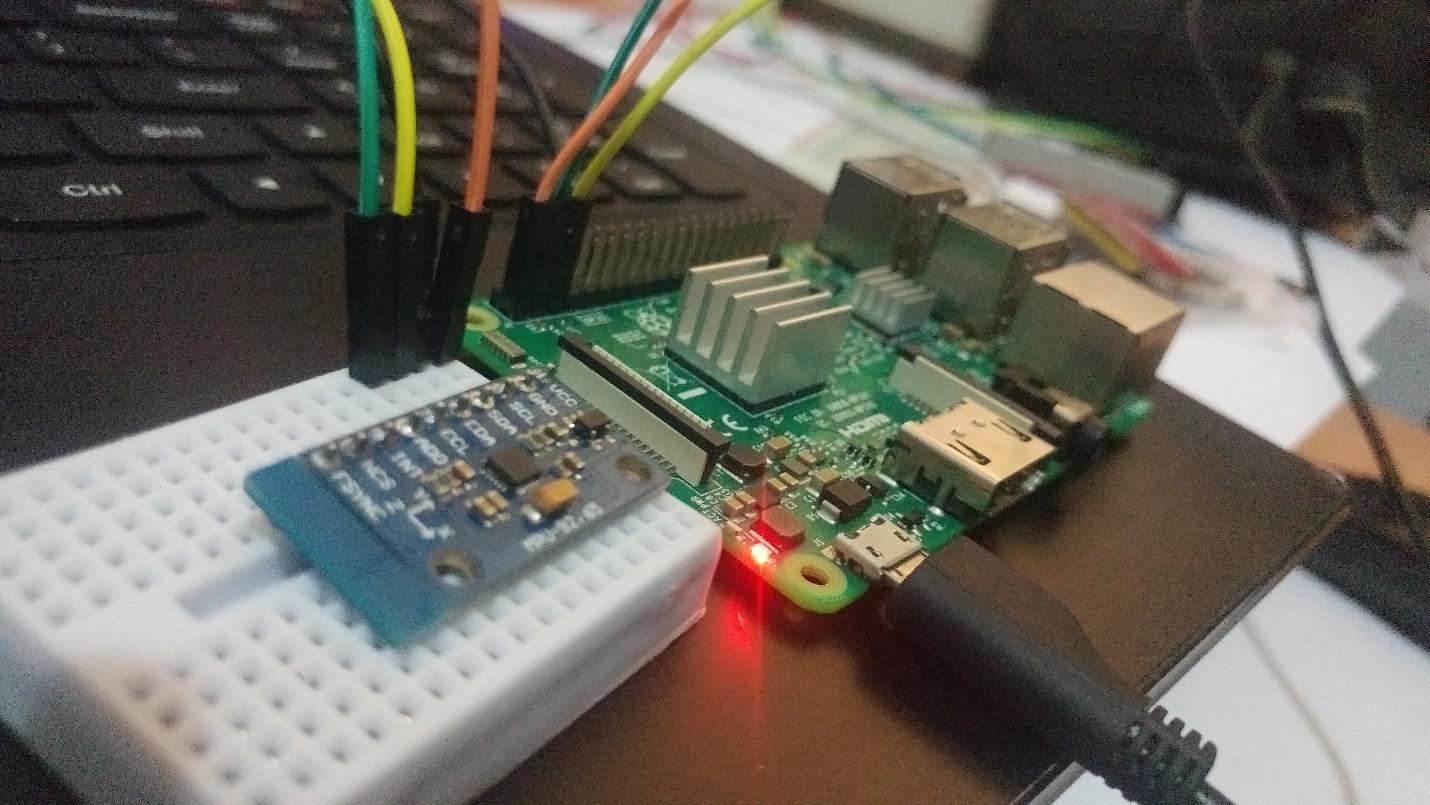
Interface the MPU9250 With the Raspberry Pi
MPU9250 | Raspberry Pi |
|---|
SDA | SDA |
SCL | SCL |
VCC | 3 V
|
Gnd | Gnd |
Download Source Files
Go to Terminal download the source code. After downloading, go to the MPU9250 directory.
cd mpu9250
After navigating to the directory in the terminal, enter the command below:
sudo pip install FaBo9Axis_MPU9250
Next, copy the code below and save it as a python file: program.py
Python Code
Once the source files are ready to go, copy the code below and save it as a Python file: program.py
import FaBo9Axis_MPU9250
import time
import sys

mpu9250 = FaBo9Axis_MPU9250.MPU9250()

try:
    while True:
        accel = mpu9250.readAccel()
        print " ax = " , ( accel['x'] )
        print " ay = " , ( accel['y'] )
        print " az = " , ( accel['z'] )

        gyro = mpu9250.readGyro()
        print " gx = " , ( gyro['x'] )
        print " gy = " , ( gyro['y'] )
        print " gz = " , ( gyro['z'] )

        mag = mpu9250.readMagnet()
        print " mx = " , ( mag['x'] )
        print " my = " , ( mag['y'] )
        print " mz = " , ( mag['z'] )
        print

        time.sleep(0.1)

except KeyboardInterrupt:
    sys.exit()
After installing the library, run the Python script by typing the command:
sudo python program.py
Now the screen should show the 9-axis sensor data on the screen at a rate of 0.1sec.
You can now attach the MPU9250 to the object you want to track and use the sensor data to trigger outputs.