Learn how to see and work with colors on your Raspberry Pi and the TCS3200 RGB sensor module!
Measuring the color of an object can be useful in many real-world applications and there are a lot of different methods you can utilize. This article introduces you to the basics of using the TCS3200 RGB sensor module on two popular platforms.
About the RGB Sensor
The TCS3200 RGB sensor module is a cheap, programmable light-to-frequency converter. The device consists of 64 individual photodiodes that measure the intensity of the light that hits the sensor. It then transforms the measured value to a square wave with a 50% duty cycle. The frequency is directly proportional to the measured light intensity.
The TCS3200 module’s functional block diagram. Image courtesy of Mouser (PDF)
As you can see, the sensor’s five inputs can be used to change the behavior of the device. Lines S2 and S3 are used to change the color the sensor should detect, S0 and S1 can be used to scale the frequency of the output, and OE enables the output when pulled low.
The following tables show the different combinations of options
S0 | S1 | Output Frequency Scaling (fo)
|
|---|
L
| L | Power down
|
L | H | 2% |
H | L | 20% |
H | H | 100% |
S2 | S3 | Photodiode Type
|
|---|
L | L | Red |
L | H | Blue |
H | L | Clear (No filter)
|
H | H | Green |
The sensor itself is usually mounted on a small PCB with four LEDs next to it. Some boards have additional inputs that allow you to turn the LEDs on and off.
Using the RGB Sensor With an Arduino
To use the sensor with your Arduino, connect the inputs and outputs as shown in the image below.
The connections between an Arduino Uno and the RGB sensor
If you want to use a smaller number of pins on your Arduino, you can hard-wire the sensor’s S0, S1, and OE pins to either high or low, according to the table shown above.
Now, let’s run a short test-script that reads the red value from the sensor and displays it in the serial plotter:
The measured value will be relatively high while the sensor is pointed at a blue sheet of paper (area one and three in the image). However, as soon as I aim the sensor at something red, the value drops significantly (area two). The segment, marked with a four, shows what happens when you mix colors. Depending on how much red the color contains, the value will change.
On the Arduino, a standard-function called pulseIn can be used to measure how long the period of the sensor’s output signal is. This function will simply return the time between two falling or rising edges of a signal.
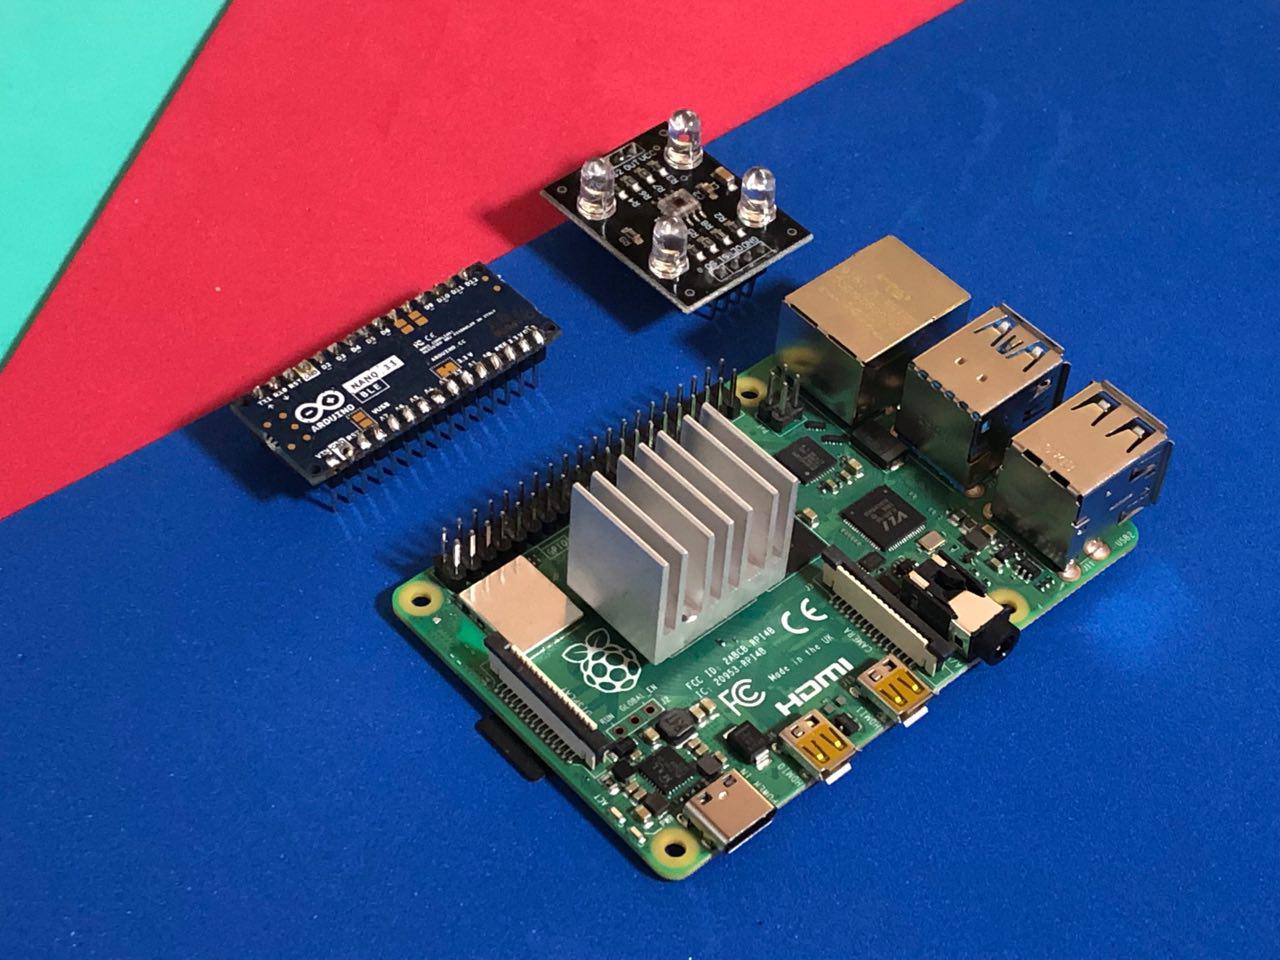
Using the RGB Sensor With a Raspberry Pi 4
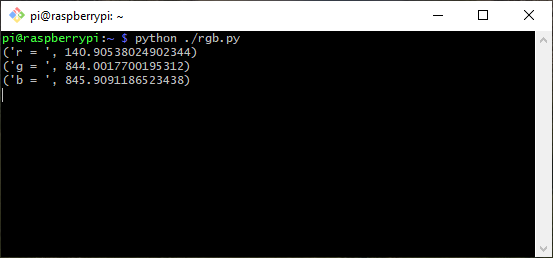
On the Raspberry Pi, things get a little more complicated. Unfortunately, the Raspberry Pi doesn’t have a built-in timer, so there’s no standard library function like on the Arduino and we’ll have to implement our own alternative.
To begin, connect the sensor to your Raspberry Pi:
The connections between a Raspberry Pi 4 and the RGB sensor
As you can see, I used the method discussed above to occupy a smaller number of GPIO pins. Whether or not you connect the S0 and S1 pins, make sure to use the smallest possible scaling on the Raspberry Pi.
We need to do that because, as mentioned above, the Pi doesn’t have a hardware clock. Instead, we can wait for a pulse on the output line of the sensor and then get the system time from Linux. Then, when another falling edge occurs, we get the time again and calculate the difference.
This method can be less accurate compared to a hardware timer and, therefore, I can not recommend using a larger scaling factor.
But that is the only difference to the Arduino code. The measured time can still be used to decide what color the sensor is picking up.
The TCS3200 RGB Sensor is Easy to Set Up
The TCS3200 is a useful little sensor that’s fast and very easy to use once you figure out how it works. The accuracy is not bad but it can be tricky to exactly categorize the color the sensor picked up. However, it’s good enough to decide whether you pointed it at something that’s red, green, or blue.