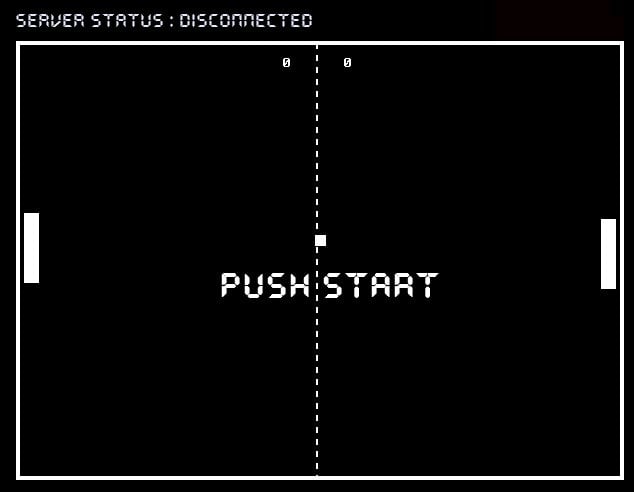
Combine MMF2 with a devboard to make a table tennis game controlled by a wireless controller.
Creating a Pong-style table tennis game in MMF2 (Multimedia Fusion 2) is rather easy. However, to add some interest and increase MMF2s possibilities, we will combine MMF2 with a RIOTOUS devboard to make a table tennis game controlled by a wireless controller.
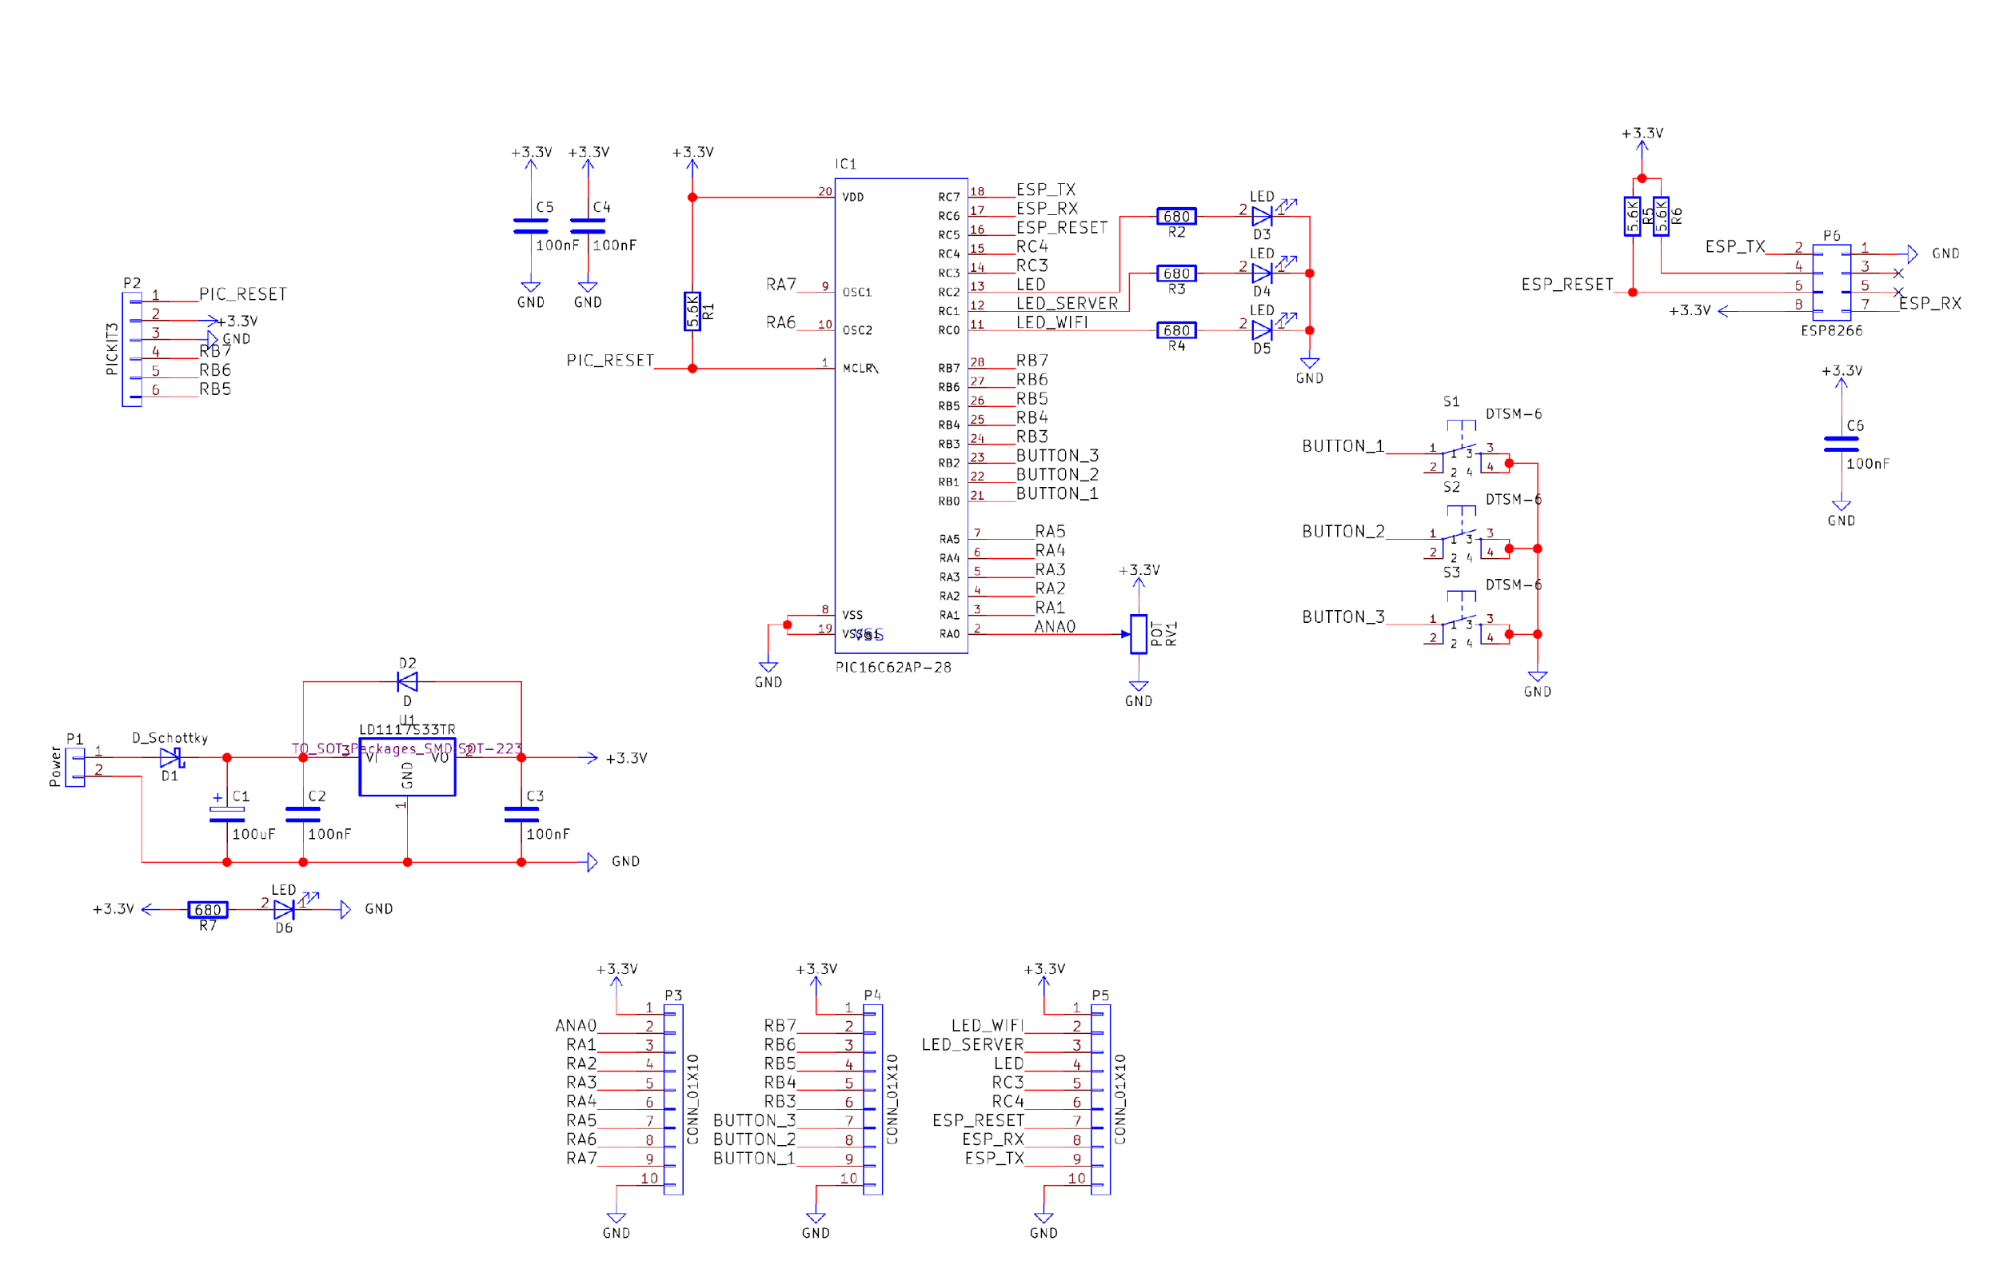
Table Tennis Game With Wireless Controller — Schematic
How the Wireless Controller and Table Tennis Game Work
This project is split up into three main parts: the controller, the server, and the table tennis game. The server itself is rather easy to use. No special server code is needed, since the only job it will be doing is rerouting data packets from the controller to the table tennis game. All files for this project are available in a ZIP file.
The Controller
The controller itself only consists of a RIOTOUS-compatible PIC device (such as the PIC16F1516) and a few external parts, including power regulation and several switches. When the controller is turned on, the device is configured to ensure that the UART is correctly configured for the ESP8266, interrupts are fired upon receiving a UART byte, the internal oscillator is at its maximum speed, and that all the IO ports are configured as either inputs or outputs. With the setup code completed, the microcontroller then needs to initiate RIOTOUS and try to connect to a router via Wi-Fi (this is where you need to fill in your own details, including SSID and the password). Once a Wi-Fi connection has been established, the microcontroller enters a loop, whereby it constantly attempts to connect to our RIOTOUS server (again, you need to fill in the IP address of the computer that hosts the RIOTOUS server). When a connection has been established, the controller sends a message for the server to display on its log and also tells the server its unique ID. RIOTOUS servers identify devices based on the port they are connected to, but each connected device can also have a unique ID. This unique ID works in a near identical fashion to MAC addresses, and if two clients want to communicate with each other (for example, a controller and a table tennis game), they both need a unique ID, and then ask the server to reroute data to the device with the unique ID. Setting the unique ID for a device is rather easy and only requires two bytes: the letter “I” and a second byte whose value represents the unique ID (0 to 255). In our case, we set the unique ID of the controller to "M," and therefore send the data packet to the server “IM.”
Once all of the startup code has been executed, the main while loop is started. This loop simply looks for button presses and sends messages based on the current button statuses. The up and down button presses only send a message upon pressing or releasing a button, whereas the start button will send a message each time the code loops.
The Game
The game itself is made using a program called Multimedia Fusion 2.5, and is a software package that allows for game making without using code. Despite not using code, the software is incredibly powerful and more flexible than most may think. Programs are made using a point-and-click system with configurable events and actions with many extensions that allow the user to do just about anything (including networking, directory searching, system processes viewing, etc). While MMF2 is easy to use, I advise you to attempt easier projects before doing this project, as you will need some knowledge on alterable values and basic game practice.
In our table tennis game, we take advantage of the RIOTOUS widget, which consists of an object, two moo sockets, and some code to handle all data transfers. The first task that needs to be done is to change some of the alterable values of the RIOTOUS widget. “Server IP” needs to be set to the IP address of the RIOTOUS server, “Advertise Port” needs to be set to the advertising port (default is 333), and “Unique ID” needs to be set to the unique ID of the game, which will be “A.”
With that done, we need to get the RIOTOUS widget to connect to a RIOTOUS server when the game first starts, and this is done by setting the alterable string “Connect” to “true” when the event “Start of Frame” is fired. When this happens, RIOTOUS automatically attempts to connect to the server, and if successful, “ServerConnectionStatus” becomes equal to “true.”
Now that the RIOTOUS widget has us connected to the server, we wait until the user presses the start button on the wireless controller, and once pressed, the controller sends the text “RADBSTART” to the server. The server starts by looking at the first letter and determines what the requested action is. In this case, the first letter is R, which stands for redirect. The next letter/byte is the unique ID to redirect the message to (in this case, A). The rest of the data after that is then sent to the device with the unique ID (DBSTART).
When the client (our game) receives this package, it looks at the first letter to determine what the packet is. The first letter in our packet is D, which stands for “data,” and thus the client puts the packet “DBSTART” into its data buffer and sets the “DataAvailable” variable to “true.” If the game detects this packet, it enables the events that control the game (Player Controls and Game Events). When a successful data read from the RIOTOUS widget has been done, you must clear the data in the buffer AND set “DataAvailable” to false!
With that done, our game runs, and pressing the buttons moves the paddle up and down. However, when a button is pressed, it only sends one message, because the microcontroller is not fast enough to repeatedly send movement data to the game. So in our game, if a button press is detected, the player is moved in that direction until the button is released. This gives the effect of smooth responsive control, and since the delay between the controller and the game is less than 20ms, it gives the impression that a wired controller is being used.
You may have noticed the last event that checks for a data available is true condition. The nice thing about MMF2 is that the events are executed in order such that event 16 ALWAYS executes before event 17. In our example, if corrupt data has been sent and none of the data events are fired, then the last data available event will clear the buffer so new data can arrive. The game code itself will not be explained, as it is A) trivial in the MMF2 file and B) not too important. What is important is the communication between RIOTOUS clients, servers, and MMF2.
Construction
You can build this project using many different techniques. The first and easiest route is to either build a RIOTOUS devboard (schematic available above) or get a RIOTOUS devboard (available soon). However, if you need a personalised controller, you can use different circuit construction techniques including breadboards, stripboards, matrixboards, and PCBs. The controller needs to be compatible with RIOTOUS (> 4 MIPS, 4KB ROM and 256 bytes of RAM), and below is an example controller board PCB layout.
An example of a generic controller PCB (would require a shield for buttons and other inputs)
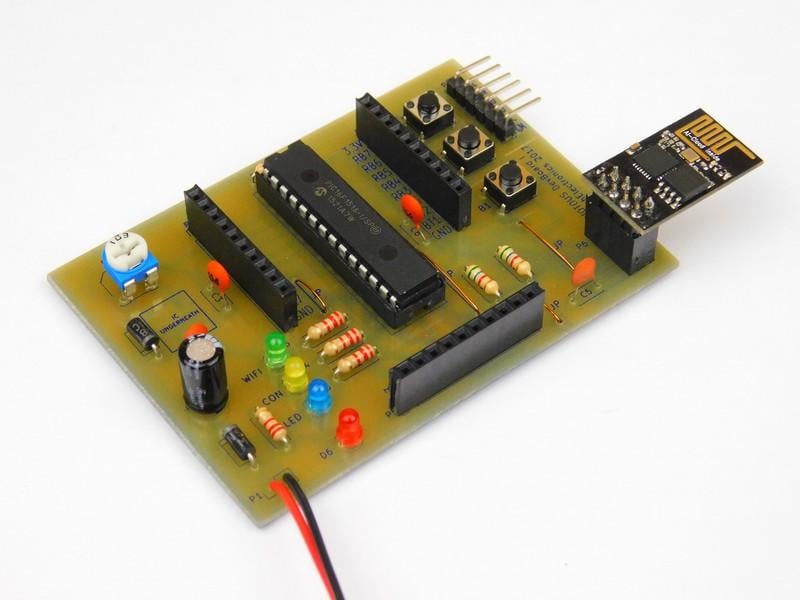
The devboard used in this project (PIC16F1516)
Related Articles