Learn how to create an Internet radio station to record or play your podcasts and music!
Do you want to start your own online radio station? Or do you simply want your music to be available online so you can easily stream it from anywhere? This tutorial can help you set up your own streaming station using a Raspberry Pi and two packages called DarkIce and Icecast.
DarkIce is a live audio streamer capable of recording audio from an audio interface (e.g., a sound card), encoding the audio, and sending it to a streaming server.
Icecast is an audio/video streaming media server that can be used to create everything from Internet radio stations to privately running music playlists.
We are going to use DarkIce on Raspberry Pi to set up the sound input and then have our recordings encoded and streamed to an Icecast server. The best part of this project is how the server creates an easy-to-navigate user interface around the audio content, allowing for track selection and play.
Assembling the Hardware for Your Internet Radio Station
For this project, you will need:
- Raspberry Pi
- USB Sound Card
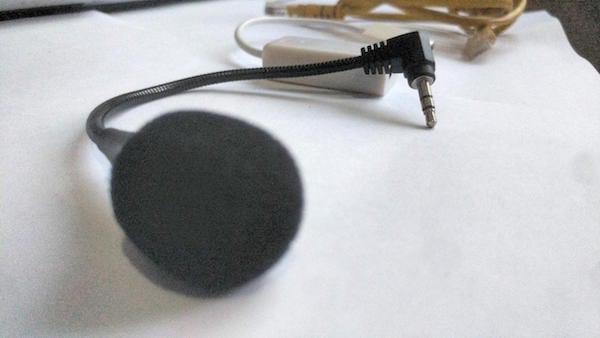
- Microphone
- LAN Cable
- microSD Card
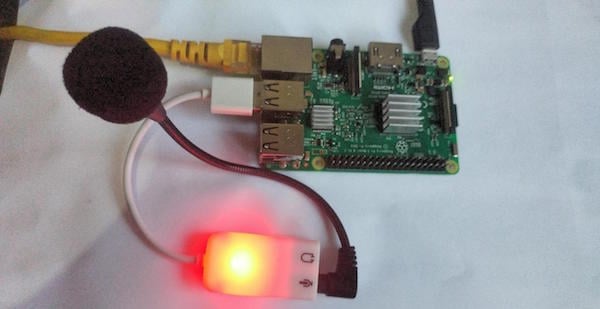
Assemble the hardware and connect the USB sound card and microphone as the shown in the image below:
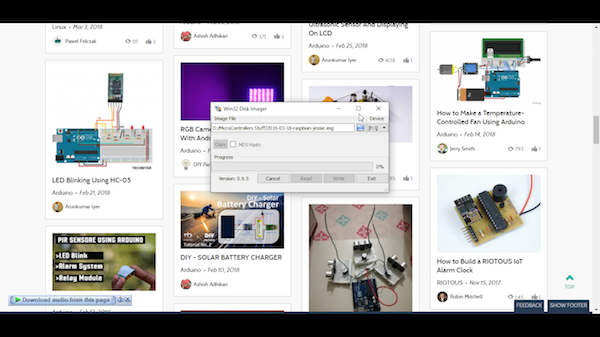
Installing Raspbian
After this process, create an empty file labeled “SSH” with no extensions. This will help you to turn on the ssh when you boot up the program.
Create a file called "SSH"
How to Install DarkIce and Icecast onto Raspbian
Connect to the Raspberry Pi with SSH or use an HDMI display if you are unfamiliar with SSH.
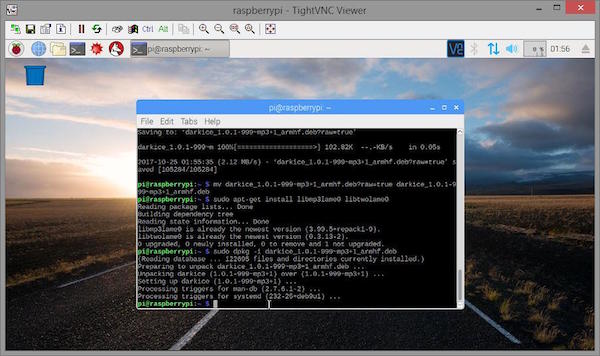
As mentioned earlier, Darkice will be encoding the live audio source into an MP3 stream and Icecast2 will be serving it to you through a nice user interface. Enter and execute the following commands in the terminal:
wget https://github.com/x20mar/darkice-with-mp3-for-raspberry-pi/blob/master/darkice_1.0.1-999~mp3+1_armhf.deb?raw=true
mv darkice_1.0.1-999~mp3+1_armhf.deb?raw=true darkice_1.0.1-999~mp3+1_armhf.deb
sudo apt-get install libmp3lame0 libtwolame0
sudo dpkg -i darkice_1.0.1-999~mp3+1_armhf.deb
sudo apt-get install icecast2
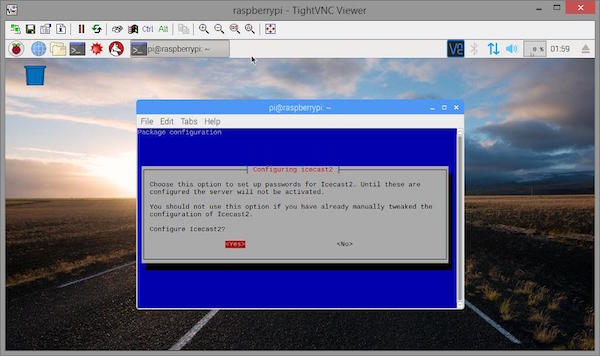
After entering this command, a window will pop up asking if you want to configure Icecast2. Select Yes (as shown below).
Select "yes" to configure Icecast2
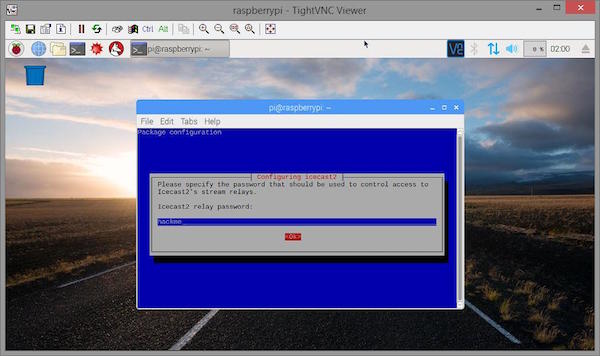
Next, select OK to use the default hostname "localhost". On the screens that follow, hit OK to agree to the settings that are shown (as shown below).
Configure Icecast2's hostname (default)
Configure Icecast2's source password (default)
Configure Icecast2's relay password (default)
How to Configure Darkice in Raspbian
After the Icecast2 installation, we need to make a Config file for DarkIce in Raspbian. Start by entering the following command in the terminal:
Then copy and paste these configurations in the file:
[general]
duration        = 0      # duration in s, 0 forever
bufferSecs      = 1      # buffer, in seconds
reconnect       = yes    # reconnect if disconnected

[input]
device          = plughw:1,0 # Soundcard device for the audio input
sampleRate      = 44100   # sample rate 11025, 22050 or 44100
bitsPerSample   = 16      # bits
channel         = 2       # 2 = stereo

[icecast2-0]
bitrateMode     = cbr       # constant bit rate ('cbr' constant, 'abr' average)
#quality         = 1.0       # 1.0 is best quality (use only with vbr)
format          = mp3       # format. Choose 'vorbis' for OGG Vorbis
bitrate         = 320       # bitrate
server          = localhost # or IP
port            = 8000      # port for IceCast2 access
password        = hackme    # source password for the IceCast2 server
mountPoint      = rapi.mp3  # mount point on the IceCast2 server .mp3 or .ogg
name            = Raspberry Pi
Save and exit the file.
Create another file with the name "darkice.sh" and enter this command:
Then copy and paste these configurations in the file:
#!/bin/bash
sudo /usr/bin/darkice -c /home/pi/darkice.cfg
Now we need to make the darkice.sh file executable. To do this, enter the following command:
sudo chmod 777 /home/pi/darkice.sh
Next, start the Icecast2 service:
sudo service icecast2 start
sudo chmod 777 /home/pi/darkice.sh
sudo service icecast2 start
We need to configure DarkIce to run as soon as we start up the Raspberry Pi, which can be configured in the setup. We don’t have to do this for Icecast, because it's automatically programmed to start up as soon as the Raspberry Pi turns on.
Select 2 for nano editor.
Then copy and paste this line to the bottom of the text file that appears:
@reboot sleep 10 && sudo /home/pi/darkice.sh
Save and exit. This makes the Raspberry Pi wait for 10 seconds after booting before it starts the stream, giving it time to initialize the sound card.
And hit go for the reboot:
Double-Check Your Stream Setup
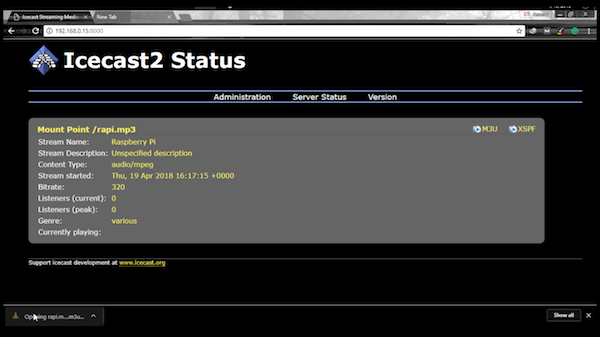
Let’s check that the stream was set up correctly.
To do this, find the IP address of your Raspberry Pi by using the command: ifconfig. Next, open the browser on your computer and go to http://192.168.1.123:8000. Replace this IP address with your own IP address.
Click on M3U in the top righthand corner to open the stream. If you're able to listen to the content, the stream is running properly!
Alternatively, you can enter http://192.168.1.123:8000/rapi.mp3 and, after replacing this IP address with your own, you can play the content directly.
And that’s it! Enjoy your new radio station.
Completed Internet Radio Station Project Video
Check out the video below to see the project take shape and watch it in action.