Use an Arduino to make this universal remote that can control any device with an IR sensor.
This Arduino Universal Remote Control allows your TV remote to control anything with an IR sensor attached to it! This project takes advantage of infrared transmitters and receivers that you can find around your house or old electronics that can be salvaged. By programming an Arduino to read the IR signal coming from your TV remote, you can make the universe yours!
Why Make a Universal Remote?
You ever flop onto your couch and wish that you never had to get up? What if you could turn on the lights, play music, answer the door, or even pay the pizza delivery man without getting off the couch? Now you can! This project was inspired by the quest for ultimate laziness! The only thing you'll need to get up for is using the bathroom. Maybe we'll find a solution for that in another project...
How Does the Universal Remote Work?
This project was inspired by
another Arduino project that uses a remote and IR sensors to activate LEDS. The principles from that project were then applied to other devices around the house. If you start with something simple like an LED, you'll be the master of your living room universe in no time!
The program is based around an IR receiver and the code it receives from an IR transmitter, which in this case, is your TV remote. IR transmitters have a specific carrier frequency, which is most commonly 38kHz. This Sparkfun tutorial has a lot of good information about the principles of IR communication. Each button on your TV remote has its own digital code that turns the carrier signal ON and OFF in its own unique way.
With the IR receiver's help, the Arduino can read and demodulate each modulated signal as an individual button press. This gives you the ability to control as many components as you have buttons on your remote! Or at least as many pins as your Arduino has...
Before you open and compile the main program, use the "IRrecv" Demo and its Serial Monitor to read and decode each button that you plan to use. Take note of the code associated with each button, then you can use those codes in the #define section of the main program to assign each button a different task!
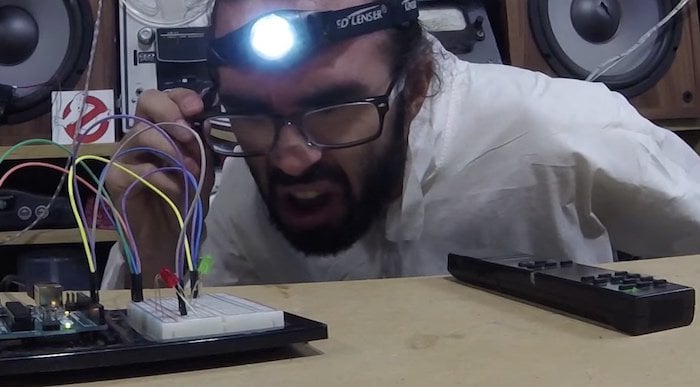
The first program uses one button for dual LED power-up and another button for dual LED power-down. The second program assigns the LEDs their own separate power-up buttons and the main power button turns both LEDs off.
Code Breakdown
The code will make your Arduino essentially do the following:
- Look for incoming IR signals
- Demodulate incoming signals into specific codes
- Tell the specific codes to do certain commands (Like turning LEDs on and off)
Below are downloadable versions of the code:
IR_Receiver_1 (Zipped) IR_Receiver_2 (Zipped)
You can add more devices to your remote if you have the ingenuity. Maybe add some relay switches instead of LEDs to control higher voltages?! Have any ideas for your own IR remote control project? Let us know in the comments! Until next time, happy hacking!